
Creating an immersive gaming setup is more than just selecting high-performance PC components or comfortable seating. When the sun goes down, the ambient lighting in your room plays a massive role in how long and how comfortably you can play. Choosing the right led lights for room at night is not just about aesthetics; it is about balancing high-contrast screen glare with soft, indirect illumination to keep your eyes relaxed during late-night gaming sessions.
A well-planned RGB lighting scheme transforms a sterile bedroom or a compact condo corner into a personalized battle station. However, simply sticking a raw LED strip to your desk can lead to harsh reflections, distracting hotspots, and intense eye fatigue. To build a setup that looks clean and feels comfortable, you need to understand how brightness, color diffusion, and physical placement interact in the dark.
What to Look for in LED Lights for Room at Night
When setting up your gaming space, your choice of lighting must adapt to the unique conditions of a dark room. Unlike daytime setups where ambient sunlight masks harsh lighting sources, nighttime setups require careful calibration. Here are the key technical specifications you must evaluate before making a purchase.
Products mentioned in this guide
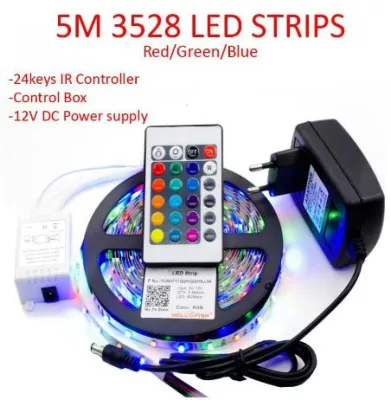
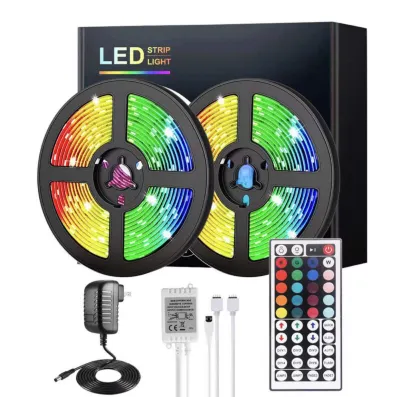
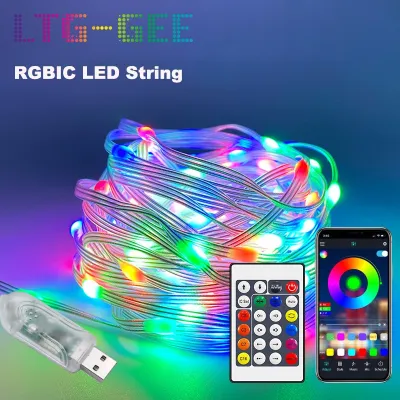
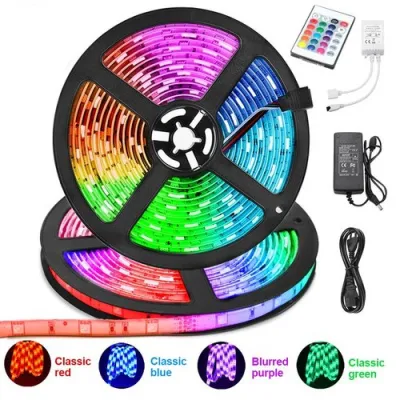
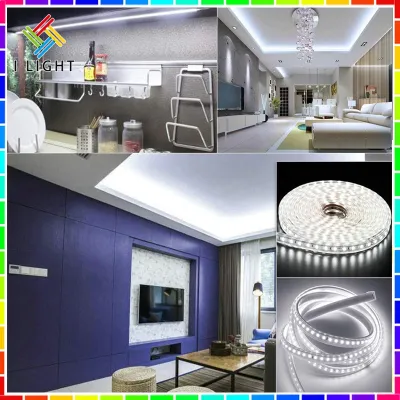
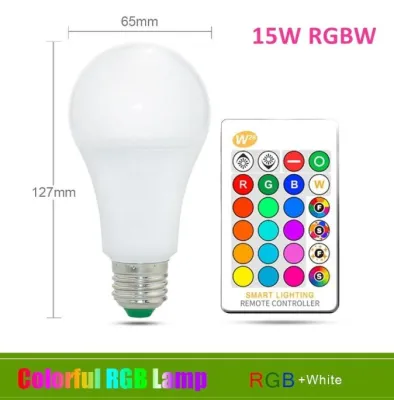
Prices are valid at publication and may change. Please refer to the product page for the latest price.
Brightness and Dimming Control
A light that is too bright in a pitch-black room will cause immediate discomfort. When evaluating RGB lights, look closely at the minimum dimming threshold rather than just the maximum lumen output. Many budget LED controllers only allow dimming down to 10% or 20%, which can still feel blindingly bright in a completely dark room. High-quality smart lights offer deep dimming control, allowing you to lower the output to 1% or 2% for a subtle, atmospheric glow. Check the manufacturer’s application specifications to verify if the light supports smooth, step-less dimming rather than fixed, jarring brightness intervals.
Color Options and Addressability
Standard RGB lights change the color of the entire strip or bulb at the same time. While this works well for basic single-color washes, it lacks the dynamic motion needed for modern gaming setups. Addressable RGB (often labeled as ARGB or RGBIC) features independent control chips along the strip. This technology allows multiple colors to run along a single line simultaneously, creating smooth gradients, chasing effects, and fluid transitions that can mimic the movement on your screen. If your goal is to build an active, responsive gaming environment, prioritizing addressable strips will give you far more creative freedom.
Diffusion and Glare Reduction
One of the most common mistakes in DIY gaming rooms is leaving LED diodes exposed. Bare LED chips project sharp, concentrated points of light that reflect off screens, glossy desk surfaces, and PC case glass panels. This direct glare forces your eyes to adjust constantly, leading to headaches and fatigue. To prevent this, choose lights that feature built-in silicone diffusers, frosted covers, or channels that scatter the light evenly. If you are using flexible strips, plan to install them inside aluminum profiles with frosted lenses, or position them so they bounce light off a wall rather than shining directly toward your seating position.
Best RGB Light Types for Gaming Setups
Achieving a balanced lighting layout requires mixing different form factors to cover different areas of your room. Relying on a single light source often creates harsh shadows and uneven contrast. By combining specialized desk fixtures, flexible accent strips, and ambient floor lamps, you can build a layered lighting scheme that is both functional and visually striking.

Smart Monitor and Desk Light Bars
Monitor light bars are specialized fixtures that clip directly onto the top bezel of your screen. They are specifically engineered to provide bias lighting and desk surface illumination without taking up valuable desk space. This is particularly advantageous in compact urban condos or shared bedrooms where every square inch of desk real estate matters.
When shopping for a monitor light bar, look for models that feature asymmetric optical designs. Unlike standard desk lamps that throw light in a wide cone, asymmetric light bars project light downward and slightly forward at a precise angle. This ensures the light illuminates your keyboard and desk pad while remaining completely off the monitor screen itself, preventing washed-out colors and annoying reflections.
Before purchasing, verify the mounting mechanism of the light bar. Most use a gravity-weighted counterweight base, a spring-loaded clip, or a secure adhesive mount. Check your monitor’s rear profile and bezel thickness; ultra-thin bezels, heavily curved panels, or monitors with dramatic rear bumps may require specialized mounting adapters to prevent damage to the screen panel.
Addressable LED Strip Lights
Flexible LED strip lights are the backbone of ambient room design. Because they can be cut, bent, and mounted virtually anywhere, they are ideal for outlining the back edge of your desk, tracing the perimeter of your PC chassis, or lining the underside of wall-mounted shelving.
The primary benefit of addressable LED strips is their ability to create immersive, room-wrapping color zones. When mounted behind your desk, they project a soft wash of color onto the wall that expands the visual field of your monitor. For a truly cohesive experience, look for strips that integrate with software ecosystems capable of syncing light colors with your PC’s audio output or on-screen gameplay.
When planning your installation, check the strip’s cuttable points, which are typically marked by copper pads spaced every few centimeters. Cutting outside these designated lines will permanently damage the circuit. Additionally, consider the environment: if your gaming desk is prone to accidental drink spills or if you live in a highly humid tropical climate, choose strips with an IP65 silicone coating. For dry, well-ventilated areas, an IP20 non-waterproof strip is often preferred as it is lighter, more flexible, and dissipates heat more efficiently. Always check the quality of the adhesive backing; high-bond acrylic tapes hold up much better on painted drywall and laminate wood finishes over time.
Smart RGB Floor and Corner Lamps
When you need to fill the empty corners of your room with light without cluttering your desk, standalone floor and corner lamps are the ideal solution. These tall, slender fixtures are designed to stand in the corner of a room and project light backward against the walls, creating a soft, indirect glow that elevates the entire room’s atmosphere.
Because these lamps rely on wall-washing effects, their placement is critical. Position them in corners or behind furniture where the light can spread naturally across flat surfaces. When evaluating different models, pay close attention to the physical footprint and the stability of the base. A heavy, weighted metal base is essential to prevent the lamp from tipping over, especially if you have pets or if the lamp is placed near a high-foot-traffic pathway.
Additionally, check the height of the lamp relative to your seated eye level. The light source should be tall enough to spread ambient light across the upper walls but positioned so that you cannot look directly down into the exposed LED elements while sitting in your gaming chair. Finally, verify the smart connectivity options; models that connect directly to your local Wi-Fi network allow you to group the corner lamp with your desk lights for single-tap control via your smartphone.
How to Set Up RGB Lights for Eye Comfort at Night
Designing a stunning gaming room is only half the battle; positioning and calibrating those lights for physical comfort is what makes the space usable for long hours. Poorly configured lighting can lead to dry eyes, blurred vision, and disrupted sleep patterns.
Bias Lighting Principles
The primary cause of eye strain during late-night gaming is high visual contrast. When you stare at a bright monitor in a pitch-black room, your pupils constantly dilate and contract as they react to the changing brightness on the screen. Bias lighting solves this problem by placing a soft, neutral light source directly behind the monitor. This raises the ambient light level in your immediate field of view, narrowing the contrast gap between the screen and the surrounding wall. As a result, your eye muscles do not have to work as hard to adjust, significantly reducing fatigue during extended gaming sessions.
Positioning to Avoid Glare
To maintain visual comfort, you must ensure that no light source shines directly into your eyes. Position all ambient light strips and lamps so that the light is reflected off a surface rather than projected directly toward your face. If you have a glass-sided PC case or a glossy monitor screen, be mindful of secondary reflections. Angle your light strips away from these reflective surfaces, or use matte diffusion profiles to soften the light output. If you can see individual LED dots reflecting on your screen, adjust the angle of the light source or increase the distance between the light and the reflective object.
Color Temperature and Circadian Rhythms
Our bodies naturally associate cool blue light with daytime and alertness, while warm red and orange tones signal that it is time to rest. Exposure to bright blue light late at night suppresses the production of melatonin, making it difficult to fall asleep after a gaming session. To protect your sleep cycle, configure your smart lights to shift toward warmer color palettes—such as deep reds, soft oranges, or warm ambers—as the night progresses. Alternatively, utilize automated smart schedules that gradually lower the overall brightness and reduce blue light wavelengths after a specific hour, allowing you to enjoy your games without disrupting your natural circadian rhythm.
Buying Checklist: Power, Compatibility, and Installation Safety
Before purchasing your lighting components, you must verify several critical technical specifications to ensure a safe, reliable, and seamless installation. Overlooking these details can result in flickering lights, damaged surfaces, or electrical hazards.
Voltage and Power Supply Matching
LED strips and smart controllers operate on specific direct current (DC) voltages, typically 5V, 12V, or 24V. Always use the power adapter supplied by the manufacturer. If you are customizing your setup by combining multiple strips, you must calculate the total wattage to avoid overloading the power supply. Multiply the length of the strip by its rated wattage per meter, and ensure your power adapter’s capacity is at least 20% higher than this total. Underpowered adapters will run dangerously hot, cause the lights to flicker, or lead to premature hardware failure.
Smart Home and Network Requirements
Most smart RGB lights rely on a 2.4GHz Wi-Fi frequency to connect to your home network and smart assistant apps. Many modern home routers combine 2.4GHz and 5GHz bands into a single network name, which can cause setup failures during the initial pairing process. Before starting, verify if your router allows you to temporarily split the bands or if the smart light app requires a dedicated hub. If you plan to install a large number of smart bulbs and strips, consider hub-based systems (such as those using Zigbee protocols) to prevent congesting your home Wi-Fi network and ensuring faster response times.
Installation Safety Boundaries
- Test Adhesives First: Before mounting adhesive-backed LED strips to your walls or furniture, clean the surface thoroughly with isopropyl alcohol to remove dust and oils. Test a small piece of the adhesive on a hidden area first, especially on painted walls, delicate wood veneers, or drywall, to ensure it will not peel away the paint or damage the finish when removed.
- Avoid Over-Chaining: Never daisy-chain multiple LED strips beyond the manufacturer's recommended maximum length. Doing so causes a significant voltage drop, resulting in lights that become dimmer or change color toward the end of the run, while putting excessive electrical stress on the controller.
- Electrical Safety: If your lighting plan involves hardwiring fixtures into your home's electrical system, modifying fixed wall switches, or running cables through walls, always isolate the power at the main circuit breaker first. If you are unsure about local electrical codes or lack experience with household wiring, hire a qualified electrician to complete the installation safely.
Frequently Asked Questions (FAQ)
Can RGB LED lights cause eye strain during night gaming?
Yes, RGB LED lights can cause eye strain if they are configured incorrectly. High-contrast setups, such as playing in a pitch-black room with a single bright monitor, force your eyes to work harder. Similarly, unshielded LED diodes that shine directly into your eyes or low-quality lights that exhibit invisible high-frequency flickering can cause headaches and fatigue. However, when RGB lights are properly diffused and positioned behind your screen as bias lighting, they actually reduce eye strain by balancing the contrast levels in the room.
Do I need a smart hub for RGB gaming lights?
Whether you need a smart hub depends on the specific protocol your lights use. Many popular RGB lights connect directly to your home network via Wi-Fi or Bluetooth, requiring no additional hardware. While direct-connect lights are convenient for smaller setups, they can slow down your home router if you connect too many devices. For larger, more complex setups with dozens of light sources, a hub-based system (using protocols like Zigbee or Thread) is highly recommended. The hub manages all the lights on a separate low-power network, ensuring faster response times, smoother synchronization, and a more stable home network.
Community discussion
Share your experience or ask a question. Comments are reviewed before publication.