
Illuminating outdoor garden stairs and pathways is essential for both home safety and landscape aesthetics. For residential properties, solar step lights outdoor fixtures provide an energy-efficient, wire-free solution that enhances nighttime visibility without increasing your monthly electricity bill. Choosing the right fixtures requires evaluating your specific staircase structure, the local climate conditions, and key technical specifications to ensure the lights perform reliably night after night.
In the tropical climate of the Philippines, outdoor fixtures face intense challenges, including heavy monsoon rains, high humidity, and prolonged exposure to strong ultraviolet (UV) radiation. A poorly chosen light can quickly succumb to water ingress, cracked plastic housings, or corroded electrical contacts. Understanding the physical designs, material compositions, and installation requirements of solar landscape lighting will help you make an informed investment that secures your steps and beautifies your garden for years to come.
Quick Guide: Core Selection Criteria for Solar Landscape Lighting
To select the most reliable solar step lights, it helps to understand their fundamental operating mechanism. Each individual fixture is a self-contained electrical system consisting of a small photovoltaic (PV) solar panel, a rechargeable battery, a light-emitting diode (LED) bulb, and an integrated light sensor. During the day, the solar panel absorbs sunlight and converts it into direct current (DC) electricity, which charges the internal battery. At dusk, the light sensor detects the drop in ambient light and automatically activates the LED, drawing power from the stored battery reserves.
Products mentioned in this guide
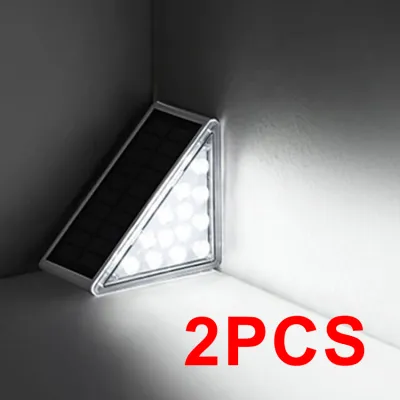
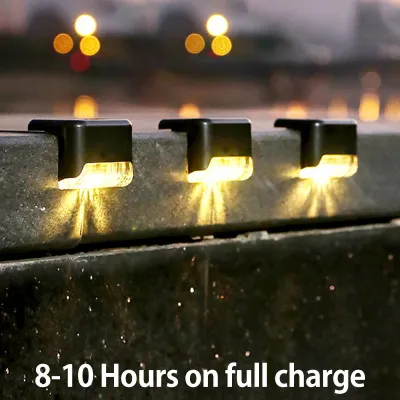
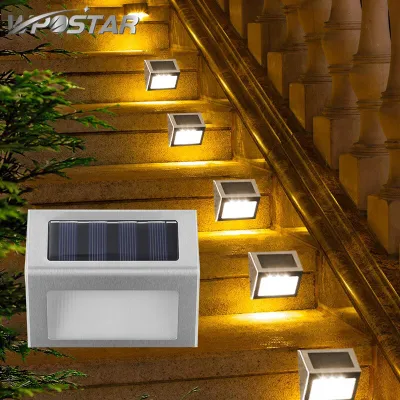
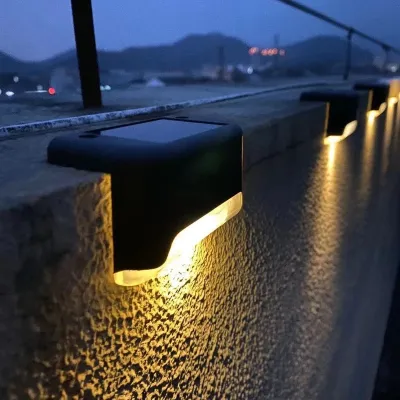
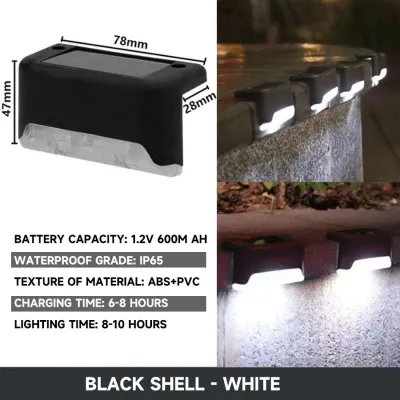
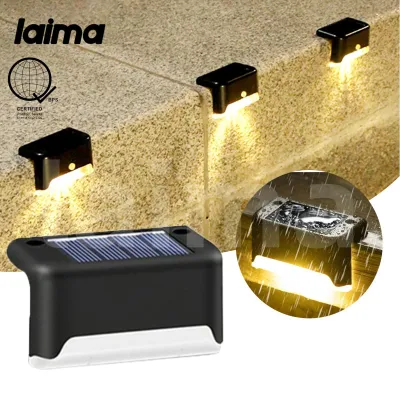
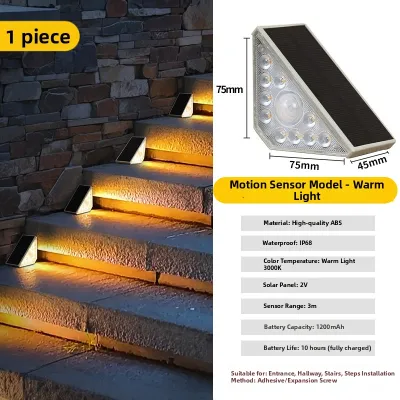
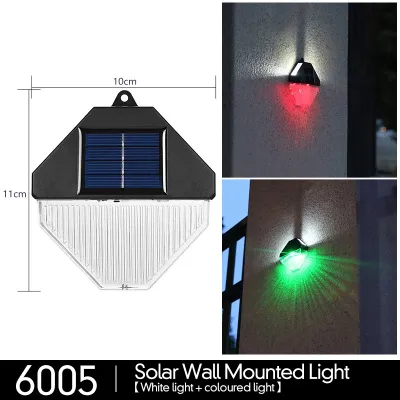
Prices are valid at publication and may change. Please refer to the product page for the latest price.
The performance of any solar light relies on a delicate balance between three primary variables: light output (measured in lumens), battery storage capacity (measured in milliampere-hours, or mAh), and the amount of direct sunlight the panel receives during the day. A high-lumen fixture will cast a bright, wide beam of light, but it will also deplete its battery rapidly. If the solar panel is installed in a shaded area or experiences a cloudy day, the battery will not fully charge, leading to a significantly shorter run time at night.
For homeowners in tropical regions, finding fixtures that can withstand high humidity and sudden heavy downpours is paramount. Moisture can easily seep into poorly sealed battery compartments, causing rapid corrosion of the wiring and premature electronic failure. Additionally, the intense tropical sun can degrade low-quality plastics, making them brittle and prone to cracking. Prioritizing robust weatherproofing, durable housing materials, and efficient solar cells is the key to ensuring your outdoor lighting system survives the local climate.
Best Solar Light Designs for Outdoor Stairs
Staircases present unique architectural shapes and safety requirements, meaning that a single lighting style will not fit every home. The material of your stairs—whether wood, concrete, stone, or brick—and the layout of your garden steps will largely dictate which physical design is most appropriate. Choosing a design that complements your staircase structure ensures both optimal light distribution and a clean, intentional aesthetic.

Surface-Mounted Deck and Step Lights
Surface-mounted fixtures are designed to be screwed directly onto the flat, exposed surfaces of your staircase, such as the horizontal step treads or the vertical risers. These lights typically feature a compact, low-profile wedge shape that casts light downward and outward, illuminating the step immediately below. They are highly favored for their straightforward installation process and versatility, making them an excellent choice for quick weekend upgrades.
This design is best suited for wooden, composite, or raised timber deck stairs where drilling pilot holes and driving mounting screws is easy and clean. Because you do not need to hollow out a cavity within the stair structure, you have complete freedom to experiment with placement, whether you want to mount them in the center of each riser or along the outer edges of the treads.
However, surface-mounted lights do have physical limitations that require careful planning. Because they protrude slightly above the surface of the step, they can become a tripping hazard if they are placed directly in the main walking path of a narrow staircase. Additionally, installing them requires drilling permanent holes into your steps; if you decide to remove or reposition the fixtures in the future, you will be left with visible screw holes that must be patched, filled, or sealed to prevent wood rot or moisture damage.
Recessed or Flush-Mount Step Lights
Recessed step lights are engineered to sit completely flush with the surface of the staircase, creating a seamless, modern appearance where the faceplate of the light is level with the step. The bulk of the fixture’s body, including the battery and internal wiring, is hidden inside a pre-cut cavity within the stair itself. This design offers a highly polished, integrated look that mimics professional architectural lighting.
These fixtures are ideal for solid, permanent stair structures made of concrete, poured cement, natural stone, or brick. Because there are no protruding edges, recessed lights completely eliminate any potential tripping hazards, making them the safest option for high-traffic garden stairs, family homes, and commercial pathways.
The primary trade-off with recessed lighting is the complexity of the installation. Fitting these lights into hard masonry materials requires specialized tools, such as a rotary hammer drill, a diamond-grit hole saw, or a cold chisel, to carve out precise cavities. Before purchasing any recessed fixtures or beginning to drill, always verify the exact cut-out dimensions, depth requirements, and clearance specifications printed on the product label. A minor measurement error can prevent the fixture from sitting flush, or worse, allow rainwater to pool inside the cavity, leading to premature water damage.
Wall-Mounted Stair Lights
Wall-mounted stair lights are installed on vertical surfaces adjacent to the staircase rather than on the steps themselves. Common mounting locations include retaining walls, garden fences, privacy screens, or the wooden stringers that run along the sides of the stairs. These fixtures typically cast a downward-directed beam, creating a beautiful “wall-washing” effect that highlights the texture of both the wall and the steps.
One of the greatest advantages of wall-mounted lights is that they keep the walking surface of your stairs entirely clear of fixtures and potential obstructions. This simplifies stair cleaning and maintenance, such as sweeping or pressure washing, as there are no ground-level obstacles to work around.
Despite these benefits, wall-mounted lights are only viable if you have a suitable, structurally sound vertical surface running parallel to your staircase. If the adjacent wall is located too far from the steps, the light spread will dissipate before reaching the walking surface, resulting in weak illumination and long, disorienting shadows that can make navigating the stairs more difficult. Furthermore, the mounting height must be carefully calibrated; placing the lights too high can cause uncomfortable glare for anyone walking up the stairs, while placing them too low restricts the width of the light beam.
Best Solar Light Options for Pathways and Landings
While staircases require focused, downward illumination to mark individual steps, the flat walkways, garden paths, and transition landings connecting those stairs have different lighting needs. These flat areas require broader, softer light distribution to define boundaries, highlight obstacles, and guide foot traffic safely through the landscape.
Low-Profile Pathway Edge Lights
Low-profile pathway edge lights are compact, flat, or disk-shaped fixtures that sit extremely close to the ground, lining the borders of a walkway or a gentle garden slope. Rather than projecting a tall beam, these lights cast a low-glare, horizontal glow across the surface of the path. This provides essential boundary marking, allowing pedestrians to easily distinguish between the paved walkway and the surrounding lawn or garden beds.
These lights are highly effective for defining winding paths without cluttering your landscape with tall fixtures. Because they are virtually flush with the ground, they do not obstruct garden maintenance activities; you can easily operate lawn mowers or string trimmers near the edges of the path without worrying about striking or damaging the lights.
When choosing low-profile edge lights, it is crucial to verify the mounting mechanism. Some models utilize short, integrated ground spikes designed to be pushed into soft soil or turf, while others feature flat, heavy bases intended to be glued or screwed down onto hard concrete or stone pavers. Ensure the mounting style matches your pathway’s surface material to prevent the lights from shifting, tilting, or becoming loose over time.
Short Bollard or Post Lights for Landings
Short bollard or post lights are miniature vertical pillars, typically standing between 30 and 60 centimeters tall, that feature an integrated solar panel on top and a 360-degree light diffuser. These fixtures are designed to be placed at key transition points in your garden, such as wide stair landings, path intersections, or the entrance to a patio area.
Unlike step-specific lights, bollards offer a much broader, omnidirectional light spread, making them perfect for illuminating larger, flat areas where people might pause, turn, or change direction. They help establish a clear visual hierarchy in your landscape design, guiding the eye from one garden zone to the next.
However, bollard lights require more physical space than low-profile fixtures and can easily be knocked over or damaged if placed too close to a high-traffic walking zone. Additionally, because the solar panel is permanently integrated into the flat top of the post, their charging efficiency is highly sensitive to surrounding vegetation. You must ensure that nearby shrubs, tall ornamental grasses, or overhanging tree branches do not grow over the top of the bollard, as even partial shade can dramatically reduce the battery’s ability to charge during the day.
Crucial Specifications to Verify Before Buying
To avoid the frustration of purchasing solar lights that stop working after a few heavy rains, you must look beyond attractive product photos and carefully evaluate the technical specifications. Checking these details on the product packaging or manufacturer’s specification sheet will help you select durable, high-performing fixtures.
When purchasing solar step lights, verify the low-voltage DC rating (typically 1.2V to 3.7V), the battery interface, the wattage limits of the integrated LEDs, the physical dimensions, and the dimming method if the unit supports variable brightness. Always check for recognized electrical certifications (such as CE, RoHS, or local quality marks) on the packaging to ensure compliance with safety standards.
- Weather and Water Resistance: The single most critical specification for any outdoor light is its Ingress Protection (IP) rating, which consists of two numbers. The first number (0 to 6) measures protection against solid particles like dust, while the second number (0 to 9) measures protection against liquids. For solar step lights installed in tropical climates, an IP65 rating is the absolute minimum standard you should accept. An IP65 rating means the fixture is completely dust-tight and can withstand low-pressure water jets from any direction, making it highly resilient against heavy monsoon downpours. For lights that will be installed flush into ground-level pathways, where rainwater is highly likely to pool temporarily, you should look for an even higher rating, such as IP67 or IP68.
- Material and Rust Resistance: The housing material of your solar lights directly impacts their lifespan and aesthetic durability. Cheap, thin sheet metals will quickly rust and corrode when exposed to constant humidity and rain, leaving unsightly orange stains on your stone or wooden stairs. For long-term durability, look for fixtures constructed from marine-grade 316 stainless steel, heavy-duty cast aluminum with a high-quality powder-coated finish, or UV-stabilized ABS plastic. These materials are specifically engineered to resist the corrosive effects of moisture, coastal salt air, and the degrading effects of intense solar radiation.
- Battery Type and Replaceability: The battery is the heart of a solar light, and its chemistry and accessibility determine the fixture's long-term value. Many budget-friendly solar lights feature permanently sealed, non-replaceable batteries. When these batteries inevitably degrade after 12 to 24 months of continuous charge cycles, the entire fixture must be thrown away. To ensure a sustainable and cost-effective setup, look for fixtures with accessible, screw-secured battery compartments protected by thick rubber gaskets. Verify if the unit uses standard, widely available rechargeable battery formats, such as Lithium-ion (Li-ion, typically 18650 cells) or Nickel-Metal Hydride (NiMH, typically AA or AAA cells).
- Light Sensor and Automation: A truly convenient solar lighting system should operate entirely on its own without requiring daily manual intervention. Verify that the product description explicitly states the inclusion of an automatic dusk-to-dawn photocell sensor. This sensor monitors ambient light levels, automatically turning the LED on when the sun sets and switching it off when the sun rises. Avoid fixtures that rely on manual physical switches for daily operation.
Safe Installation and Routine Maintenance Boundaries
Installing solar step lights is generally a safe, rewarding DIY project, but achieving optimal performance and ensuring safety requires adhering to specific installation guidelines and maintenance routines. Knowing the limits of your tools and materials will prevent damage to both your home and your new lighting fixtures.
- Placement and Installation: For your solar lights to achieve their maximum nightly run time, the integrated solar panels must receive at least 6 to 8 hours of direct, unshaded sunlight daily. When planning your installation, observe how shadows move across your garden throughout the day, taking care to avoid placing fixtures directly under the shadow of roof eaves, fences, or dense tree canopies. When mounting your lights, always use the correct tools and hardware for the specific surface material. If you are installing lights on a wooden or composite deck, drill small pilot holes first to prevent the wood from splitting, then secure the fixtures using high-quality stainless steel wood screws. For concrete, brick, or stone stairs, you must use a rotary hammer drill equipped with a carbide-tipped masonry drill bit. Insert plastic wall anchors into the drilled holes before driving in the screws. Never attempt to force screws directly into hard, brittle stone or cracked concrete, as this can shatter the masonry, strip the screw threads, or crack the light's housing.
- Routine Maintenance: In tropical environments, solar panels quickly accumulate a fine layer of dust, pollen, bird droppings, and mineral deposits from garden sprinklers. This buildup acts as a physical barrier, blocking sunlight from reaching the photovoltaic cells and significantly reducing charging efficiency. Over time, a dirty solar panel can cut your light's nightly run time in half. To maintain peak performance, establish a routine to gently clean the solar panels once a month. Wipe the surface of the panels using a soft, damp microfiber cloth and a mild, non-abrasive soap. Avoid using rough scrubbing pads, steel wool, or harsh chemical solvents, as these can permanently scratch or cloud the protective plastic cover of the solar panel.
- Safety Boundaries: While solar step lights are low-voltage devices that pose minimal electrical risk, you must remain cautious of your surroundings during installation. Before drilling into any garden walls, steps, or pathways, verify that you are not working near existing underground electrical conduits, outdoor power outlets, water features, or irrigation pipes. If you are unsure of what lies beneath the surface, consult a qualified professional before proceeding. If your garden staircase is structurally compromised, showing signs of deep cracking, loose bricks, or rotting wood, do not attempt to install fixtures that require drilling or cutting. Address the structural safety of the stairs first, or hire a professional contractor to perform the necessary repairs. Finally, never attempt to puncture, modify, or custom-seal the battery compartment of your solar lights with unapproved glues or silicones. Doing so can trap moisture inside, ruin the waterproof gaskets, destroy the electronics, and void the manufacturer's warranty. For any complex installations involving fixed wiring integrations or structural modifications, always seek the assistance of a certified electrician or professional landscaper.
Frequently Asked Questions (FAQ)
Do solar step lights work during the rainy season?
Yes, solar step lights will continue to work during the rainy season, but their overall performance will be noticeably reduced. Solar panels do not require direct, blazing sunlight to generate electricity; they can still harvest energy from the ambient, diffused light present on overcast and cloudy days. However, the charging efficiency drops significantly under heavy cloud cover. During prolonged periods of continuous rain and dark skies, the internal battery will not receive a full charge, which typically results in dimmer light output and a much shorter nightly run time—often lasting only 1 to 3 hours instead of the usual 8 to 12 hours.
Can I replace the batteries in solar step lights?
Whether you can replace the batteries depends entirely on the design of the specific solar step light model you purchase. Many budget-friendly, entry-level fixtures are permanently sealed during manufacturing to reduce production costs and ensure water resistance, meaning the battery cannot be replaced, and the entire unit must be discarded once the battery degrades. On the other hand, higher-quality, mid-range to premium solar lights feature dedicated, screw-secured battery compartments sealed with rubber gaskets. When shopping, check the product specifications to confirm if the battery is user-replaceable, which allows you to swap out old, degraded cells and significantly extend the lifespan of your landscape lighting.
Community discussion
Share your experience or ask a question. Comments are reviewed before publication.