
To achieve optimal visibility and eliminate distracting shadows on your pool table, your billiards table light must be proportional to the table’s playing surface. The primary rule of thumb is that the light fixture’s total length should span between one-half and two-thirds of the length of the table’s playing bed (the green cloth area, excluding the outer wooden rails).
For a standard 7-foot table, select a fixture between 35 and 45 inches in length. An 8-foot table requires a fixture measuring 44 to 56 inches, while a professional 9-foot table demands a substantial fixture spanning 50 to 65 inches. In addition to horizontal length, the bottom of the light shades must hang precisely 32 to 36 inches above the playing surface to balance light spread and prevent glare.
Selecting the correct fixture size is not merely a matter of visual style; it directly impacts your accuracy, depth perception, and overall enjoyment of the game. A light that is too small leaves the corners and rails in deep shadow, while an oversized fixture can overwhelm your room and cause uncomfortable glare for spectators.
Products mentioned in this guide
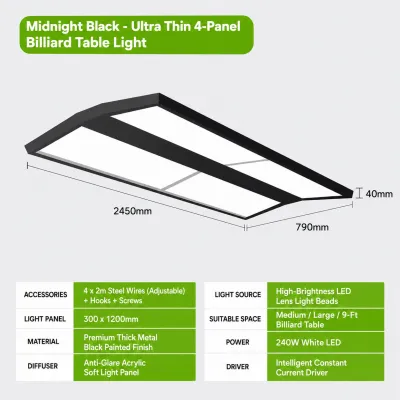
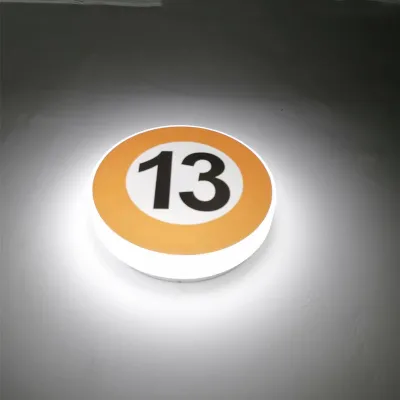
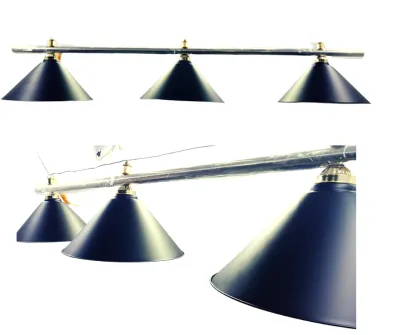
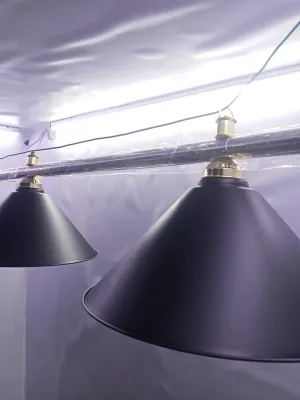
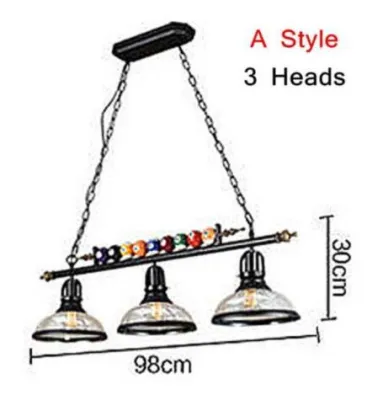
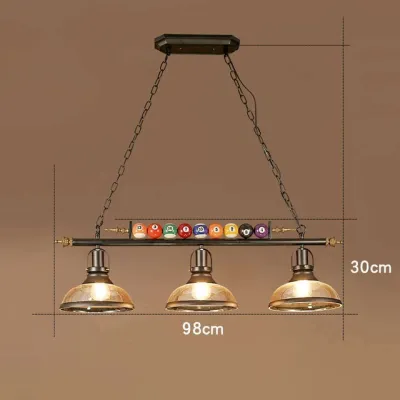
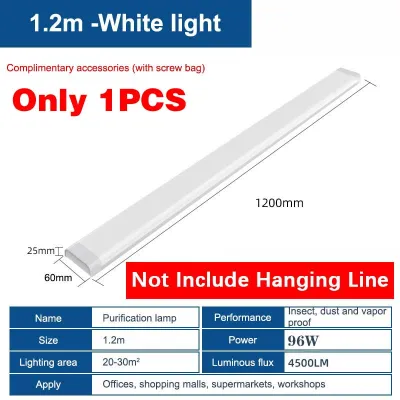
Prices are valid at publication and may change. Please refer to the product page for the latest price.
Quick Sizing Matrix: Matching Fixtures to 7ft, 8ft, and 9ft Tables
When planning your game room layout, matching the physical dimensions of your billiards table light to your specific table size is the first step toward high-quality play. The playing bed—not the outer cabinet dimensions—determines your lighting requirements. Because outer rail widths vary by manufacturer, always measure the green cushion-to-cushion playing area before purchasing a fixture.
The following table outlines the standard dimensions and recommended fixture configurations for the three most common pool table sizes found in residential game rooms and commercial halls:
| Table Size | Approximate Playing Bed Dimensions | Recommended Fixture Length | Typical Number of Shades / Light Sources |
|---|---|---|---|
| 7-Foot (Bar Size) | 39 inches x 78 inches (99 cm x 198 cm) | 35 to 45 inches (89 cm x 114 cm) | 3 shades or a compact linear LED fixture |
| 8-Foot (Home Standard) | 44 inches x 88 inches (112 cm x 224 cm) | 44 to 56 inches (112 cm x 142 cm) | 3 to 4 shades or a medium linear LED fixture |
| 9-Foot (Tournament) | 50 inches x 100 inches (127 cm x 254 cm) | 50 to 65 inches (127 cm x 165 cm) | 4 to 5 shades or a long linear LED fixture |
These dimensions serve as reliable baselines for achieving even illumination across the slate. However, your room’s specific proportions and the fixture’s design can influence the final setup. For instance, in the tropical climate of the Philippines, where high humidity can affect indoor environments, choosing fixtures with corrosion-resistant finishes like powder-coated steel, brass, or treated aluminum is highly recommended to ensure long-term durability.
Modern linear LED fixtures, which feature a continuous light strip rather than individual shades, offer a highly uniform light distribution. If you opt for a traditional multi-shade pendant, ensure the individual shades are spaced widely enough to prevent dark gaps on the table bed. Generally, a price range of ₱5,000 to ₱15,000 covers standard residential fixtures, while premium, heavy-duty tournament-grade setups can exceed ₱25,000.
Detailed Fixture Selection by Table Size
Each pool table size presents unique lighting challenges. To prevent shadows under the cushions and ensure the balls cast consistent, predictable shadows, you must choose a fixture configuration tailored to your table’s specific footprint.

7-Foot Tables (Bar Size)
Commonly referred to as bar-sized tables, 7-foot models are highly popular in compact residential game rooms, apartments, and local bars across the Philippines. Because the playing surface is relatively short, a fixture that is too long will spill excessive light onto the surrounding floor, creating distracting glare for bystanders and players waiting for their turn.
A classic 3-shade pendant light is the standard choice for a 7-foot table. When selecting a 3-shade fixture, look for a total length of approximately 40 inches. This size ensures that the two outer shades align well with the head and foot spots of the table, casting direct downward light where the majority of shots are set up. Alternatively, a compact linear LED fixture of about 4 feet in length provides a sleek, minimalist aesthetic that works exceptionally well in modern interiors without overpowering the room’s visual scale.
8-Foot Tables (Standard Home Size)
The 8-foot table is the most common size for dedicated home game rooms. It represents a transitional size, meaning homeowners often face a choice between a large 3-shade fixture or a standard 4-shade fixture.
If you select a 3-shade fixture for an 8-foot table, ensure the individual shades are wide—typically 14 to 16 inches in diameter—to guarantee the light spreads sufficiently to cover the table’s outer rails. If the shades are too narrow, the corners of the table will suffer from poor visibility. A 4-shade fixture, measuring around 50 to 54 inches in length, is often the safer choice for achieving perfectly even light distribution. However, you must verify that the visual weight of a 4-shade fixture matches your ceiling height; a bulky, low-hanging 4-shade light can make a room with standard 2.4-meter (8-foot) ceilings feel cramped.
9-Foot Tables (Tournament Size)
Tournament-sized 9-foot tables are the standard for professional play, athletic clubs, and serious enthusiasts. Because of the expansive playing surface, lighting a 9-foot table requires careful planning to eliminate dark zones. Even minor shadows along the rails can distort a player’s perception of angles, leading to missed bank shots and positioning errors.
To illuminate a 9-foot table properly, you should install a 4-shade or 5-shade fixture, or a long, high-output linear LED system spanning at least 55 to 60 inches. These large fixtures ensure that light reaches the extreme corners of the table at the same intensity as the center. Because these multi-shade fixtures are constructed with heavy metal bars and glass or metal shades, they are significantly heavier than smaller models. Before purchasing, you must confirm that your ceiling structure can safely support the physical weight of these substantial fixtures.
Calculating the Correct Hanging Height and Center Placement
Horizontal alignment and vertical clearance are just as critical as the physical size of your billiards table light. Hanging the light at the incorrect height can ruin the playing experience, regardless of how perfectly sized the fixture is.
To determine the ideal hanging height, use the industry-standard measurement: the bottom edge of the light shades should hang between 32 and 36 inches (81 to 91 cm) above the playing surface (the slate bed).
To calculate your installation points precisely, follow these steps:
- Measure the Table Height: Standard pool tables stand between 29 and 31 inches (74 to 79 cm) from the floor to the top of the cushions.
- Determine the Target Height from the Floor: Add your desired hanging clearance (e.g., 34 inches) to your table's height. If your table is 30 inches tall, the bottom of your light fixture should hang exactly 64 inches (163 cm) from the floor.
- Calculate Chain or Rod Length: Measure your ceiling height. Subtract the target floor-to-fixture height (64 inches) from your total ceiling height to determine the exact length of the suspension chain, rod, or cable required.
If you hang the fixture too high, the light source will escape the confines of the shades, shining directly into the eyes of the players as they bend down to take a shot. It will also cast harsh shadows of the players themselves onto the table. Conversely, hanging the fixture too low restricts the lateral spread of the light, leaving the table corners dark. It also creates a physical hazard, increasing the risk of players bumping their heads or striking the shades with their cue sticks during elevated shots, such as jump or masse shots.
To center the fixture, do not rely on the walls of the room, as pool tables are often offset to allow adequate cue clearance from structural pillars or furniture. Instead, find the exact center of the playing bed. Run two temporary strings diagonally from the corner pocket openings; the point where the strings intersect is the absolute center of the table. Use a plumb bob or a laser level from this intersection point to mark the exact spot on your ceiling where the fixture’s canopy must be mounted.
Common Sizing and Placement Mistakes to Avoid
Homeowners frequently make avoidable errors when selecting and installing pool table lights. Recognizing these pitfalls beforehand will save you time, money, and frustration.
- Installing a Fixture That Is Too Short: Purchasing a light based solely on aesthetic appeal without checking the length is a common error. A fixture that is too short creates a bright hot spot in the center of the table while leaving the rails and pockets in deep shadow, making accurate play near the cushions nearly impossible.
- Using a Single Chandelier or Round Pendant: Standard dining room chandeliers or single dome pendants are designed to cast light outward in a circular pattern. Over a rectangular pool table, this results in poor lateral light spread, leaving the head and foot of the table poorly lit.
- Ignoring the Ceiling Junction Box Location: Many homeowners buy a fixture assuming it can be easily mounted to the existing ceiling box. If your pool table is not perfectly centered under that box, you will be forced to use unsightly swag hooks and exposed chains, which can compromise both the safety and aesthetic of the room.
- Overlooking Visual Weight in Low-Ceiling Rooms: A bulky, traditional metal-and-glass 4-shade light can visually dominate a room with low ceilings, making the space feel hot and confined. In rooms with lower clearances, a slim, minimalist linear LED fixture is often a superior choice.
Structural Support and Electrical Safety for Heavy Fixtures
Installing a multi-bulb billiards table light involves handling suspended loads and fixed electrical wiring. Safety must be your absolute priority during this process.
First, verify the weight of your chosen fixture. Traditional multi-shade billiard lights made of iron, brass, and thick glass can easily weigh between 10 and 20 kilograms. Standard plastic ceiling junction boxes are typically rated to support a maximum weight of only 6.8 kilograms (15 pounds). Before hanging a heavy fixture, you must ensure that the junction box is securely anchored to a ceiling joist or supported by an approved heavy-duty metal hanger bar rated for the fixture’s specific weight.
Second, always isolate the electrical power before beginning any installation, removal, or inspection work. Turn off the power at the main circuit breaker panel, and use a reliable voltage tester at the ceiling box to verify that no electrical current is present before touching any wires.
Third, ensure that all components comply with local electrical standards in the Philippines. The local residential electrical system operates on 220V at 60Hz. Verify that your light fixture is rated for 220V operation and that its sockets (typically standard E27 screw bases in the Philippines) are compatible with your chosen bulbs. Never exceed the maximum wattage limit printed on the fixture’s sockets, as overloading the circuit can lead to heat buildup and pose a fire hazard.
If your existing ceiling box is not rated for the weight of your new fixture, if the box needs to be relocated to center it over the pool table, or if you are uncomfortable working with fixed wiring, stop immediately and consult a licensed electrician. Professional installation ensures compliance with the Philippine Electrical Code and guarantees that your fixture is safely suspended.
Frequently Asked Questions (FAQ)
Can I use a regular dining chandelier or island pendant over a pool table?
While some multi-light kitchen island pendants can work if they offer sufficient length and downward light spread, traditional dining room chandeliers are generally unsuitable for billiards tables. Dining chandeliers are designed to create a warm, ambient glow, often directing light upward or outward through translucent glass. This design causes intense glare at eye level when you bend down to cue, while failing to provide the bright, focused downward illumination required to see the balls clearly. Billiards table lights are specifically engineered with opaque metal or highly reflective glass shades that direct 100% of the light downward onto the slate, keeping the glare out of the players’ eyes.
What type of light bulbs provide the best illumination for playing pool?
LED bulbs are highly recommended for billiards table lights due to their exceptional energy efficiency, long lifespan, and low heat emission. Because pool table lights hang relatively low, traditional incandescent or halogen bulbs can emit significant heat, making players uncomfortably warm during long games in the tropical Philippine climate.
For the best playing experience, choose LED bulbs with a color temperature in the cool white or daylight range, typically between 4000K and 5000K. This range provides a crisp, clear light that ensures accurate color rendering of the billiard balls without the yellow distortion of warm white bulbs or the blue harshness of high-kelvin daylight. Additionally, ensure that the bulbs you select are rated for use in semi-enclosed or enclosed shades, and verify whether your fixture and wall switch support dimming if you prefer adjustable light levels.
Community discussion
Share your experience or ask a question. Comments are reviewed before publication.