
When selecting led lights for house ceiling installations in a condominium with a 2.4-meter ceiling, the primary challenge is balancing physical clearance with adequate light distribution. A 2.4-meter ceiling is relatively low, meaning bulky or hanging fixtures can make the living space feel cramped and visually oppressive. To maintain a comfortable and open atmosphere, you should look for an LED ceiling light with an ultra-slim profile—ideally between 2.5 and 5 centimeters in thickness—and a light output of 1,000 to 3,000 lumens depending on the room size and function. By focusing on low-profile flush mounts, wide beam angles, and appropriate color temperatures, you can ensure your condo remains bright, safe, and visually spacious.
Understanding Ceiling Clearance and Fixture Thickness
In residential spaces with a 2.4-meter ceiling height, vertical clearance is a premium commodity. Standard architectural guidelines suggest that the bottom of any ceiling-mounted fixture should sit at least 2.1 meters above the floor to prevent taller residents or guests from accidentally bumping into the light. This leaves a maximum allowable fixture depth of 30 centimeters. However, installing a fixture that actually hangs down 30 centimeters in a small condo can create a heavy, claustrophobic visual effect. To maintain spatial balance, keeping the fixture thickness under 5 centimeters is highly recommended.
To achieve this low-profile look, you must choose between different fixture designs. Flush mount fixtures sit directly against the ceiling surface, minimizing vertical drop. Semi-flush mount fixtures feature a small stem that suspends the light canopy slightly below the ceiling, which is generally unsuitable for low ceilings unless placed over a dining table. Ultra-slim surface-mount LED panels offer the most compact profile, often measuring less than 3 centimeters in thickness.
Products mentioned in this guide
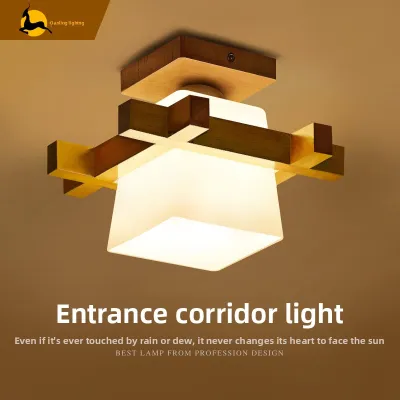
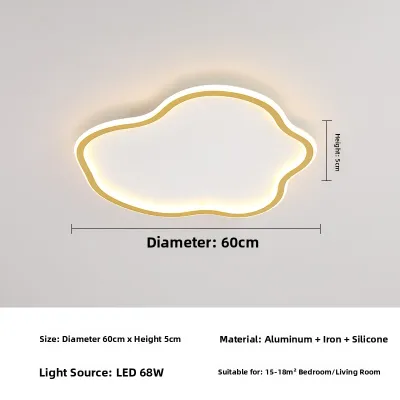
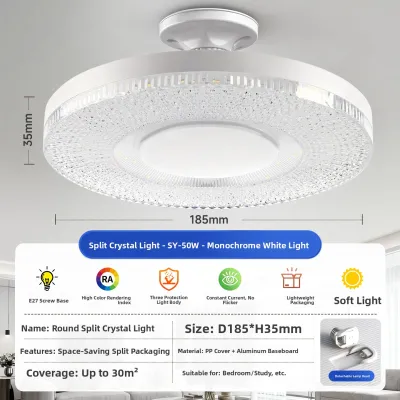
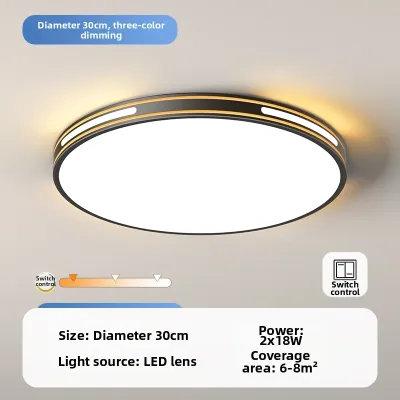
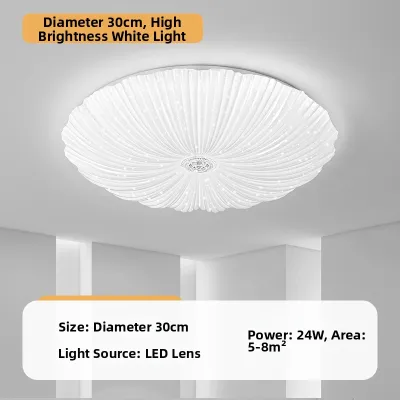
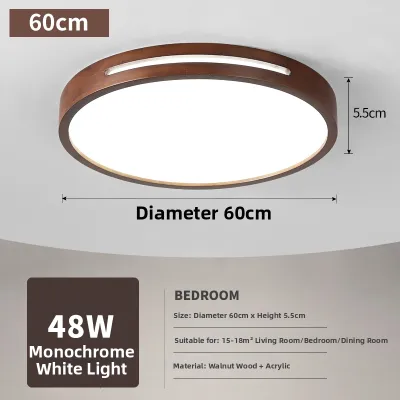
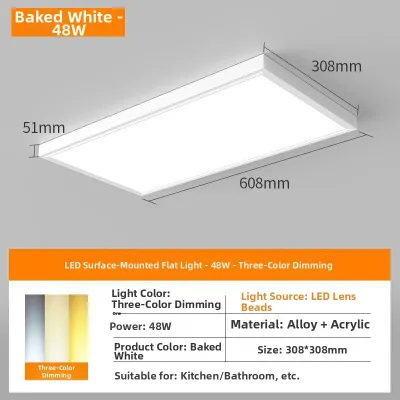
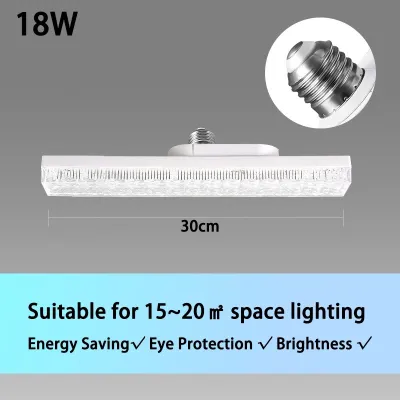
Prices are valid at publication and may change. Please refer to the product page for the latest price.
Before purchasing, it is crucial to measure your existing ceiling junction boxes. Many modern condominiums feature solid concrete slab ceilings rather than suspended plasterboard or gypsum ceilings. If your condo has a concrete ceiling, you cannot easily recess a fixture or hide a bulky external LED driver. You must verify that the mounting bracket of your chosen flush mount or ultra-slim panel can accommodate the depth of your existing junction box and that any driver or wiring connections can fit securely within the fixture’s shallow canopy.
Calculating the Right Lumens for Your Room Size
Selecting the correct light output, measured in lumens, is essential to prevent your condo from feeling either like a dim cave or a harsh, over-illuminated office. Because wattage only measures power consumption, you must look at the lumen rating on the product packaging to determine actual brightness. The recommended lumen count depends directly on the square footage of the room and how you intend to use the space.

For general ambient lighting in a compact condo, a standard guideline is to aim for approximately 150 to 200 lumens per square meter in living areas and bedrooms. For a typical 10-square-meter bedroom, a single LED ceiling light delivering 1,500 to 2,000 lumens is usually sufficient. In contrast, areas requiring high task clarity, such as kitchens and bathrooms, benefit from a higher light density of 300 to 400 lumens per square meter. A small 6-square-meter condo kitchen, therefore, requires a fixture or a combination of lights producing around 1,800 to 2,400 lumens.
The height of your ceiling directly impacts how light behaves as it travels from the fixture to the floor. With a low 2.4-meter ceiling, the light source has less vertical distance to spread its beam. If you install a fixture with a narrow beam angle, it will project a concentrated spotlight directly onto the floor, leaving the upper walls and corners in deep shadow. To counteract this, look for LED ceiling lights with a wide beam angle of 110 degrees or more, or choose edge-lit LED designs. These configurations disperse light horizontally across the ceiling plane, creating a more even distribution that visually expands the room.
Selecting Color Temperature and Glare Control
The quality and direction of light play a significant role in how spacious and comfortable your condo feels. Color temperature, measured in Kelvin (K), dictates the warmth or coolness of the light. For low-ceiling environments, choosing the right color temperature helps define the room’s boundaries and mood. Warm white (2700K to 3000K) is excellent for creating a cozy, intimate atmosphere in bedrooms. Neutral white (4000K) closely mimics natural daylight and is highly recommended for living rooms and study areas because it keeps the space feeling bright and open without the clinical feel of cool white. Cool white (6000K to 6500K) is highly functional, making it suitable for utility spaces, bathrooms, and kitchens where maximum visibility is required.
Because a 2.4-meter ceiling places the light source closer to eye level, glare control is a critical comfort factor. Direct exposure to bright LED chips can cause immediate eye strain and headaches. To prevent this, select fixtures equipped with high-quality frosted acrylic or opal diffusers. These diffusers scatter the light evenly, eliminating harsh hot spots and softening shadows.
Additionally, consider choosing fixtures with dimmable LED drivers. In a compact condo where a single room often serves multiple purposes—such as a living room that doubles as a home office and an evening relaxation space—the ability to adjust brightness is invaluable. Ensure you verify that the LED fixture is explicitly labeled as dimmable and pair it with a compatible wall dimmer switch to avoid flickering.
Installation Checks and Electrical Compatibility
Before installing any new led lights for house ceiling projects, you must verify that the fixture is fully compatible with your condo’s electrical infrastructure. In the Philippines, the standard residential electrical system operates at 220 volts at 60Hz. Always check the product specifications to ensure the LED driver is rated for this voltage range, as using a fixture designed solely for 110-volt systems will damage the electronics and pose a safety hazard.
You must also assess the structural capacity of your ceiling. While ultra-slim LED panels are generally lightweight, some larger glass or metal flush mount fixtures can be heavy. If you are mounting to a suspended gypsum board ceiling, ensure the mounting screws are anchored directly into the metal framing studs or use heavy-duty toggle bolts. For solid concrete ceilings, you will need to use a rotary hammer drill to install masonry wall plugs and screws that can securely support the fixture’s weight.
Electrical dimming compatibility is another common point of failure. If your condo has an existing wall dimmer switch, a standard non-dimmable LED fixture will flicker, buzz, or fail to turn on. You must ensure the fixture’s driver matches the dimming technology of your wall switch, such as triac dimming.
For all installation steps, safety must be your top priority. Always turn off the power at the main circuit breaker before touching any wiring. If your installation requires drilling into concrete ceilings where electrical conduits might be embedded, or if you are uncomfortable handling electrical wiring, always hire a licensed electrician to complete the work safely and in compliance with local electrical codes.
Common Mistakes to Avoid With Low-Ceiling Lighting
One of the most frequent errors when choosing lights for low ceilings is ignoring the physical depth of the mounting canopy or external driver. Many ultra-slim panels are advertised as being only 1 centimeter thick, but they require an external driver box that must be tucked into a ceiling cavity. If you have a solid concrete ceiling with no hollow space, you will not be able to install these fixtures flush without an unsightly gap. Always verify whether the driver is integrated into the fixture body or if the canopy has sufficient clearance.
Another common mistake is overlooking heat dissipation. The tropical climate in the Philippines means indoor temperatures can rise quickly, and heat is the primary enemy of LED longevity. While LEDs run cooler than incandescent bulbs, their internal components still generate heat. Enclosed flush mount fixtures must have adequate aluminum backing or heat sinks to draw heat away from the LED chips. Avoid cheap, entirely plastic fixtures that trap heat, as this will cause the light to dim prematurely or fail within a few months.
Finally, avoid installing overly bright, high-lumen fixtures without proper diffusion. A common reaction to a small, low-ceiling room is to flood it with as much light as possible. However, an excessively bright light source close to eye level creates intense glare and harsh, high-contrast shadows that actually make the room feel smaller and highly uncomfortable to inhabit.
Frequently Asked Questions (FAQ)
Can I use a semi-flush mount light on a 2.4-meter ceiling?
While possible, using a semi-flush mount light on a 2.4-meter ceiling is generally not recommended for main walkways. These fixtures typically hang down 15 to 30 centimeters, reducing clearance to 2.1 meters or less, which can feel visually oppressive and pose a physical hazard. However, you can safely install a semi-flush mount over a dining table or kitchen island where people do not walk directly underneath.
Do ultra-slim LED panels require a recessed ceiling cavity?
No, not all ultra-slim LED panels require a recessed cavity. While recessed panels need a hollow ceiling void, surface-mounted ultra-slim LED panels are designed to screw directly into flat concrete or drywall ceilings. This allows the entire fixture to sit flat against the surface with a total thickness of under 3 centimeters. Always check the product specifications to ensure you select a surface-mount model if you lack a recessed ceiling cavity.
How do I clean flush mount LED ceiling lights safely?
First, turn off the wall switch and shut off the power at the main circuit breaker. Allow the fixture to cool completely. Gently wipe away dust and debris from the diffuser using a soft, dry microfiber cloth. Avoid harsh chemical cleaners, alcohol, or abrasive pads, which can scratch or yellow the acrylic diffuser. For stubborn spots, use a slightly damp microfiber cloth with mild dish soap, then wipe dry immediately.
Community discussion
Share your experience or ask a question. Comments are reviewed before publication.