
Selecting the right lighting setup is critical to transforming a standard room into an immersive gaming sanctuary. For gamers in the Philippines, balancing power requirements with a seamless aesthetic often leads to a choice between low-voltage systems and mains-voltage options. A 220v strip light led offers a robust, high-output solution that plugs directly into standard household outlets without bulky external power bricks. This guide provides a practical framework for evaluating, planning, and safely installing 220V LED strip lights to elevate your gaming space, ensuring your setup remains bright, reliable, and electrically secure.
Why Choose 220V LED Strip Lights for Gaming Setups?
When designing ambient lighting for a gaming room, the choice of voltage dictates how your lights will perform over long distances. Standard low-voltage options, such as 12V or 24V LED strips, are highly popular for localized accents like keyboard trays or small desk backlights. However, they suffer from a phenomenon known as voltage drop. As the electrical current travels down a low-voltage strip, resistance causes the voltage to decrease, resulting in noticeably dimmer or off-color LEDs at the far end of the run. To prevent this, low-voltage setups require complex wiring configurations, multiple power injection points, or separate power supplies every 5 to 10 meters.
In contrast, a 220V strip light led operates directly on mains voltage, allowing for exceptionally long continuous runs. A single power connection can easily illuminate an entire room perimeter—up to 50 meters or more—with uniform brightness from the first diode to the very last. This makes 220V strips highly efficient for ceiling coves, floor borders, and large-scale wall patterns where a seamless, uninterrupted glow is desired.
Products mentioned in this guide
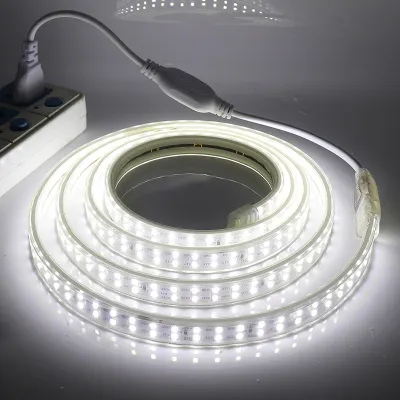
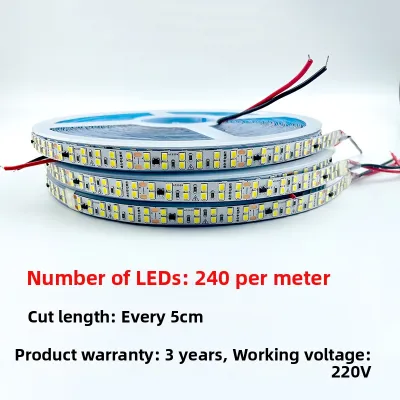
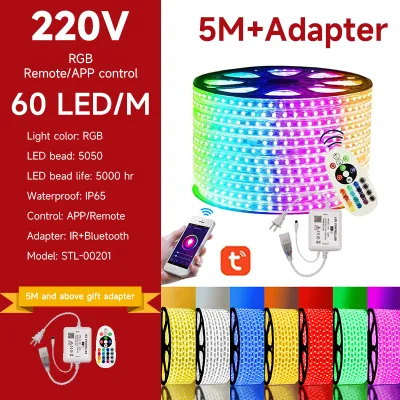
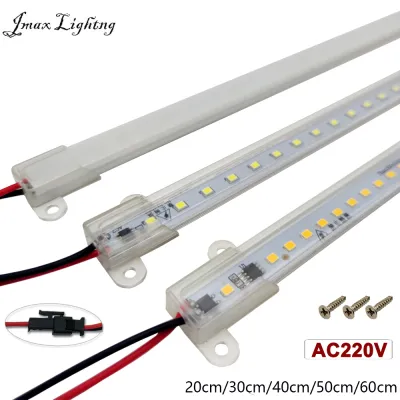
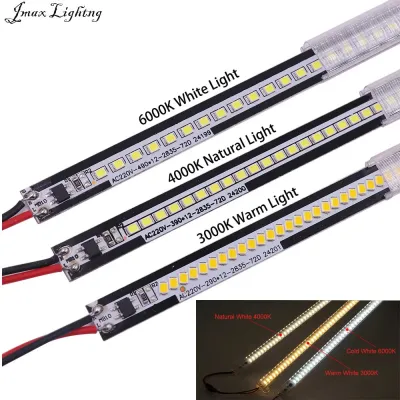
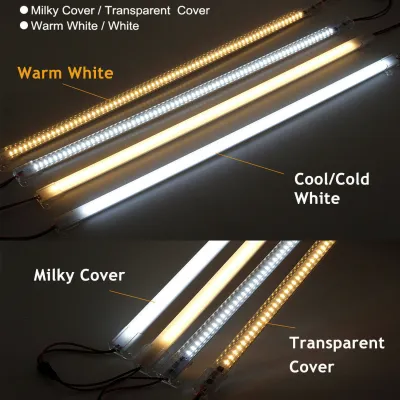
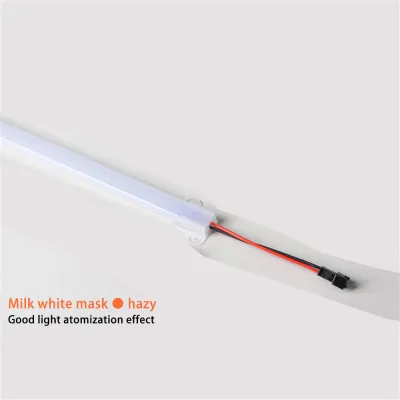
Prices are valid at publication and may change. Please refer to the product page for the latest price.
This high-voltage capability comes with physical trade-offs. Because they carry 220V AC directly through their internal copper tracks, these strips require heavy insulation to prevent electrical shocks and short circuits. They are encased in a thick, protective sleeve made of PVC or silicone. This casing makes the strip significantly bulkier, heavier, and less flexible than its low-voltage counterparts. While you can easily bend a 12V strip around sharp 90-degree corners on the back of a monitor, a 220V strip resists tight bends and requires specialized corner connectors or wider, sweeping curves to avoid damaging the internal circuitry.
Additionally, the cutting increments of 220V strips are much larger. While low-voltage strips can often be cut every few centimeters, 220V strips are typically restricted to cutting intervals of exactly 1 meter or, in some specialized models, 0.5 meters. This limitation is due to the way the high-voltage circuit is designed, grouping dozens of LEDs in series to handle the mains voltage. If you cut outside the designated mark, you will render the entire 1-meter segment non-functional. This requires careful planning when fitting the lights into specific room dimensions or tight gaming desk setups.
Essential Specifications to Verify on Product Labels
To ensure your 220V LED strip light performs reliably within your gaming setup, you must carefully verify the technical specifications listed on the manufacturer’s label or product datasheet. Do not rely solely on marketing images showing vibrant colors; instead, look for concrete electrical and physical metrics.

First, examine the power consumption, which is typically measured in Watts per meter (W/m). A standard decorative RGB strip might consume between 6W/m and 14W/m. Multiply this value by the total length of your planned run to calculate the total wattage. For example, a 15-meter run of a 10W/m strip will draw 150 Watts. Ensure that your controller, rectifier, and the wall outlet circuit can safely handle this load. Overloading a controller can lead to overheating, flickering, or premature component failure.
Second, pay close attention to the Ingress Protection (IP) rating. In the tropical climate of the Philippines, indoor spaces can experience high humidity levels, particularly during the rainy season or in rooms without continuous air conditioning. A minimum rating of IP65 is common for 220V strips because their thick silicone casing naturally provides excellent protection against dust and moisture. If you plan to install the lights in areas prone to dampness, or if you want an extra layer of physical protection against accidental spills near your gaming desk, look for IP65 or IP67 ratings.
Third, evaluate the color rendering index (CRI) and color capabilities. For gaming setups, RGB (Red, Green, Blue) or RGBW (which includes a dedicated white diode) strips are standard. RGBW strips are highly recommended if you plan to use the room for productivity or general study, as they provide a clean, high-quality white light that standard RGB strips cannot replicate. Ensure the product label specifies the type of controller required—whether it uses a standard infrared (IR) remote, a radio frequency (RF) controller, or a smart controller compatible with Wi-Fi or Bluetooth protocols.
Finally, verify the dimming capabilities. Unlike low-voltage strips that dim smoothly via pulse-width modulation (PWM) controllers, 220V strips require compatible high-voltage dimming controllers. If you intend to integrate your gaming lights with smart home ecosystems, confirm that the strip’s controller explicitly supports your preferred smart assistant or app protocol before purchasing.
Planning Your Lighting Layout and Power Access
A successful installation begins with a detailed layout plan that accounts for the physical limitations of 220V hardware. Start by measuring the exact dimensions of the zones you wish to illuminate. If you are outlining the ceiling perimeter, measure all four walls and add them together. If you are highlighting a custom gaming desk, measure the back edge and sides.
Because 220V strips can only be cut at fixed 1-meter intervals, your measurements must accommodate these increments. For instance, if your gaming desk is 1.6 meters wide, you cannot cut a 220V strip to fit it exactly. You must decide whether to install a 1-meter strip centered along the back, or route a 2-meter strip by curving the excess length down the sides of the desk legs. Attempting to force a cut outside the designated markings will destroy that section of the strip and pose a serious safety hazard.
Next, locate your power sources. A 220V LED strip requires a rectifier—a small, rectangular plastic box integrated into the power cord that converts the alternating current (AC) from your wall outlet into the direct current (DC) required by the LEDs. This rectifier, along with the controller receiver, must be positioned close to an outlet. Because these components are bulkier than standard USB plugs, you must plan where to conceal them.
For a clean look, design a cable management route. You can mount plastic cable raceways along the baseboards or behind your desk to hide the thick power cables and rectifiers. If you are installing the strips along the ceiling, ensure there is a crown molding or a recessed cove to hide the power supply and the start of the strip. Avoid leaving the heavy power cord hanging unsupported, as the weight can pull the strip down over time and strain the electrical connections.
Installation Safety and Electrical Boundaries
Working with 220V electricity requires strict adherence to safety protocols to prevent electrical shocks, short circuits, or fire hazards. Unlike low-voltage 12V strips, which are generally safe to handle while powered on, a 220V strip carries lethal voltage along its entire length.
Before cutting, mounting, or connecting any components, ensure the power cord is completely unplugged from the wall outlet. Never perform any installation or maintenance work while the strip is energized. When cutting the strip at the designated 1-meter marks, use a sharp utility knife or heavy-duty shears to make a clean, straight cut. A jagged cut can damage the internal copper wires or cause a short circuit when the power connector is inserted.
Once cut, the exposed end of the strip must be sealed immediately. Use a compatible silicone end cap filled with non-conductive silicone sealant to completely isolate the live wires from the environment. This step is critical in the Philippines, where high humidity or condensation can bridge the gap between the internal wires and cause a short. When connecting the power pin to the strip, ensure the sharp prongs align perfectly with the internal copper tracks. Push them in firmly, and seal the connection point with heat-shrink tubing or silicone sealant to prevent accidental contact.
For mounting, do not rely solely on the double-sided tape often pre-applied to the back of the strips. Because 220V strips are heavy and generate heat during prolonged use, standard adhesive tape will degrade and fail, causing the strip to sag. Instead, use plastic mounting clips screwed into the wall or desk, or install aluminum mounting channels. Aluminum channels not only hold the strip securely in a straight line but also act as a heat sink, drawing warmth away from the LEDs to prolong their lifespan.
Finally, understand the boundary between DIY installation and professional electrical work. If you are plugging the strip’s power adapter directly into an existing wall outlet, this is a safe DIY project. However, if your layout requires hardwiring the strip into a ceiling junction box, tapping into an existing light switch circuit, or running cables through concrete walls, you must hire a qualified electrician. Modifying your home’s fixed electrical wiring without proper certification violates local building codes and introduces significant safety risks.
Building Your Shortlist on Online Marketplaces
When shopping for 220V LED strip lights on popular e-commerce platforms, you will encounter a vast array of listings with varying price points and claims. To build a reliable shortlist, you must look past generic marketing buzzwords and systematically verify the product details.
Begin by cross-referencing the seller’s product description with official manufacturer datasheets or clear photos of the product packaging. Reliable listings will clearly state the voltage (220V-240V), wattage per meter, LED type (such as SMD 5050 or SMD 2835), and the exact cutting interval. If a listing claims a 220V strip can be cut “anywhere,” this is a major red flag indicating inaccurate product information.
Next, look for evidence of electrical compliance and safety certifications. In the Philippines, electrical products should ideally carry local safety marks or demonstrate compliance with recognized international standards such as CE, RoHS, or UL certifications. Reputable manufacturers will display these certification logos on the product packaging or the rectifier housing. Avoid purchasing unbranded, ultra-cheap strips that lack any visible safety markings, as they often use substandard wiring and thin insulation that can degrade rapidly under continuous use.
Finally, evaluate the seller’s warranty terms and return policies. Because LED strips consist of multiple electronic components—including the diodes, the internal copper tracks, the rectifier, and the remote controller—there is always a small risk of a localized defect, such as a dead 1-meter segment or a faulty controller. When budgeting around ₱1,000 to ₱3,000 for a complete room setup, look for sellers who offer a clear return window and a warranty of at least six months to a year. Read customer reviews specifically looking for feedback on long-term reliability, packaging quality during shipping, and how the seller handles replacements for defective units.
Frequently Asked Questions (FAQ)
Can I cut a 220V LED strip light anywhere along the line?
No, you cannot cut a 220V LED strip light anywhere you choose. Because of the high-voltage circuit design, these strips are divided into fixed electrical segments, typically measuring exactly 1 meter or 0.5 meters in length. You must only cut the strip directly on the designated cutting mark, which is usually indicated by a small scissor icon or a clear gap in the LED sequence. Cutting anywhere else will break the electrical circuit of that entire segment, rendering that 1-meter section completely non-functional and exposing live wires, which creates a severe electrical hazard.
Do 220V LED strips get too hot for desk or monitor mounting?
While 220V LED strips do generate heat during extended gaming sessions, they generally do not get hot enough to damage standard wooden or metal desks when installed correctly. However, because they are encased in a thick PVC or silicone sleeve, heat can build up if the strip is left on for many hours in a poorly ventilated space. To ensure safe operation and prolong the lifespan of the LEDs, it is highly recommended to mount the strip inside an aluminum mounting channel. The aluminum acts as an efficient heat sink, safely dissipating warmth away from your furniture and the light strip itself.
Will a standard wall dimmer switch work with my 220V RGB strip?
No, a standard wall dimmer switch designed for traditional household light bulbs will not work with a 220V RGB LED strip. RGB strips rely on specialized electronic controllers to mix red, green, and blue light to create different colors and adjust brightness levels. Connecting an RGB strip directly to a standard phase-cut wall dimmer can permanently damage the LED controller, cause severe flickering, or ruin the strip’s internal circuitry. Always use the dedicated remote control, smartphone app, or compatible smart controller supplied by the manufacturer to adjust the brightness and colors of your RGB setup.
Community discussion
Share your experience or ask a question. Comments are reviewed before publication.