
Selecting the right light fixture for a condominium balcony requires balancing strict spatial limits with functional performance. If you are dealing with a low-ceiling balcony, standard hanging lamps or bulky flush mounts can make the space feel cramped and create physical hazards. To resolve this, choosing a low-profile solar ceiling light outdoor waterproof fixture is the most practical solution. By opting for an ultra-slim ceiling unit paired with a split solar panel mounted on your balcony railing, you can maximize your vertical headroom while utilizing clean, renewable energy.
In the Philippines, where high-rise condo living is increasingly popular in dense urban centers like Metro Manila and Cebu, balcony spaces are highly valued but structurally constrained. Balcony ceilings are often lower than interior rooms due to structural concrete beams, soffits, and drainage pipes from the units above. Finding a fixture that fits these tight vertical clearances while surviving intense tropical heat, high humidity, and torrential monsoon rains requires a careful look at dimensions, mounting profiles, and weatherproofing standards.
Assessing Your Condo Balcony Space and Lighting Needs
Before browsing online marketplaces or visiting local home improvement centers, you must accurately measure your balcony’s physical boundaries. Start by measuring the vertical distance from the balcony floor to the ceiling. In many Philippine condominiums, balcony heights range from 2.4 meters down to a restrictive 2.2 meters. Once you have the total height, calculate your safe clearance margin. To prevent taller residents or guests from accidentally bumping their heads—and to ensure you can safely carry items like folding laundry racks or balcony furniture—aim to maintain a clear headroom of at least 2.1 meters from the floor to the lowest point of the light fixture.
Products mentioned in this guide
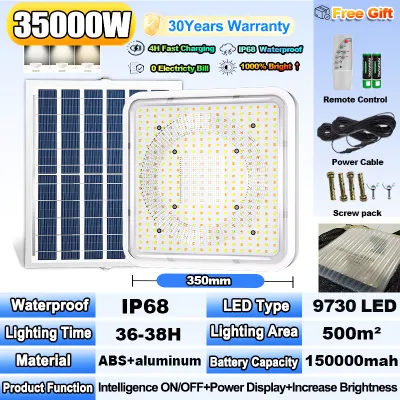
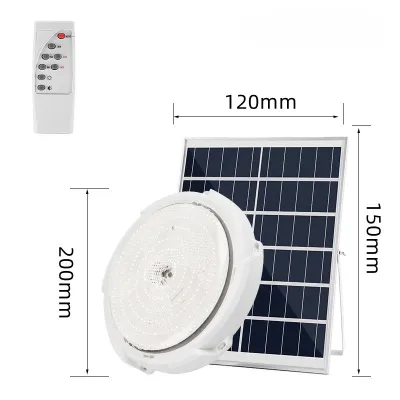
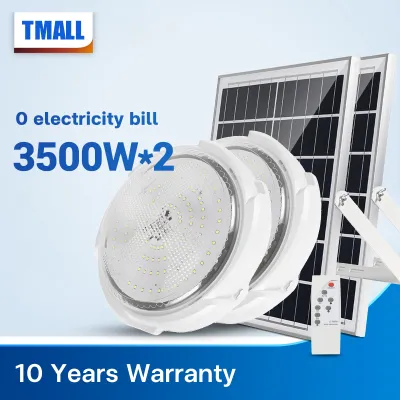
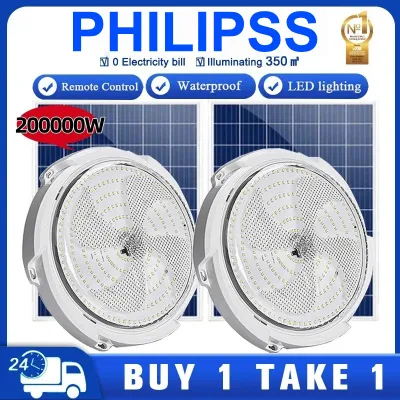
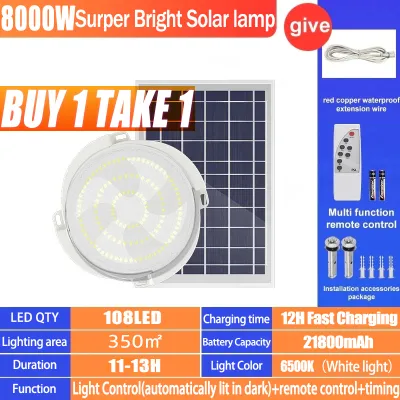
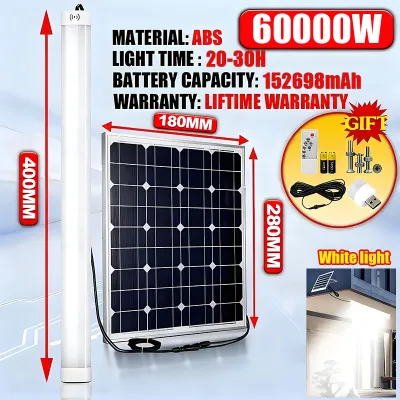
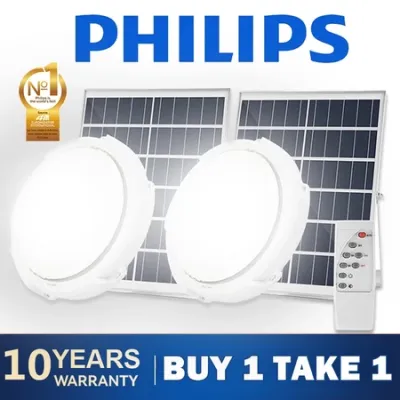
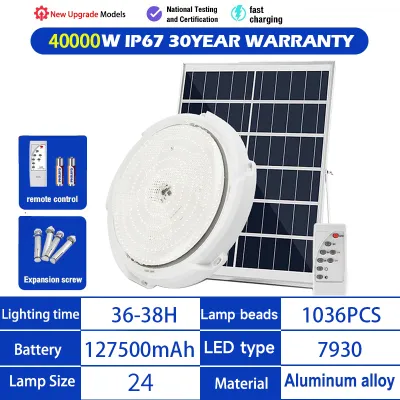
Prices are valid at publication and may change. Please refer to the product page for the latest price.
Next, analyze the solar potential of your balcony. Because condo balconies are semi-enclosed, recessed spaces covered by the unit directly above, they rarely receive vertical sunlight. If your balcony faces north or is shaded by adjacent high-rise towers, it may only receive indirect ambient light. You must determine whether an integrated solar panel (where the panel is built directly onto the top of the light fixture) can function, or if you require a split-panel design. For almost all covered condo balconies, an integrated panel is impractical because the ceiling remains permanently in the shade. A split-panel system, which connects the indoor ceiling fixture to an external solar panel via a thin cable, allows you to place the charging unit on your outer railing where it can capture direct sunlight.
Finally, consult your condominium’s Property Management Office (PMO) guidelines before making any purchases. Most condo corporations enforce strict rules regarding exterior modifications to maintain building aesthetics and structural integrity. You must verify if drilling into the exterior concrete ceiling or balcony walls is permitted, as some buildings prohibit drilling into structural columns or tension slabs. Additionally, check if there are guidelines regarding the visibility of solar panels from the street or requirements for uniform exterior lighting colors. Securing these clarifications beforehand prevents costly compliance disputes later.
Key Dimensions and Mounting Profiles for Low Ceilings
When vertical space is at a premium, the physical profile of your light fixture is the most critical factor. Traditional outdoor dome lights or utility lanterns often protrude 15 to 25 centimeters from the ceiling, which can make a low ceiling feel visually oppressive. For these spaces, focus on ultra-slim flush mount profiles. Modern LED technology allows manufacturers to produce high-output fixtures with a thickness of only 2 to 5 centimeters. These flat, disc-like designs sit almost flush against the concrete ceiling, preserving your vertical clearance and creating a clean, modern aesthetic that makes the balcony feel more spacious.

To choose the correct diameter for your solar ceiling light outdoor waterproof fixture, you must match the light’s physical scale to your balcony’s floor area. A fixture that is too small will look disproportionate and fail to distribute light evenly, while a fixture that is too large will overwhelm the ceiling. Use the following general sizing framework for your selection:
- Small Balconies (Under 3 square meters): Look for compact fixtures with a diameter between 15 and 20 centimeters. These provide sufficient illumination for a small seating area or utility corner without dominating the ceiling.
- Medium Balconies (3 to 6 square meters): Select a fixture with a diameter between 20 and 30 centimeters. This size offers a wider light distribution angle to illuminate the entire floor area evenly.
- Large Balconies (Over 6 square meters): Opt for a fixture diameter of 30 to 40 centimeters, or consider installing two smaller, symmetrically spaced slim fixtures to prevent dark corners.
It is also essential to compare the spatial footprints of integrated versus split-panel solar ceiling lights. Integrated units are thicker because they must house the LED array, the battery, and the solar panel within a single chassis. This design is only suitable if your balcony ceiling receives direct sunlight, which is rare. Split-panel designs separate these components, allowing the ceiling fixture to remain incredibly thin and lightweight. The separate solar panel is typically mounted on the balcony railing using simple brackets or zip ties, keeping the heavy charging components outside while the sleek, low-profile light sits safely on your ceiling.
Weatherproofing and Safety Specifications for Balcony Use
Because your balcony is exposed to the elements, standard indoor ceiling lights are highly unsafe to use. You must verify the Ingress Protection (IP) rating of any fixture you consider. The IP rating consists of two digits: the first measures protection against solid particles like dust, and the second measures protection against liquids. For a covered but open-air condo balcony in the Philippines, wind-driven rain during typhoons can easily spray water horizontally across the ceiling. Therefore, look for a minimum rating of IP54, which protects against dust splashes. For ultimate peace of mind and longevity, an IP65 or IP66 rated fixture is highly recommended, as these are completely dust-tight and can withstand direct water jets from any angle.
Material composition is another vital factor in tropical, high-humidity environments. Cheap plastics will rapidly degrade, turn yellow, and crack under constant exposure to UV radiation and ambient heat. Similarly, untreated ferrous metals will quickly rust when exposed to salty sea air in coastal cities or high humidity levels. Prioritize fixtures constructed from UV-stabilized polycarbonate or high-grade ABS plastic for the diffuser and housing. If the fixture uses metal components, ensure they are made of powder-coated, rust-resistant aluminum or marine-grade stainless steel to prevent unsightly rust stains from dripping down your balcony ceiling.
Safety also extends to the physical installation and weight of the fixture. Solar ceiling lights contain internal lithium-ion or lithium iron phosphate (LiFePO4) battery packs, making them heavier than standard wired LED fixtures. You must verify that your mounting hardware is rated to support this weight on a concrete ceiling. Never rely on double-sided mounting tape, liquid nails, or light-duty plastic anchors. Always use high-quality masonry expansion shields or concrete screws. If you are drilling into concrete, ensure you isolate the power to any nearby electrical conduits in the ceiling to avoid accidental shocks. If you are uncomfortable working at heights or drilling into cured concrete, always hire a qualified professional installer to complete the mounting securely.
Common Sizing and Placement Mistakes to Avoid
One of the most frequent errors condo owners make is purchasing a fixture based solely on its online photos without checking the physical depth specification. A light that appears slim in a product listing may actually protrude 10 centimeters or more once mounted with its bracket. In a low-ceiling balcony, this mistake immediately reduces headroom, creating a claustrophobic atmosphere and increasing the risk of the fixture being struck by open balcony doors, high-backed chairs, or laundry drying racks.
Another common mistake involves the poor placement of the solar panel in split-panel systems. To save effort during installation, some users mount the solar panel on the balcony wall directly adjacent to the light, or underneath the deep roof overhang. In these shaded positions, the panel cannot receive the direct sunlight required to charge the internal battery. This results in dim lighting, short runtimes, or a complete failure to turn on at night. To avoid this, run the connecting cable all the way to the outermost edge of your balcony railing, angling the panel toward the open sky where it can receive unobstructed daylight for at least four to six hours daily.
Finally, avoid using improper mounting methods to bypass drilling restrictions. Some tenants attempt to hang heavy solar fixtures using adhesive hooks or silicone sealants to avoid losing their security deposit. Due to the intense heat and humidity characteristic of the Philippine climate, these adhesives will inevitably degrade over time. When the adhesive fails, the heavy fixture will fall, potentially causing severe injury, shattering the balcony floor tiles, or destroying the light itself. If your condo PMO strictly prohibits drilling into the ceiling, look for lightweight, ultra-slim wall-mounted solar sconces that can be safely secured to non-structural partitions, or consult a professional to find an approved mechanical clamping solution.
Frequently Asked Questions (FAQ)
Can I install a solar ceiling light on a concrete condo balcony ceiling?
Yes, you can install a solar ceiling light on a concrete ceiling, but it requires specific tools and hardware. Because these fixtures do not require connection to your building’s electrical grid, you do not need to run complex wiring through the concrete. However, securing the mounting bracket to solid concrete requires an impact drill or a rotary hammer equipped with a masonry drill bit, along with proper plastic wall plugs (commonly known as tox plugs) and steel screws. Before you begin drilling, always consult your condo’s PMO to ensure you are not drilling into post-tension cables, structural beams, or embedded utility conduits.
Do waterproof solar ceiling lights work during the rainy season?
Yes, waterproof solar ceiling lights will continue to function during the rainy season, but their performance and runtime will be affected. While the waterproof rating (such as IP65) protects the internal electronics and battery from water damage during heavy downpours, the solar panel relies on sunlight to charge. On heavily overcast or rainy days, the panel receives significantly less solar radiation, meaning the battery may not fully charge. To mitigate this, look for fixtures equipped with high-capacity LiFePO4 batteries, adjustable brightness settings that allow you to dim the light to conserve power, or models that offer an auxiliary USB charging port so you can manually charge the light indoors during consecutive days of stormy weather.
Community discussion
Share your experience or ask a question. Comments are reviewed before publication.