
A small room can feel instantly more open and brighter with the right design choices. Creating a custom mirror wall arrangement is an exceptionally effective way to introduce visual depth, capture natural light, and make a compact living area feel significantly more spacious. By undertaking a thoughtful mirror diy project, you can transform a plain, flat wall into a dynamic focal point that tricks the eye into seeing an expanded room.
However, achieving this optical illusion requires more than simply hanging a few reflective surfaces at random. It demands careful spatial planning, the correct hardware selection for your specific wall type, and a secure installation process to ensure long-term safety. By following a structured approach, you can create a beautiful, secure arrangement that enhances your home’s interior design.
Plan Your Mirror DIY Layout to Maximize Depth and Light
To successfully expand a room’s perceived boundaries, you must first understand how mirrors interact with light and space. Mirrors act as secondary windows, reflecting both natural light and the room’s physical dimensions. By placing mirrors where they can reflect the longest sightlines of your room—such as a diagonal view across a living area—you create a perceived sense of depth. Note that these spatial effects are conditional preferences and visual illusions rather than physical changes to the room’s actual dimensions, and their success depends heavily on your room’s existing layout.
Products mentioned in this guide
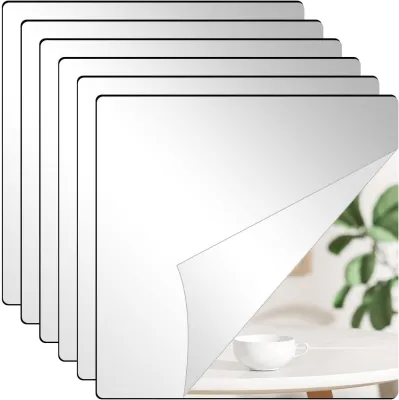
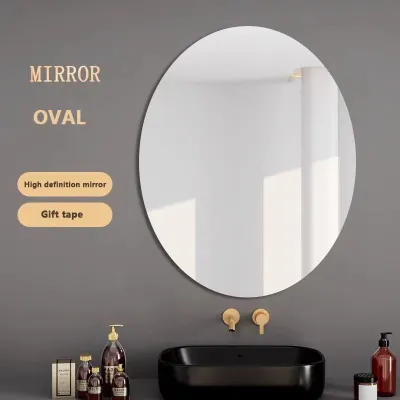
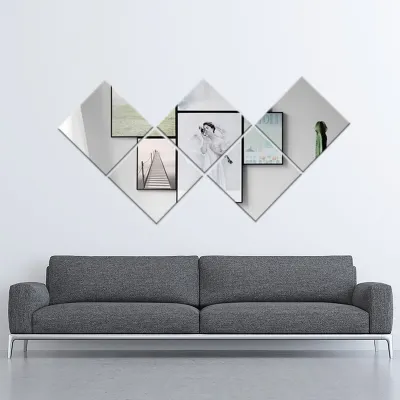
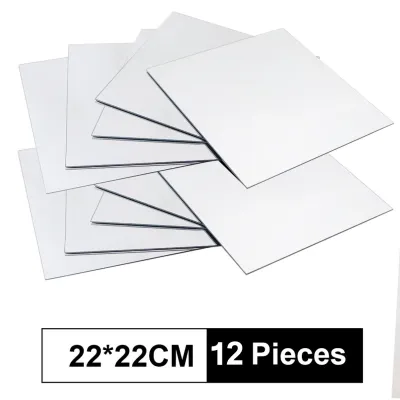

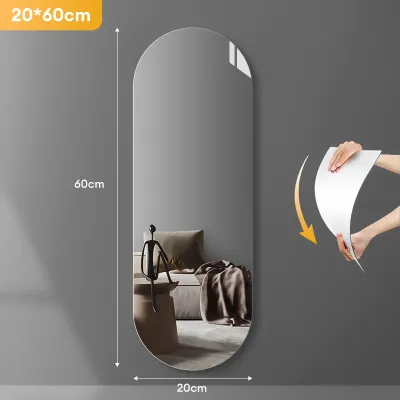
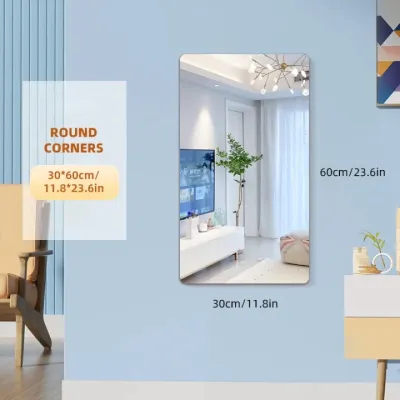
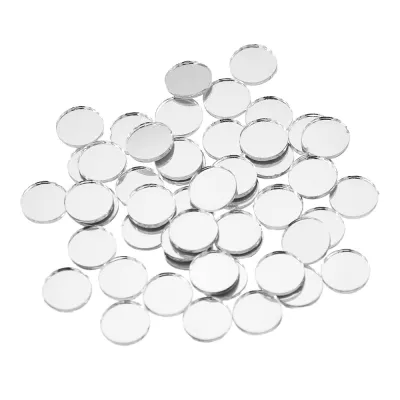
Prices are valid at publication and may change. Please refer to the product page for the latest price.
When planning your layout, consider how different configurations alter the room’s atmosphere:
- Symmetrical Grids: Utilizing identical square or rectangular mirrors in a precise grid pattern (such as a 3×3 or 2×4 layout) creates a clean, architectural look reminiscent of a multi-pane window. This structured approach is highly effective in formal dining areas or neat, modern living rooms.
- Asymmetrical Gallery Walls: Mixing different shapes—such as round, oval, hexagonal, and rectangular mirrors—with varying frame styles offers a more relaxed, eclectic aesthetic. This works well in creative spaces, hallways, or entryways, allowing you to gradually add to the collection over time.
- Leaning Oversized Mirrors with Smaller Accents: Placing a tall, heavy mirror safely on the floor (while securing it firmly to the wall) and flanking it with smaller, wall-mounted mirrors creates a layered, sophisticated depth that draws the eye upward.
To prevent visual clutter in a tight space, prioritize frameless mirrors or those with very thin, minimalist metal or wooden frames. Thick, ornate frames can add excessive visual weight, which can make a small room feel crowded rather than open.
Before making any holes in your wall, measure your wall space precisely. Use painter’s tape or cut out brown paper templates matching the exact dimensions of each mirror. Tape these templates to the wall in your desired arrangement. This step allows you to step back, evaluate the visual balance, adjust the spacing, and ensure the layout flows naturally with your furniture without risking damage to your walls.
Gather the Right Tools and Hardware
Executing a safe and precise installation requires collecting the correct tools and hardware based on your wall’s construction. In the Philippines, residential walls are commonly made of concrete, hollow concrete blocks, or drywall over metal or wood studs. Using the wrong hardware can lead to structural failure, so matching your fasteners to your wall type is critical.

Before beginning, gather these essential measuring and marking tools:
- Measuring tape: Necessary for calculating exact distances and maintaining uniform gaps between multiple mirrors.
- Spirit level: Crucial for ensuring every mirror hangs perfectly straight, as a crooked mirror instantly breaks the illusion of a polished, professionally designed space.
- Pencil: For marking drill points on your paper templates or directly on the wall.
- Stud finder: Essential for locating wooden or metal studs if you are mounting heavy mirrors onto drywall.
Next, ensure you have the proper installation tools:
- Power drill: Required for boring clean holes into concrete or drywall.
- Appropriate drill bits: Use masonry drill bits for concrete or brick walls, and standard wood or twist bits for drywall and studs.
- Screwdrivers: Handheld or power screwdrivers to secure the mounting hardware.
Your hardware selection must be dictated by your wall material. For drywall or hollow walls, use heavy-duty toggle bolts or threaded drywall anchors, as standard plastic expansion plugs often pull out under heavy loads. For solid concrete or brick walls, rely on high-quality plastic expansion anchors or sleeve anchors paired with matching screws.
For the mirrors themselves, utilize heavy-duty hanging hardware such as D-rings or French cleat systems pre-installed on the back of the frames. French cleats are particularly excellent for distributing the weight of heavy, wide mirrors evenly across the wall. Only gather adhesive strips or mounting tape for very lightweight, small decorative mirrors (typically under 2 kilograms). Always verify the manufacturer’s weight limits on the adhesive packaging, and ensure the wall surface is clean and completely dry before application.
Step-by-Step Guide to Hanging Your Mirrors Securely
Hanging heavy decorative items requires strict adherence to safety protocols to prevent personal injury or property damage. Because mirrors represent suspended loads, always prioritize structural stability over convenience. Always check the mirror manufacturer’s instructions and the hardware’s load-rating labels before proceeding.
Step 1: Wall Preparation and Stud Finding
Begin by identifying your wall material. Tap the wall gently; a hollow sound typically indicates drywall, while a solid, dull thud indicates concrete or masonry. If working on drywall, use a stud finder to locate the studs. Whenever possible, plan to mount at least one screw of a heavy mirror directly into a stud. For concrete walls, inspect the surface to ensure it is free of crumbling plaster, dampness, or structural cracks that could compromise anchor holding power.
Step 2: Marking and Drilling
With your paper templates still taped to the wall, mark the exact location of the hanging hardware on each template. Remember that the hanging point (such as a D-ring or wire) is often lower than the top edge of the mirror frame; measure this offset carefully on the back of each mirror and transfer it to your wall marks. Use a spirit level to draw a straight horizontal line across your mark points. Hold the drill perpendicular to the wall and bore the holes to the depth specified by your anchor manufacturer.
Step 3: Securing the Hardware
Insert your chosen anchors into the drilled holes. For concrete walls, tap the plastic expansion plugs gently with a hammer until they are completely flush with the wall surface. For drywall toggle bolts, insert the bolt through the bracket or hook first, compress the metal wings, push it through the hole until the wings spring open behind the drywall, and then tighten the bolt securely. Screw the hooks or mounting brackets into the anchors, ensuring they do not wobble or slide.
Step 4: Hanging and Adjusting
Carefully lift each mirror and place its hanging hardware onto the wall hooks. For larger, heavier mirrors, always work with a partner to avoid drops or muscle strain. Once hung, place your spirit level on top of the mirror frame to check for straightness. Make micro-adjustments by slightly shifting the position of the mirror on the hook or adjusting the leveling screws if your hardware allows.
Stop Condition / Warning: Safety must be your absolute priority. If you encounter crumbling wall material during drilling, if the mirror’s weight exceeds the rated capacity of your selected hardware, or if you feel unsure about the load-bearing capacity of your wall, you must stop immediately. Do not attempt to force the installation. Consult a qualified professional or a professional handyman to complete the mounting securely.
Style the Arrangement to Enhance the Illusion of Space
Once your mirrors are securely mounted, you can optimize their visual impact through strategic styling and environmental design.
To maximize the reflection of natural light, position your mirror wall directly opposite or adjacent to a window. In tropical climates like the Philippines, where bright sunlight is abundant, this placement helps bounce natural light deep into darker corners of the room, instantly making the space feel more open and airy.
Be highly intentional about what your mirrors reflect. Angle or place them so they capture attractive views, such as a beautifully styled bookshelf, a piece of statement artwork, or a glimpse of outdoor greenery. Avoid placing a large mirror arrangement directly opposite a cluttered storage shelf, a laundry area, or a blank, unadorned wall, as this will only double the visual clutter or emphasize the room’s emptiness.
To maintain the spacious illusion during evening hours, pair your mirror DIY arrangement with strategic lighting fixtures. Wall sconces, picture lights, or LED strip lights installed behind or adjacent to the mirrors can create a beautiful glow. When installing fixed-wiring lighting fixtures, safety is paramount. Always verify the fixture’s voltage compatibility (the standard residential voltage in the Philippines is 220V at 60Hz), base/interface type, wattage limits, and electrical certifications (such as the Philippine Standard or Import Commodity Clearance marks). For any fixed wiring work, isolate the power at the main circuit breaker before starting, follow the manufacturer’s installation instructions carefully, and hire a qualified professional electrician to handle the electrical connections.
Finally, keep in mind that mirrors act as visual duplicators. If the area directly in front of your mirror wall is crowded with heavy furniture, decorative knick-knacks, or loose items, the mirrors will make the room feel twice as chaotic. Keep the furniture in front of the mirror arrangement low-profile, clean-lined, and minimalist to preserve the clean, expansive feel.
Ensure Long-Term Safety and Mirror Care
A successful DIY mirror wall requires ongoing maintenance to preserve both its structural integrity and its aesthetic clarity over time.
Periodically inspect the hanging hardware and the wall surrounding your mirrors for any signs of stress, shifting, or loosening. In humid tropical environments, high moisture levels can cause untreated metal hardware to rust or degrade the adhesive backing on lightweight mirror tiles. Check the stability of your mirrors at least once a year, ensuring the anchors remain firmly seated in the wall.
Avoid the temptation to hang medium-to-heavy mirrors using adhesive hooks or strips, even if they claim to hold high weight capacities. Over time, humidity and temperature fluctuations can weaken adhesive bonds, leading to sudden and dangerous failures. Always rely on mechanical fasteners (screws and wall anchors) for any mirror that poses a risk of injury if dropped.
To keep your mirrors sparkling and reflecting light efficiently, clean them regularly. Always check the mirror manufacturer’s care instructions first to avoid damaging specialized glass coatings or delicate frame materials. Use a gentle, non-ammonia glass cleaner sprayed directly onto a soft microfiber cloth rather than onto the mirror itself. Spraying liquid directly onto the mirror can allow moisture to pool at the bottom edges, which can seep behind the glass and damage the silver reflective backing, causing unsightly black spots over time.
Frequently Asked Questions (FAQ)
Can I use adhesive strips to hang heavy mirrors?
No, you should not use adhesive strips to hang heavy mirrors. Adhesive products have strict weight limits and are highly susceptible to environmental factors like humidity, temperature shifts, and wall texture. Over time, the adhesive bond can degrade without warning, leading to the mirror falling, breaking, and potentially causing injury or property damage. Mechanical anchors, such as screws paired with appropriate wall plugs, are absolutely required for any medium-to-heavy mirror to guarantee a secure, permanent hold.
What is the best height to hang a mirror wall arrangement?
The standard design rule is to position the center of your mirror wall arrangement at eye level, which is typically between 57 and 60 inches (approximately 145 to 152 centimeters) from the floor. If you are arranging multiple mirrors above a piece of furniture, such as a console table or a sofa, aim to leave a gap of 6 to 8 inches (15 to 20 centimeters) between the bottom of the lowest mirror frame and the top of the furniture piece. This keeps the arrangement visually connected to your decor while preventing accidental bumps.

Community discussion
Share your experience or ask a question. Comments are reviewed before publication.