
Quick Evaluation: Does It Fit Your WFH Needs?
A monitor light bar is a highly effective tool for modern work-from-home (WFH) and study environments, especially when desk space is at a premium. By mounting directly to the top of your screen, the Quntis monitor light bar aims to illuminate your physical workspace without casting glare on the display. This form factor is particularly beneficial for those who spend long hours reading physical documents alongside digital screens.
However, its suitability depends heavily on your specific monitor design, desk depth, and power setup. Before purchasing, you must verify your monitor’s physical dimensions and power output to ensure a safe, stable fit. This guide outlines the essential lighting standards and compatibility checks to help you decide if this lighting solution fits your daily routine.
Lighting Standards for Long WFH and Study Sessions
Working or studying for long hours under poor lighting can lead to eye strain, fatigue, and headaches. Traditional desk lamps often cast light directly onto the screen, causing distracting reflections and glare. To combat this, modern task lighting relies on asymmetric light distribution. This design directs light downward at an angle, illuminating your keyboard and documents while keeping the screen itself in a glare-free zone.
Products mentioned in this guide
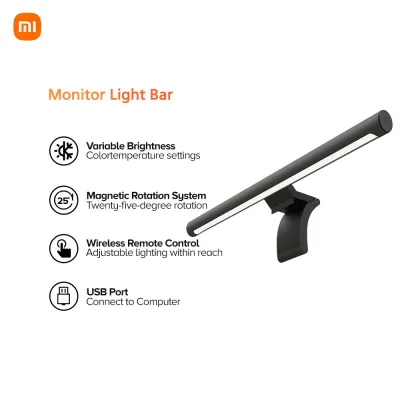
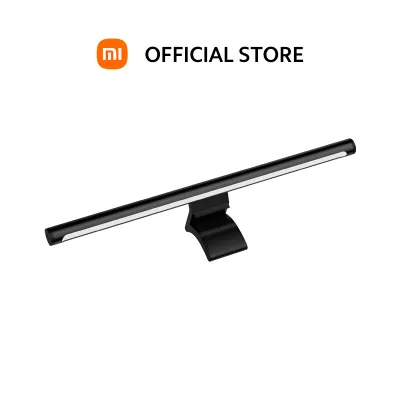
![Xiaomi Monitor Computer Light Bar USB Type-C port LED Screen Hanging Lamp [Six Months Warranty]](https://img.lazcdn.com/g/p/b77feba3468080e3f312e98806da8d12.png_400x400q80.png_.webp)
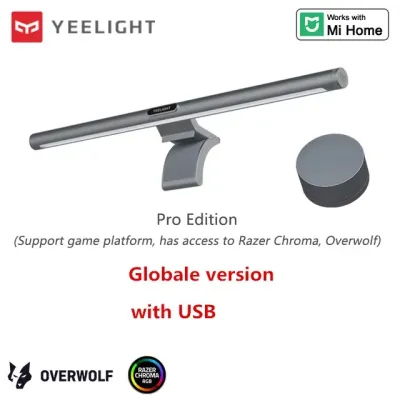
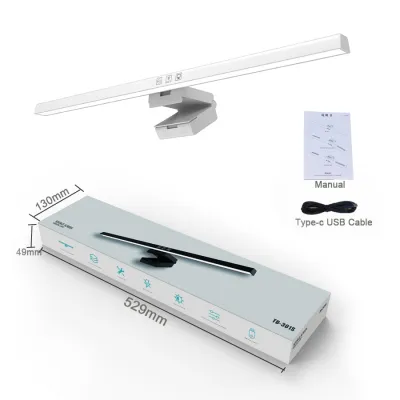
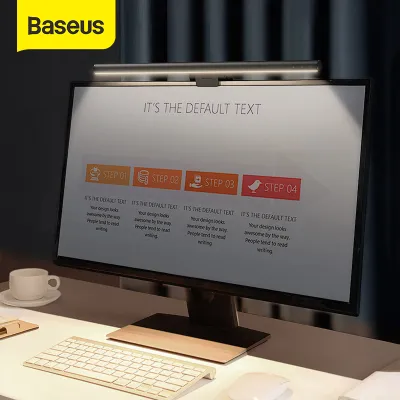
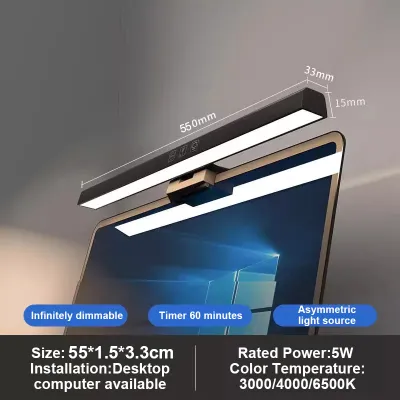
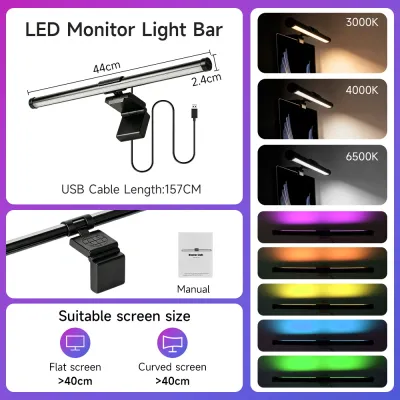
Prices are valid at publication and may change. Please refer to the product page for the latest price.

Desk illuminance is another critical factor. When reading physical textbooks, taking notes, or reviewing printed documents, your desk surface requires sufficient brightness to prevent squinting. A well-designed light bar should provide focused illumination across your primary working area, bridging the gap between high-contrast digital screens and physical paper.
In many homes in the Philippines, study desks are often tucked into corners of bedrooms or shared living spaces where overhead lighting is either too dim or positioned behind the user, casting a shadow over the desk. Relying solely on a bright monitor screen in a dark room creates a high-contrast environment that forces your eyes to constantly adjust, accelerating fatigue. Introducing a dedicated task light balances the ambient brightness of your immediate surroundings, making long study sessions much more comfortable.
Color temperature adjustment plays a vital role in managing your daily rhythm. Cooler, blue-toned light is widely preferred for daytime focus and high-intensity study sessions. Conversely, warmer, amber-toned light helps create a relaxing atmosphere in the evening, minimizing harsh blue light exposure before sleep. Because color temperature preferences are highly subjective, having a light bar with adjustable settings allows you to customize your environment based on the time of day and your personal comfort.
Checking the Quntis Light Bar Against Task Lighting Standards
When evaluating the Quntis monitor light bar, you should not rely solely on marketing claims. Instead, inspect the product packaging, user manual, and technical specifications to verify its performance. Look closely at the rated illuminance, measured in lux, at a specific height to ensure it provides adequate brightness for your desk. Additionally, check the Color Rendering Index (CRI) rating. A higher CRI, ideally Ra 80 or above, ensures that colors on your desk appear natural and accurate under artificial light.
Control mechanisms are equally important for daily usability. Check whether the model you are considering features physical buttons, touch-sensitive panels on the bar itself, or a wireless desktop dial. Touch controls on the bar require a gentle tap, which minimizes the risk of shifting the lamp out of alignment. A wireless dial offers the convenience of adjusting brightness and color temperature without reaching up to the screen, though you must verify its battery requirements and wireless range.
When unboxing your light bar, check for safety certification marks on the product label or packaging, such as CE, FCC, or RoHS compliance. These markings indicate that the device has undergone standard testing for electromagnetic interference and electrical safety. In tropical climates where high humidity is common, ensuring that the electronic housing is well-sealed and made of heat-dissipating materials like aluminum alloy can prolong the lifespan of the internal LEDs.
Power delivery is a critical compatibility checkpoint. Most monitor light bars operate on a standard 5V USB power supply. You must confirm whether the package includes a USB-A or USB-C cable and check if its length is sufficient to reach your power source. In areas where voltage fluctuations can affect electronic performance, powering the light bar through a certified, independent wall adapter is often more reliable than plugging it into a crowded USB hub or an older laptop port. This prevents screen flickering and ensures the light bar receives a stable, continuous current.
Monitor Compatibility and Desk Space Checks
Before installing any monitor-mounted accessory, you must perform a thorough physical compatibility check. Measure your monitor’s bezel thickness and compare it with the manufacturer’s stated clamp grip range. If the clamp is too tight, it can apply excessive pressure to the screen panel, potentially damaging the liquid crystal display (LCD) or causing backlight bleeding. Conversely, if the bezel is ultra-thin or borderless, the front lip of the mounting clip might block a small portion of your screen or put pressure directly on the glass.
Consider the physical layout of your entire setup. If you use a top-mounted webcam, external desktop speakers, or a raised laptop stand, check if the light bar’s mounting bracket will obstruct these devices. The weight of the light bar is also a factor; heavy curved screens or lightweight monitor arms might sag or tilt forward under the added front-heavy load.
Desk depth also influences how you perceive the light distribution. If your desk is shallow (less than 60 centimeters deep), a light bar with a wide beam angle might cast light directly onto your lap or keyboard tray at an uncomfortable angle. Adjusting the tilt of the light bar is crucial; you should position the housing so that the cutoff line of the light beam falls exactly at the front edge of your desk, keeping the light source completely out of your direct line of sight.
Always prioritize safety during installation. If you have a glass-front monitor, an extremely thin OLED display, or a highly delicate curved screen, stop the installation immediately if you feel resistance or notice the screen flexing. In these cases, consult the monitor manufacturer or a qualified professional to avoid voiding your warranty or causing permanent hardware damage.
Frequently Asked Questions (FAQ)
Will a monitor light bar interfere with my webcam or video calls?
It can, depending on how you mount it. Before purchasing, measure the vertical space above your monitor’s top bezel. Many webcams feature clips that sit directly on top of the screen, which is the exact spot where the light bar’s mounting bracket needs to rest. To avoid interference, check if the light bar’s rear housing depth allows a webcam to sit securely on top of the lamp bracket, or consider using a separate webcam tripod or arm to position your camera offset from the light bar.
Can I use this light bar on a curved or ultra-wide monitor?
Standard straight light bars can be challenging to mount on curved screens. You must check the manufacturer’s compatibility documentation to see if the clamp design supports specific curvature ratings. When a straight bar is mounted on a curved screen, you may observe edge light spill, where the light shines directly onto the corners of the screen rather than past them, causing glare. For ultra-wide setups, perform a test fit to ensure the light distribution covers your entire working area without creating dark spots at the far edges of your desk.

Community discussion
Share your experience or ask a question. Comments are reviewed before publication.