
Wrapping outdoor trees with glowing lights transforms a dark garden into an inviting, magical space. However, guessing the length of string lights you need often leads to frustrating mid-installation shortages or a tangled pile of unused cords. To achieve a balanced, professional look, you must calculate the required meterage based on the tree’s physical dimensions, your preferred wrapping density, and the distance to your power source.
In tropical climates like the Philippines, where sudden downpours and high humidity are common, planning your layout beforehand is not just about aesthetics. It also ensures you purchase the correct type of heavy-duty, weather-resistant lighting. By taking a few simple measurements and applying a straightforward calculation framework, you can determine the exact length of string lights needed to illuminate your outdoor trees safely and beautifully.
Measure Your Tree's Dimensions for Accurate Light Calculation
Before purchasing any outdoor lighting, you must gather accurate measurements of the tree you plan to wrap. Estimating by eye is notoriously unreliable because the texture of bark, the flare of the roots, and the natural taper of the trunk can significantly alter the actual surface area. Gathering precise dimensions ensures you buy enough strands to complete the project in one go.
Products mentioned in this guide
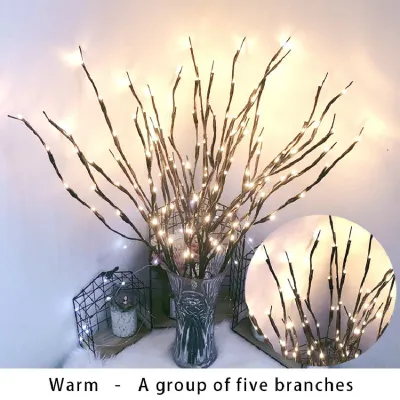
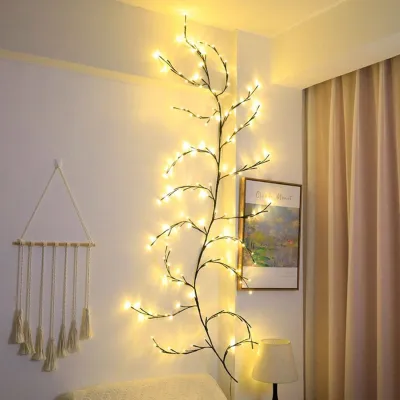
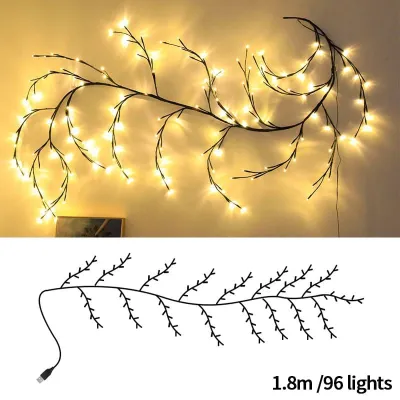
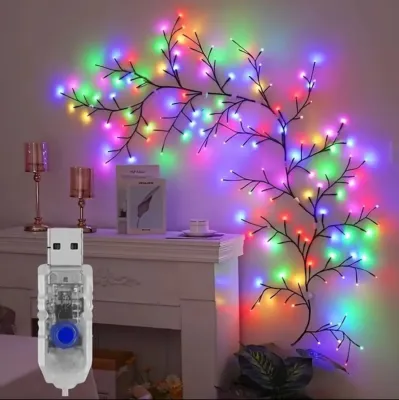
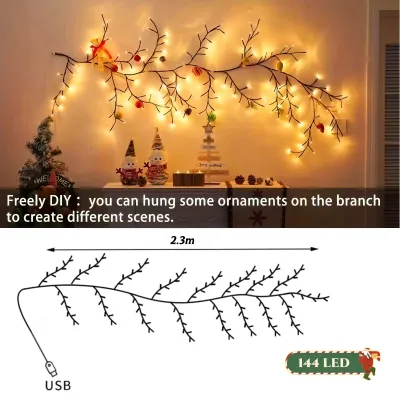
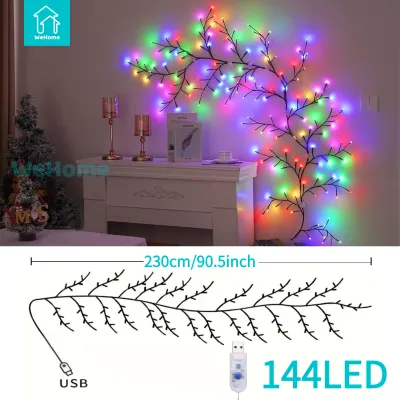
Prices are valid at publication and may change. Please refer to the product page for the latest price.
To start, you will need a few basic tools. A soft, flexible sewing tape measure is ideal for wrapping around trunks and branches. If you do not have one, a long piece of non-stretch string, rope, or even a garden hose can serve as a substitute. Wrap the string around the trunk, mark the meeting point, and then lay the string flat against a standard metal tape measure to find the circumference.
When measuring, distinguish between the total height of the tree and the usable trunk height. The usable trunk height is the distance from the ground—or just above the root flare—to the point where the main branches begin to split. If you only plan to wrap the trunk, this is the only height measurement you need. If you intend to wrap the primary branches as well, measure the length of each branch you plan to cover and add these figures to your total.
Safety must be your top priority during this initial phase. Never attempt to measure high, hard-to-reach branches using unstable ladders, especially on soft, uneven garden soil or wet grass. If a tree is exceptionally tall, limit your lighting design to the trunk and the lowest, easily reachable branches. For heights beyond your safe reach, you can estimate the height using a standard telescopic pole or simply focus your display on the lower third of the tree for a grounded, elegant look.
Determine Your Preferred Wrapping Style and Density
The style and density of your wrap dictate how many times the light strand must circle the tree, which directly impacts the total length of lights required. Different wrapping styles create distinct visual effects, ranging from a bright, solid pillar of light to a soft, organic glow. Deciding on your style beforehand prevents you from running out of lights halfway up the trunk.

A tight spiral around the trunk is the most common method. This style involves wrapping the lights closely and evenly from the base to the branches, creating a highly structured and vibrant display. Alternatively, a loose drape or a zigzag pattern requires significantly less length, as the lights simply sway across the trunk or canopy rather than wrapping tightly around it. If you want a more dramatic architectural look, you can extend the tight spiral from the trunk onto the lower main branches, which outlines the natural shape of the tree.
The vertical spacing between each wrap—often referred to as the pitch—is the most critical factor in your calculation. For a dense, high-intensity glow, aim for a spacing of 10 centimeters between each spiral. If you prefer a more subtle, starry effect that blends into the night, a wider spacing of 20 to 30 centimeters is more appropriate. Keep in mind that rough, deeply grooved bark may naturally catch the wires, requiring slightly more slack than smooth-barked trees.
Your choice of bulb size also influences the ideal spacing. Small micro LED fairy lights look best when wrapped tightly, as their low individual light output benefits from close grouping. Conversely, larger bulbs, such as G40 or S14 festoon lights, require wider spacing. Placing large bulbs too close together can create an overwhelming glare, generate unnecessary heat, and make the tree look cluttered rather than beautifully illuminated.
Calculate the Total Length and Plan for Power Connections
Once you have your measurements and spacing preferences, you can use a simple mathematical formula to calculate the base wrapping length. This formula converts your vertical height and horizontal circumference into a continuous spiral length. By calculating this systematically, you avoid the trial-and-error process that often leads to damaged wires.
To find the total length of lights needed for the trunk, use the following calculation steps:
- Divide the usable trunk height by your desired vertical spacing to find the total number of wraps. For example, a trunk height of 200 centimeters divided by a spacing of 10 centimeters yields 20 wraps.
- Multiply the number of wraps by the average trunk circumference. If your trunk has a circumference of 80 centimeters, multiplying 20 wraps by 80 centimeters results in 1,600 centimeters, or 16 meters of lights.
- If you are wrapping branches, repeat this calculation for each branch using its individual length and average circumference, then add those totals to your trunk calculation.
Always add a buffer to your final calculation. It is highly recommended to add an extra 10% to 15% to your total length to account for natural irregularities in the tree, wrapping around knots, and securing the ends. Furthermore, you must measure the distance from the base of the tree to your nearest outdoor power outlet. This distance represents the required length of the lead-in wire, which should not contain active lightbulbs to keep the ground area clear and safe.
Before purchasing, check the manufacturer’s specifications on the product packaging regarding the maximum connectable strands. LED string lights generally allow you to connect multiple sets end-to-end, but exceeding the manufacturer’s limit can overload the built-in controller or thin wiring. Always verify that the combined wattage of your planned strands does not exceed the maximum rating of the starter plug or your outdoor circuit.
Selecting and Installing Waterproof String Lights Safely
Installing electrical fixtures outdoors requires careful attention to safety, especially in tropical environments prone to heavy rain, high humidity, and intense sun exposure. Choosing the wrong equipment or rushing the installation can lead to short circuits, damaged trees, or electrical hazards. Following proper safety protocols ensures your display remains beautiful and safe throughout the year.
First, verify the weatherproofing certification of the string lights. Look for an Ingress Protection (IP) rating of at least IP65, which indicates the lights are protected against water jets and heavy rain from any direction. Ensure the voltage matches the standard 220V electrical system used in the Philippines, and check that the plugs and adapters are rated for outdoor use. Avoid using indoor-rated lights outside, as their insulation will quickly degrade under UV exposure and moisture.
When planning your power route, use heavy-duty, outdoor-rated extension cords and keep all electrical connections elevated off the ground. Water naturally pools on soil and grass during heavy downpours, so resting plugs on the ground poses a severe safety risk. Use plastic cable ties or insulated garden clips to secure the connections to the tree trunk or nearby posts, ensuring they remain high and dry. Never use metal staples or nails to secure the wires, as they can pierce the insulation and damage the tree’s bark.
Finally, recognize the limits of DIY installation. If your design requires fixed outdoor wiring, mounting lights high in a mature canopy, or installing new outdoor receptacles, you should hire a qualified professional electrician. A certified professional can install dedicated outdoor Ground Fault Circuit Interrupter (GFCI) outlets, which automatically shut off power if a current leak is detected, providing essential protection against electrical shocks in wet conditions.
Frequently Asked Questions (FAQ)
Can I connect multiple strands of tree lights together?
Yes, most modern LED string lights are designed to be connected end-to-end, but you must strictly follow the manufacturer’s guidelines. Check the product packaging or the safety label near the plug to find the maximum number of connectable strands or the maximum allowable wattage. Because LEDs consume very little power, you can typically connect more LED strands together than traditional incandescent ones. However, exceeding the specified limit can overheat the wires, damage the light diodes, or blow the integrated fuse in the plug.
How do I protect the plug and connections from heavy rain?
To protect outdoor electrical connections from heavy tropical rains, place all plug-to-cord connections inside a purpose-built, waterproof connection box. These protective plastic enclosures seal around the wires with rubber gaskets to keep moisture out. Additionally, always create a drip loop in the cord just before it enters the connection box or outlet. A drip loop is a simple downward curve in the wire that forces rainwater to flow to the bottom of the curve and drip onto the ground, preventing water from running directly along the cord and into the electrical socket.
Community discussion
Share your experience or ask a question. Comments are reviewed before publication.