
Applying self-adhesive mirror stickers to visually expand a small room requires a strategic combination of reflective placement, meticulous wall preparation, and precise, bubble-free installation. By bouncing natural light and extending sightlines, these lightweight decor pieces can make tight spaces feel double their actual size without the cost or weight of traditional glass mirrors. Unlike heavy glass mirrors that require robust mounting hardware and professional installation, lightweight acrylic or PET stickers offer a highly accessible alternative for renters and homeowners alike.
To achieve a flawless, glass-like finish, you must pay close attention to the surface quality of your walls and the layout of your panels. Because flexible mirror stickers conform to the shape of the surface beneath them, any wall imperfection can distort the reflection, turning a sophisticated design choice into an accidental funhouse mirror. Understanding how to select the right wall, prepare the surface for tropical humidity, and apply each piece systematically ensures a beautiful, space-expanding result that lasts for years.
Strategic Placement to Maximize Space Illusion
The primary goal of using mirror stickers in a compact room is to trick the eye into perceiving more depth and light than actually exists. To achieve this, you must position the stickers where they can capture and redirect natural light. Placing a mirrored surface directly opposite or adjacent to a window allows it to catch incoming daylight and bounce it deep into the darker corners of the room. This simple placement strategy instantly brightens the space, making the entire room feel more open and airy.
Products mentioned in this guide
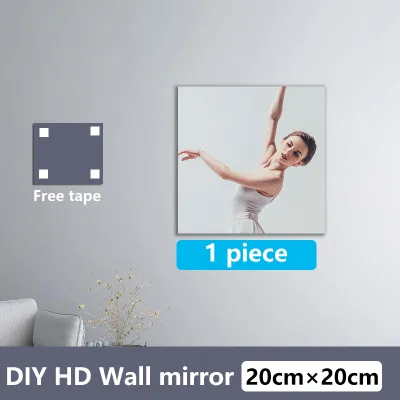
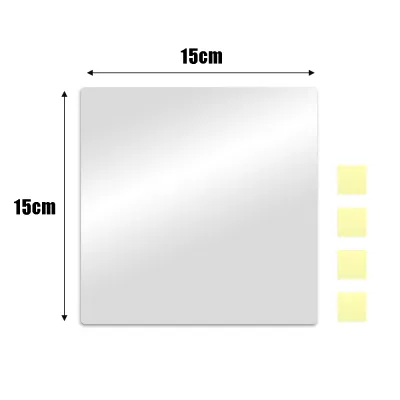
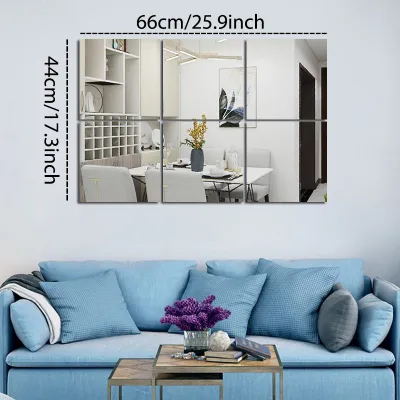

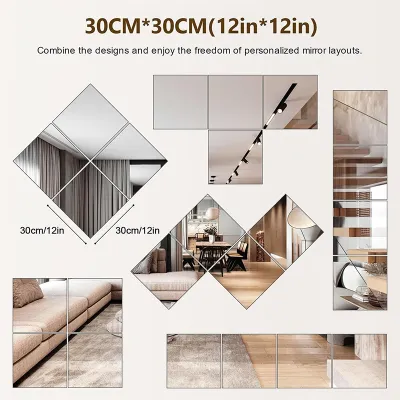
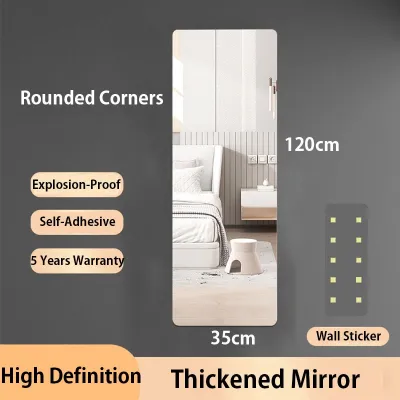
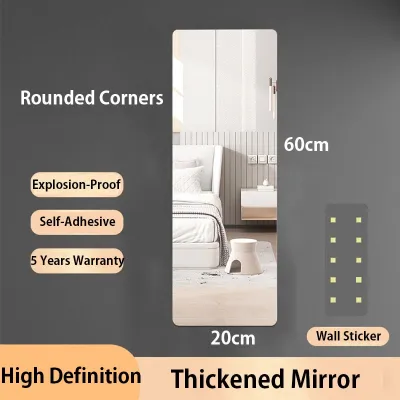
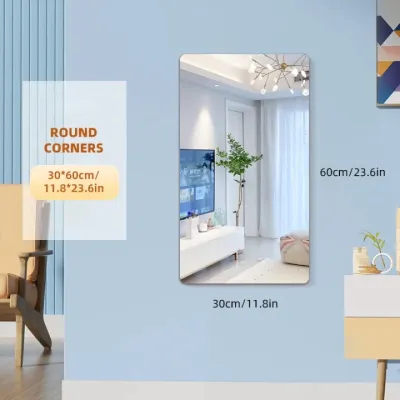
Prices are valid at publication and may change. Please refer to the product page for the latest price.
Equally important is selecting a focal wall that does not reflect visual clutter. If your mirror stickers face a busy open closet, a crowded utility rack, or a highly decorated accent wall, they will simply double the visual noise, making the room feel more cramped rather than larger. Instead, aim to reflect clean, minimalist areas, such as a neat dining setup, a simple indoor plant arrangement, or an open doorway that leads to another room. This creates a clean visual extension of your living space.
Before finalizing your placement, you must evaluate the flatness of the chosen wall. Traditional glass mirrors are rigid enough to mask minor wall curves, but flexible self-adhesive mirror sheets will bend over every tiny bump, plaster wave, or texture. To check for flatness, slide a long, straight level or ruler horizontally and vertically across the wall surface. If you notice gaps or significant unevenness, look for a flatter wall or consider mounting the stickers onto a smooth plywood or MDF backing board first.
Your layout pattern should also complement the dimensions of the room. If you want to make a low ceiling feel higher, arrange the mirror stickers in tall, vertical columns or strips that draw the eye upward. To make a narrow room feel wider, a horizontal grid pattern that mimics a large multi-pane window works exceptionally well. You can also create a staggered brick pattern for a modern, artistic touch, or cover an entire accent wall section to simulate a seamless mirrored partition.
Wall Preparation and Tool Checklist
Proper surface preparation is the single most critical factor in determining whether your mirror stickers will stay securely attached or peel off over time. Self-adhesive backings require a completely smooth, dry, and non-porous surface to form a strong bond. Ideal surfaces include smooth painted drywall, sealed concrete, polished wood, glass, and metal. Avoid applying stickers directly to textured plaster, raw brick, unsealed concrete, or walls with peeling paint, as the adhesive will fail to grip properly.

Cleaning the wall thoroughly is essential to remove invisible barriers like dust, grease, and moisture. Wipe the target area down with a microfiber cloth dampened with a mild isopropyl alcohol solution or a simple mixture of water and a few drops of dish soap. Avoid using heavy chemical cleaners that leave a slick residue behind. In humid tropical environments, moisture can easily become trapped behind the sticker, so you must allow the wall to dry completely for several hours before beginning the application process.
Gathering the correct tools beforehand prevents mid-installation mistakes and keeps the workflow smooth. You will need a reliable measuring tape to map out your layout, a spirit level to ensure perfectly straight lines, and a pencil to mark your guidelines. A soft squeegee or a clean microfiber cloth is necessary for smoothing out air bubbles without scratching the reflective surface. Additionally, keep some low-tack masking tape nearby to help you dry-fit the layout before removing the adhesive backing.
Safety and boundary checks are also vital during the preparation phase. Avoid placing mirror stickers directly over or within a few millimeters of electrical outlets, light switches, or exposed wiring. If your layout requires working near high areas or ceilings, ensure you use a stable step ladder on a flat, non-slip floor. Never stretch or lean precariously to reach high spots; instead, move the ladder frequently to maintain a safe, balanced working position.
Step-by-Step Application Guide
Begin by measuring your wall space and mapping out your exact layout using your pencil and spirit level. Do not rely on your ceiling or floor lines as guides, as they are rarely perfectly level. Instead, draw a highly accurate horizontal baseline and a vertical center line directly on the wall. Use low-tack masking tape to temporarily stick the mirror sheets to the wall with their backings still on. This dry-fit step allows you to step back, verify the alignment, and make any necessary adjustments before making a permanent commitment.
Once you are satisfied with the layout, prepare to apply the first sticker, starting from your central reference line and working outward. Carefully peel back a small portion of the protective paper backing, usually about two to three inches from the top or side edge. Avoid touching the exposed adhesive with your bare fingers, as the natural oils on your skin can significantly weaken the glue’s holding power. Keep the remaining backing paper attached to protect the rest of the adhesive as you position the sheet.
Align the exposed adhesive edge precisely with your pencil guideline on the wall. Press the edge down firmly but gently to secure its position. Slowly peel away the remaining backing paper with one hand while using your other hand to smooth the sticker onto the wall. Always apply the sticker in a single, continuous direction—either from the center outward or from the top down—to prevent large pockets of air from becoming trapped underneath the flexible material.
To ensure a completely flat and secure bond, use a squeegee wrapped in a soft microfiber cloth or a clean, folded rag. Starting from the center of the applied sticker, sweep outward toward the edges using firm, overlapping strokes. This systematic motion pushes any tiny, trapped air bubbles out to the perimeter. Pay extra attention to the corners and outer edges, pressing them down firmly to prevent future lifting or peeling.
Most high-quality mirror stickers come with a thin, protective plastic film on the front reflective surface to prevent scratches during shipping and installation. Leave this protective film on until the entire layout is fully installed and smoothed out. Once all the panels are securely in place, gently peel off the front film from one corner to reveal the clear, highly reflective surface underneath. If your layout requires custom fitting around trim or corners, use a utility knife and a metal straightedge to score and snap acrylic sheets carefully before peeling their backings.
Troubleshooting Common Application Mistakes
Even with careful planning, you may encounter trapped air bubbles during or shortly after installation. If you notice a bubble while applying a sticker, the safest solution is to gently lift the nearest edge immediately and re-smooth the area. However, if the adhesive has already begun to cure, do not force the sticker up, as this can stretch the plastic and permanently distort the reflection. Instead, use a very fine sewing needle to prick a tiny hole in the center of the bubble, then use your squeegee to gently push the trapped air out through the hole.
Peeling edges are another common issue, often caused by poor surface preparation or high indoor humidity. If the edges of your mirror stickers begin to lift within a few days, it usually indicates that dust or moisture was present on the wall during installation. To address this, you can apply a tiny amount of clear, wall-safe adhesive or double-sided mounting tape directly under the lifting edge, then press and hold it firmly against the wall for a few minutes until it bonds.
It is important to understand the physical limits of self-adhesive backings. Most of these products use pressure-sensitive adhesives designed for a single, permanent application. Attempting to peel off and reposition a sticker multiple times will stretch the material, ruin the flat reflective surface, and degrade the adhesive grip. If a panel is severely misaligned, it is usually better to replace that single piece with a fresh sticker rather than trying to salvage and re-apply a stretched, warped sheet.
If you observe that your wall paint is peeling off along with the sticker, or if the adhesive fails to stick to the wall surface entirely, stop the installation immediately. This is a clear sign that the underlying paint layer is chalky, damp, or poorly bonded to the wall plaster. In such cases, continuing the installation will only result in wasted materials. Consult the manufacturer’s guidelines to check for alternative mounting methods, or consider applying the stickers to a separate, lightweight backing board that can be hung using standard picture-hanging hardware.
Long-Term Maintenance and Safe Cleaning
To preserve the clear, glass-like reflection of your mirror stickers, you must use the correct cleaning agents and techniques. Acrylic and PET mirror surfaces are much softer than traditional glass and can scratch easily if treated with abrasive cleaners. Never use harsh chemical solvents, ammonia-based glass cleaners, or abrasive scrubbing powders. Instead, opt for a highly diluted mixture of mild dish soap and warm water, or a specialized plastic cleaner recommended on the product label.
Your wiping technique is just as important as the cleaning solution you choose. Always use a clean, dry, and ultra-soft microfiber cloth to wipe the surface. Avoid using paper towels, tissues, or rough cotton rags, as their fibers can leave microscopic scratches that will gradually dull the mirror’s clarity over time. Wipe the surface gently in light, circular motions, and avoid pressing too hard against the flexible panels to prevent them from shifting or warping.
Regularly inspect your mirror layout for any signs of wear, especially if you live in a high-humidity environment. Check the edges of the stickers for lifting, moisture ingress, or dark spots, which can indicate that humidity is beginning to degrade the adhesive backing. Keeping the room well-ventilated by using ceiling fans or air conditioning helps minimize moisture buildup on the walls, extending the lifespan of your wall decor.
Over time, all self-adhesive products will eventually reach the end of their functional lifespan. If you notice significant clouding, deep scratches, or widespread adhesive failure where multiple panels are peeling away, it is time to safely remove and replace them. Removing them carefully using gentle heat from a hair dryer will soften the adhesive, allowing you to peel the old panels off without tearing the underlying drywall or ruining the wall paint.
Frequently Asked Questions (FAQ)
Can I apply mirror stickers on textured or freshly painted walls?
No, you should avoid applying mirror stickers directly to textured or freshly painted walls. Textured surfaces, such as orange peel, popcorn, or rough plaster, do not provide enough flat surface area for the adhesive to grip securely, which leads to rapid peeling. Furthermore, the uneven texture will cause the flexible mirror sheets to bend, resulting in a highly distorted and unusable reflection. Freshly painted walls must cure completely before you apply any adhesive decor. Even if the paint feels dry to the touch, it continues to release gases and moisture for at least two to four weeks. Applying stickers too early will trap these gases, ruining the adhesive and causing the paint to bubble or peel when you eventually remove the stickers.
Will removing the stickers damage my wall paint or wallpaper?
There is always a risk of surface damage when removing strong self-adhesive stickers, especially on wallpaper or older paint layers. To minimize this risk, you should use a gentle removal technique rather than pulling the stickers off forcefully. Use a hair dryer on a low-to-medium heat setting to warm the surface of the mirror sticker for a few minutes. The heat will soften the adhesive backing, making it pliable. Slowly and carefully peel the sticker back from one corner at a sharp 45-degree angle, keeping it close to the wall surface. If you are applying them to wallpaper, be aware that the adhesive bond is often stronger than the paper itself, which makes damage highly likely. Always test a small, inconspicuous area first or check the manufacturer’s removal guidelines.
How do I fix air bubbles that appear days after application?
Air bubbles that appear days after a seemingly perfect installation are usually caused by temperature fluctuations, rising humidity, or minor outgassing from the wall paint. If the bubbles are small and located near the edges, you can sometimes use a soft squeegee or your thumb to gently guide the air toward the nearest border to release it. For bubbles trapped in the middle of a panel, do not attempt to peel the sticker back up, as this will stretch and ruin the mirror sheet. Instead, take a very fine sewing needle or pin and carefully prick a single, tiny hole right in the center of the bubble. Use a soft cloth to press the air out through the hole, smoothing the surface flat. The tiny pinprick will remain virtually invisible while restoring the flat, reflective look of your mirror layout.

Community discussion
Share your experience or ask a question. Comments are reviewed before publication.