
To make a small room look bigger using 3D acrylic mirror wall stickers, you must strategically position them to capture and distribute light, align them to guide the eye along horizontal or vertical paths, and choose geometric configurations that mimic architectural depth. Unlike heavy glass mirrors, these lightweight acrylic pieces offer a flexible, budget-friendly way to open up tight spaces, such as compact studio apartments or cozy bedrooms. However, achieving a spacious illusion requires careful planning, precise installation, and an understanding of how light interacts with reflective surfaces in your specific environment. By treating these decorative accents as tools to manipulate visual perception, you can transform a cramped, dim room into a bright, airy sanctuary.
Assess Your Space and Plan the Layout
Before peeling off any adhesive backing, take a close look at how light moves through your room. Natural light is your best asset for creating an illusion of space. Observe where sunlight enters during the day and identify the walls that receive direct or indirect exposure. By mapping these light patterns, you can determine exactly where to place your 3D acrylic mirror wall stickers to bounce light into the darkest corners of the room.
Artificial light sources also play a crucial role in your layout. Consider the placement of your ceiling fixtures, wall sconces, or floor lamps. Positioning your mirror stickers where they can catch and diffuse artificial light ensures the room feels bright and open even after the sun goes down.
Products mentioned in this guide
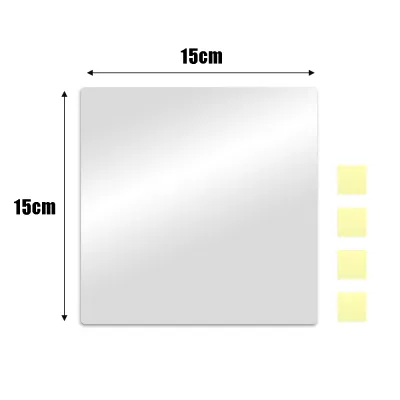
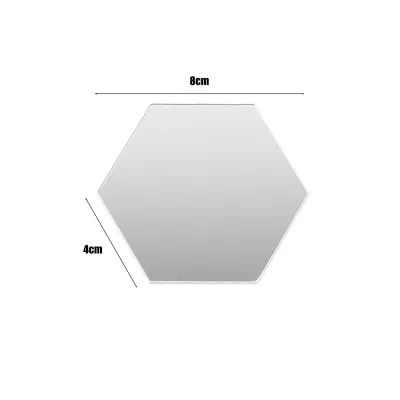
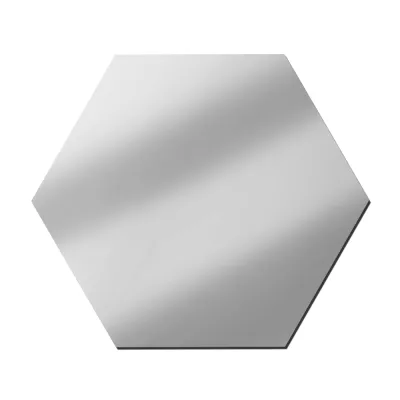
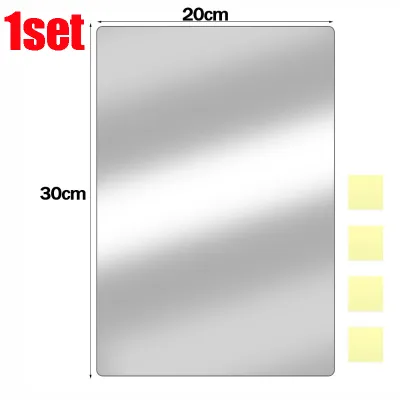
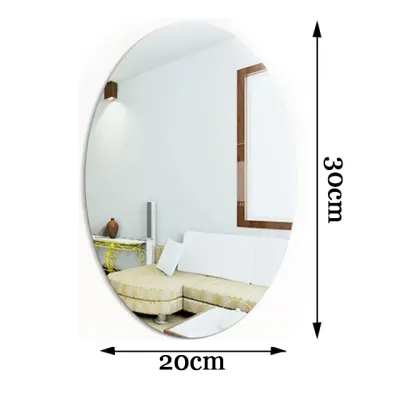

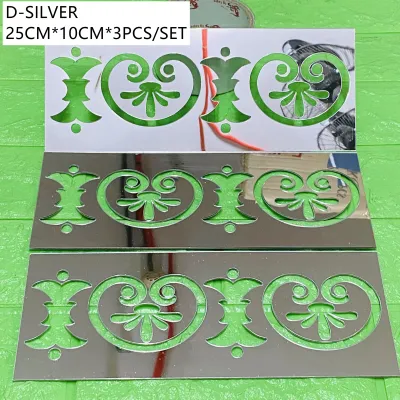
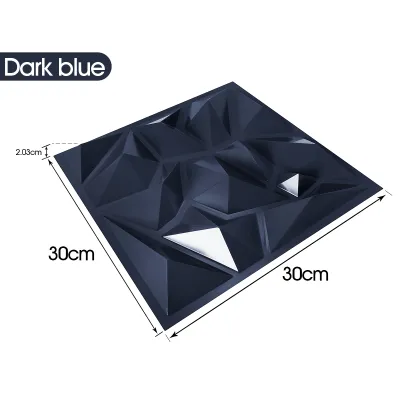
Prices are valid at publication and may change. Please refer to the product page for the latest price.
Next, evaluate the condition of your walls. For acrylic stickers to adhere securely, the surface must be completely smooth, clean, dry, and non-porous. In tropical climates like the Philippines, high indoor humidity can compromise adhesive performance over time. If your walls are made of painted concrete, drywall, or smooth wood panels, ensure they are free of dust, grease, and moisture before proceeding.
Finally, identify the primary focal point of the room. In a small space, too many competing visual elements can create a chaotic, cluttered feel. Choose one main wall or section to host your mirror arrangement. This keeps the design intentional and prevents the reflective surfaces from bouncing distracting reflections back and forth, which would make the room feel smaller rather than larger.
Choose Shapes and Sizes for the Best Spatial Illusion
The shape and size of your 3D acrylic mirror wall stickers dictate how they manipulate spatial perception. Large, continuous mirror panels tend to mimic traditional glass mirrors, offering a clean and uninterrupted reflection that pushes the wall back visually. If your goal is to make a narrow hallway feel wider, a series of larger, closely fitted panels is often the most effective choice.

On the other hand, scattered geometric shapes—such as hexagons, diamonds, or circles—create a dynamic, modern pattern that draws the eye across the wall. These configurations work exceptionally well in living areas or bedrooms where you want to add decorative flair while expanding the space. By spacing geometric stickers slightly apart, you allow the wall color to show through, which integrates the mirrors seamlessly into your existing decor.
Pay close attention to the visual weight of 3D bevels or layered acrylic designs. A 3D bevel catches light at different angles, adding physical depth and texture to the wall. However, in a very compact room, overly thick or highly intricate 3D layers can feel heavy and intrusive. Opt for subtle bevels that catch the light elegantly without protruding too far into your living space.
To achieve the perfect balance, plan your total coverage area carefully. A good rule of thumb is to cover no more than 30% to 40% of a single wall with reflective stickers. This ensures you maximize light reflection and depth without overwhelming the room or creating a distracting, funhouse-mirror effect.
Step-by-Step Installation for a Seamless Look
Achieving a professional, seamless look requires a methodical installation process. Start by thoroughly cleaning the target wall surface. Wipe the area with a damp cloth and a mild cleaning solution to remove dust, oils, and fingerprints. Allow the wall to dry completely; in humid environments, using a fan or waiting a few hours ensures no residual moisture remains trapped behind the adhesive.
Once the wall is dry, use a pencil, a measuring tape, and a spirit level to map out your layout. Lightly mark alignment guidelines directly on the wall. Having a clear grid or center line to follow prevents the stickers from drifting crookedly during application, which would instantly ruin the spatial illusion.
When you are ready to apply the stickers, handle them by the edges to avoid leaving fingerprints on the reflective surface. Carefully peel the protective backing from the adhesive side. Press the sticker firmly onto the wall, starting from the center and working your way outward to prevent air bubbles from getting trapped.
Keep the protective film on the front of the acrylic mirrors intact during this process. This film shields the delicate acrylic from scratches while you apply pressure. Once all the pieces are securely in place and you have verified their alignment from a distance, gently peel off the front protective film to reveal the brilliant, reflective finish.
Perform a final alignment check as you progress. Step back frequently to view the arrangement from different angles in the room. Making minor adjustments early in the process is much easier than trying to reposition the stickers once the adhesive has fully bonded to the wall.
Strategic Placement Techniques to Enhance Depth and Light
To truly trick the eye into perceiving a larger room, you must master strategic placement. One of the most effective techniques is positioning your 3D acrylic mirror wall stickers directly opposite a window. This placement captures the outdoor view and bounces natural light deep into the room, effectively doubling the visual space and making the interior feel connected to the outdoors.
If your room lacks windows, you can create a “false window” or an extended corridor effect. Arrange square or rectangular mirror stickers in a grid pattern with thin gaps between them, mimicking the look of a multi-pane window. This structured arrangement gives the illusion of an opening in the wall, suggesting there is more space beyond the room’s physical boundaries.
Another powerful technique is placing the stickers at eye level or slightly above. In small rooms, low ceilings can contribute to a cramped feeling. By positioning your reflective decor higher up on the wall, you naturally draw the gaze upward. This vertical emphasis makes the ceiling feel higher and expands the perceived vertical volume of the space.
You can also use linear arrangements to guide the eye. Placing a horizontal band of geometric mirror stickers along a narrow wall stretches the room visually, making it appear wider. Conversely, a vertical column of stickers elongates a short wall, adding a sense of height and grandeur to a compact entryway or bedroom.
Cleaning, Maintenance, and Safe Removal
Acrylic is lighter and more shatter-resistant than glass, but it is also softer and more prone to scratching. To maintain the clear, light-reflecting properties of your 3D acrylic mirror wall stickers, you must clean them with care. Always use a clean, dry, or slightly damp microfiber cloth. Avoid paper towels, rough sponges, or abrasive fabrics, as these can leave micro-scratches that dull the reflection over time.
When cleaning, steer clear of harsh chemical cleaners, ammonia-based products, or glass cleaners not formulated for acrylic. These chemicals can cause the acrylic to craze, crack, or develop a cloudy appearance. Instead, use a mixture of mild dish soap and warm water, or a specialized acrylic cleaner, and wipe gently without applying excessive pressure.
Over time, especially in warm and humid tropical climates, you may notice adhesive failure or peeling edges. Inspect your stickers periodically to ensure they remain securely attached. If a corner begins to lift, it is best to address it promptly to prevent the piece from falling and cracking.
Keep safety boundaries in mind during installation and maintenance. Avoid placing acrylic mirror stickers near high heat sources, such as stoves, ovens, or direct halogen light bulbs, as extreme heat can warp the plastic. Additionally, unless the manufacturer explicitly states the adhesive is waterproof, avoid installing them in high-moisture areas like shower enclosures where steam can quickly degrade the glue.
If you need to remove the stickers, do so slowly and carefully to protect your wall paint. Use a hair dryer on a low, warm setting to gently heat the adhesive backing, softening it for easier removal. Slowly peel the sticker away from the wall at a shallow angle. If you notice the wall paint or drywall paper beginning to lift, stop immediately and consult a professional painter or handyman to avoid causing extensive damage.
Frequently Asked Questions (FAQ)
Can I apply 3D acrylic mirror stickers on textured or painted walls?
Acrylic mirror stickers require a completely flat, smooth surface to adhere properly and reflect light without distortion. Textured walls, such as stucco or rough plaster, prevent the adhesive from making full contact, leading to premature peeling. Additionally, applying stickers to freshly painted walls can trap moisture and ruin the paint; always wait at least two to three weeks for new paint to fully cure before installation.
Will the 3D effect distort the reflection in a small room?
While the flat surfaces of high-quality acrylic mirrors provide a clear reflection, the 3D beveled or layered edges are designed for decorative depth rather than perfect optical clarity. At close range, the reflection is highly accurate, but over longer distances or across multi-piece geometric patterns, slight fragmentation or minor distortion may occur. For spatial expansion, this minor distortion is rarely an issue, as the primary goal is to bounce light and create a sense of openness.
How do I safely remove the stickers without damaging the wall?
To remove the stickers safely, use a hair dryer on a low-heat setting to warm the adhesive backing, making it pliable. Gently slide a thin plastic card or putty knife behind the sticker and peel it away slowly at a shallow angle. If you encounter strong resistance or notice the wall paint or drywall paper lifting, stop immediately and consult a professional to prevent further damage to your wall surface.
Community discussion
Share your experience or ask a question. Comments are reviewed before publication.