
Displaying your treasured K-pop photocard collection transforms a personal hobby into a striking piece of home decor. A well-designed gallery wall lets you appreciate your favorite idols every day while keeping your valuable collectibles safe. The secret to a successful setup lies in balancing visual cohesion, secure mounting, and long-term preservation.
Arranging a kpop photocard gallery wall requires a shift in scale compared to traditional art displays. Because these cards are small—typically measuring 2 by 3 inches (5.5 by 8.5 cm)—they can easily look cluttered or lost on a large wall if they are not grouped with intention. By treating the collection as a unified design project, you can create a stunning visual focal point in your room.
This guide walks you through the step-by-step process of curating your cards, choosing the right protective display materials, mapping out a layout, and mounting everything securely. Whether you are a dedicated collector with hundreds of cards or a casual fan displaying a few prized possessions, these strategies will help you achieve a professional, damage-free gallery wall.
Products mentioned in this guide
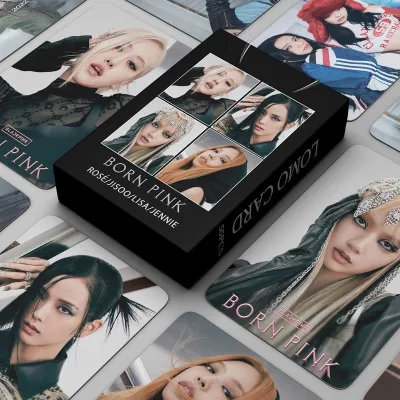
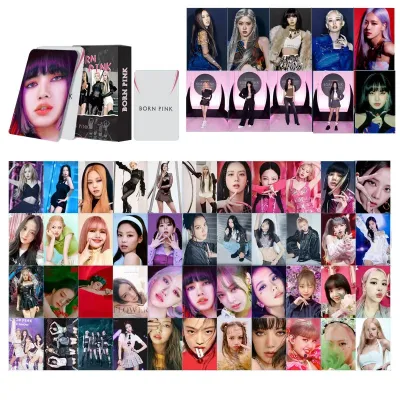
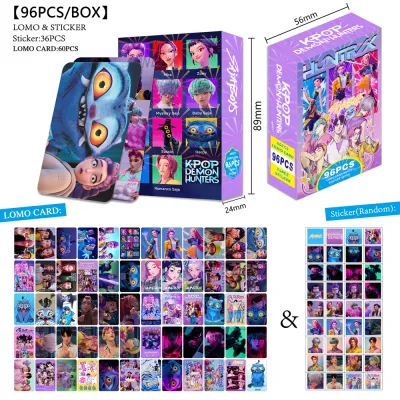
![[55pcs 92PCS 124PCS/box] EN- Lomo Cards / Photo Cards KPOP EN Photocards](https://img.lazcdn.com/g/p/614e6bfccf6a353fb74ae416e536d8b3.jpg_400x400q80.jpg_.webp)
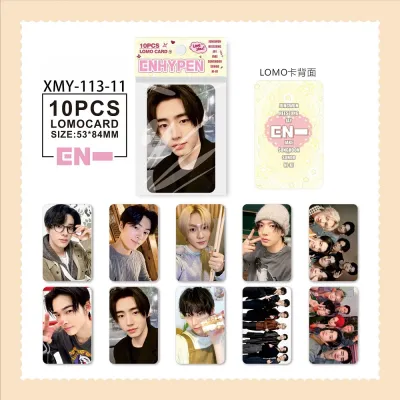
Prices are valid at publication and may change. Please refer to the product page for the latest price.
Define Your Collection Theme and Focal Point
Before you mount any frames to your wall, you must curate and organize your cards to establish a clear visual direction. Sorting your cards beforehand prevents the final display from looking chaotic or disorganized.
Begin by grouping your cards by a unifying theme. You might choose to dedicate the wall to a single idol group, a specific era or album concept, a cohesive color palette, or your ultimate “bias” (favorite member). For instance, a pastel-themed album concept looks best when grouped together, whereas mixing dark, gothic concepts with bright, summery cards can create visual discordance.
Every successful gallery wall needs a strong focal point to anchor the viewer’s eye. This central element should be larger and more visually prominent than the individual cards. You can use an official group poster, a framed album cover, a vinyl record, or even a highly prized, rare card housed in an oversized decorative frame. Position this focal piece in the center or slightly off-center to establish a natural starting point for the eyes.
Once your focal point is set, distribute your remaining cards to balance the visual weight across the layout. Avoid clustering all the dark-toned cards on one side and light-toned cards on the other. Instead, alternate or scatter different backgrounds, outfits, and lighting styles evenly. This balanced distribution ensures that no single section of your wall feels too heavy or neglected.
Choose Protective Display Materials for Your K-Pop Photocard
Protecting your collectibles is just as important as how they look on the wall. K-pop cards are highly susceptible to bending, scratching, and oils from your hands, so you must select display materials that offer both physical support and aesthetic appeal.

Several safe display methods work beautifully for standard-sized cards. Clear acrylic card bricks offer a sleek, modern look with excellent depth, making the cards appear as if they are floating. Mini magnetic photo frames are another popular option, allowing you to swap cards quickly when your collection changes. For a more industrial or casual vibe, you can use clear top-loader sleeves attached to a metal wire wall grid with small wooden pegs or metal clips.
Under no circumstances should you ever apply tape, glue, or poster putty directly to the surface of a kpop photocard. Direct adhesive contact will tear the paper fibers, lift the ink, and permanently destroy the card’s physical integrity and resale value. Always place your cards inside a tight-fitting, acid-free, and PVC-free protective sleeve before inserting them into any frame, top-loader, or mounting setup.
Mixing different textures and depths will make your gallery wall look dynamic rather than flat. You can combine thin, flat-mounted sleeves with thicker acrylic blocks and textured wooden frames. This variation in depth creates subtle shadows and layers, giving your display a professional, curated look that mimics a high-end art gallery. Expect to spend anywhere from ₱50 for basic top-loaders to ₱300 or more for premium magnetic acrylic bricks in local online marketplaces.
Map Out Your Layout Before Making Holes
The most common mistake when building a gallery wall is hanging items spontaneously without a plan. Mapping out your layout beforehand saves time, prevents unnecessary wall damage, and ensures a balanced composition.
To begin planning, place all your framed cards, posters, and decorative elements face-up on a large table or clean floor space. Experiment with different configurations. You can opt for a strict, symmetrical grid layout if you prefer clean lines and uniform frames. Alternatively, an organic, staggered layout works beautifully if you are mixing different frame sizes, shapes, and orientations.
To transfer your floor layout to the wall without guesswork, use paper templates. Trace the outline of each frame, acrylic block, or grid onto sheets of kraft paper or recycled newspaper, then cut them out. Label each paper template with the name of the card or item it represents so you do not lose track of your arrangement.
Maintain a consistent gap between each item to keep the wall looking structured rather than cluttered. A spacing of 2 to 3 inches (5 to 7.5 cm) is generally ideal for small-scale items like photocards. If you place them too far apart, the collection will lose its cohesive feel; if you place them too close, the wall will look cramped.
Use low-tack painter’s tape to stick your paper templates to the wall. Step back to the other side of the room to evaluate the scale, height, and sightlines from different angles. This step allows you to make easy adjustments—such as raising the entire layout to eye level or shifting a column to avoid a light switch—before you commit to any permanent mounting.
Mount the Display Safely Without Wall Damage
For many collectors, especially those renting apartments or living in student dorms, avoiding permanent wall damage is a top priority. Fortunately, there are several highly secure, damage-free mounting techniques available that can easily support the weight of lightweight card frames.
Double-sided adhesive hanging strips are the gold standard for damage-free installations. These strips use a hook-and-loop system that allows you to click frames into place and remove them cleanly later. For lighter items, such as card sleeves or paper templates, high-quality removable poster putty or lightweight adhesive hooks paired with decorative string can work well.
Before applying any adhesive, you must prepare the wall surface properly. Clean the designated area with rubbing alcohol and a clean cloth to remove dust, grease, and moisture, then let it dry completely. Skipping this step can cause the adhesive to bond with the dust layer instead of the wall, leading to your frames falling and potentially damaging your cards.
Always read the manufacturer’s instructions for your chosen adhesive product. Pay close attention to the specified weight limits and the required curing time. Most adhesive strips require you to press them firmly against the wall for 30 seconds and then wait up to an hour before hanging any weight on them. Ignoring these curing times is the primary reason adhesive mounts fail.
If you choose to frame your gallery wall with LED strip lights to highlight your collection, verify their voltage compatibility, wattage limits, and electrical safety certifications before plugging them in. Always isolate the power source when installing any electrical accents or running wires along the wall to ensure a safe setup.
If you want to avoid wall adhesives entirely, consider non-adhesive structural alternatives. You can lean a large, sturdy wire grid panel or a wooden pegboard against your desk or wall. This setup allows you to hang your sleeved cards using small clips or hooks, giving you zero wall contact while providing a highly customizable and easily reorganizable display space.
Protect Your Collection from Fading and Humidity
In tropical climates like the Philippines, environmental factors pose a constant threat to paper collectibles. High humidity, intense heat, and solar exposure can quickly degrade your collection if you do not take preventive measures.
Ultraviolet (UV) light is the single greatest threat to the longevity of your cards. Direct sunlight will fade the vibrant inks, yellow the paper backing, and break down the glossy protective finishes. Always position your gallery wall on a surface that does not receive direct sunlight. If your room gets a lot of natural light, use curtains, blinds, or UV-filtering window films to protect your display.
High relative humidity, especially during the rainy season, can cause paper to warp, buckle, or develop mold. To combat this, choose high-quality, UV-protective acrylic or glass frames that seal out moisture. Avoid hanging your gallery wall directly opposite an air conditioning unit, as the rapid temperature fluctuations can cause condensation to form inside the frames.
Maintaining your gallery wall requires minimal but consistent effort. Dust the frames and display surfaces weekly with a dry microfiber cloth to prevent buildup. Periodically check your adhesive strips or hooks to ensure they remain firmly bonded to the wall, especially after periods of high humidity when wall paint can soften slightly.
Frequently Asked Questions (FAQ)
How do I prevent my K-pop photocards from fading on the wall?
To prevent fading, keep your gallery wall completely out of direct sunlight and use UV-filtering acrylic sleeves or frames. Position the display in a part of the room that receives only indirect or filtered natural light, and consider using LED lighting nearby, which emits negligible UV radiation compared to traditional bulbs.
Can I use double-sided tape directly on my photocards?
No, you should never apply double-sided tape or any other adhesive directly to a photocard. The adhesive will tear the paper fibers, leave permanent residue, and destroy the card’s value. Always place the card inside a protective, acid-free sleeve first, and apply any tape or mounting putty to the outside of the sleeve.
What is the best way to add new photocards to an existing gallery wall?
The easiest way to accommodate a growing collection is to use a modular wire grid panel or a pegboard, where you can easily clip new sleeved cards on without rearranging the entire wall. Alternatively, you can design your initial paper-template layout with intentional, balanced gaps that can be filled in as you acquire new cards.
Community discussion
Share your experience or ask a question. Comments are reviewed before publication.