
Transforming a collection of K-pop lomo cards into a stunning photo wall requires a balance of visual planning, damage-free mounting, and environmental protection. Whether you want to showcase your ultimate bias, celebrate a group comeback, or display a complete album set, a well-structured layout turns loose cards into a cohesive piece of wall art. By taking the time to plan your design and protect your cards, you can create an eye-catching display that is easy to update as your collection grows.
A successful gallery wall does more than just hold your cards; it reflects your personal connection to the music. Because lomo cards are smaller than standard photo prints, they require a thoughtful approach to spacing and grouping so they do not look lost on a large wall. Using the right techniques ensures your display remains secure, even in warm, humid climates, while keeping your cherished collectibles in pristine condition.
Plan Your Lomo Card Gallery Wall Layout
Before making any physical changes to your wall, it is essential to decide on the visual arrangement, spacing, and focal points of your display. A strong visual anchor helps draw the eye and gives the gallery wall a sense of purpose. You can create a center bias by placing a larger group photo, a concert ticket, or a favorite mini-poster in the middle, then surrounding it with individual member cards. Another popular approach is a color-coordinated gradient, where you arrange the cards by their background hues to create a smooth, rainbow-like transition across the wall. For a highly personalized touch, you can even arrange the cards to form the shape of a group logo.
Products mentioned in this guide
![[55pcs/box] EN- Lomo Cards / Photo Cards KPOP](https://img.lazcdn.com/g/p/ca42d3a34a9dca10f9344f0b12a4e1fa.jpg_400x400q80.jpg_.webp)
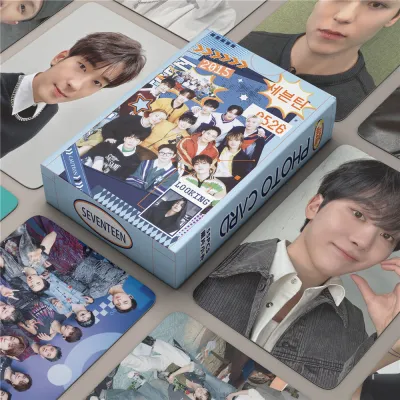
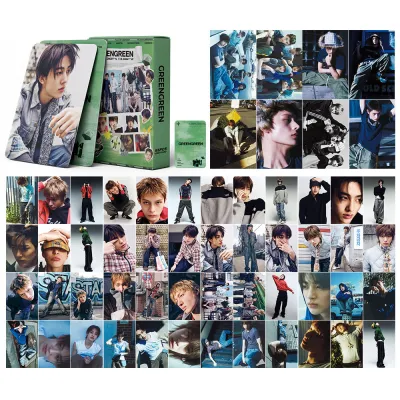
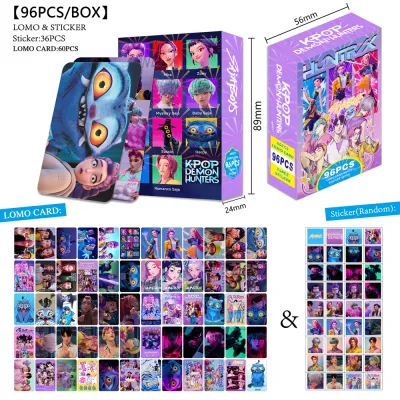
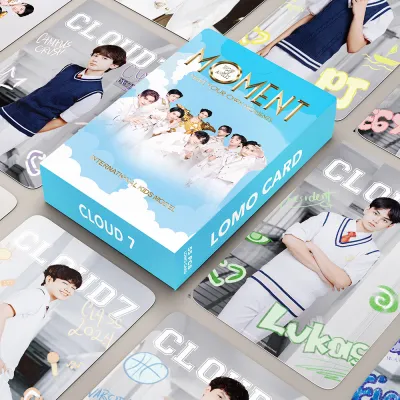
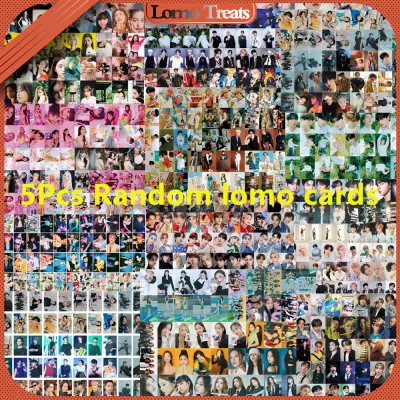

Prices are valid at publication and may change. Please refer to the product page for the latest price.
The overall shape of your layout should match both the available wall space and the size of your collection. A strict grid layout is ideal for complete card sets or chronological album eras, offering a clean, symmetrical, and organized look that mimics a professional gallery. If you prefer a more relaxed and dynamic aesthetic, a scattered organic cluster allows you to mix different card sizes, fan art, and polaroids without rigid boundaries. This organic style is highly forgiving and can easily grow over time as you add new cards to your collection.
To ensure your layout looks balanced, always determine your spacing and alignment rules before applying any adhesive. You can easily preview the arrangement by cutting out paper templates that match the exact dimensions of your sleeved cards. Use painter’s tape to stick these paper templates to the wall, allowing you to experiment with different gaps and heights. This step helps you visualize the final look, check how the display interacts with your room’s lighting, and make adjustments without committing to physical adhesives or risking damage to your walls.
Choose Safe Mounting Methods for Photocards and Walls
Protecting your valuable K-pop lomo cards from physical damage is just as important as creating a beautiful layout. You should never apply any adhesive, tape, or glue directly to the surface of a bare card, as this can cause permanent staining, tearing, or peeling of the glossy finish. Always slide each card into a high-quality, acid-free protective sleeve first to shield it from dust and oils. For added stability and protection, place the sleeved card inside a rigid plastic top loader or a clear acrylic frame. This extra layer of defense keeps the card flat, prevents the corners from bending, and provides a safe surface for mounting materials.

When selecting wall-safe adhesives, you must consider your wall’s texture, paint type, and the local climate. In tropical environments where high humidity and warm temperatures are common, standard double-sided tapes can soften, lose their grip, or leave a stubborn, sticky residue on your walls. Reusable mounting putty is a highly flexible and budget-friendly option, but you must choose a high-quality brand and check it periodically to ensure it does not slide under the weight of your top loaders. For painted concrete walls, which are standard in many homes, delicate-surface painter’s tape or specialized removable foam mounting strips offer a secure hold and can be peeled away cleanly without lifting the paint.
If you are renting your home or simply want to avoid using adhesives on your walls entirely, alternative non-adhesive displays are an excellent solution. Wire grid panels can be mounted using simple, non-damaging adhesive hooks, allowing you to clip your sleeved cards onto the grid using mini wooden pegs or decorative clips. String lights with integrated photo clips are another popular choice, adding a warm, cozy ambiance to your bedroom while holding your cards securely in place. For a sleek and modern look, you can install shallow floating acrylic shelves or picture ledges, which allow you to lean your top loaders against the wall and swap them out instantly whenever you want to update your display.
Step-by-Step Installation Guide
Once you have planned your layout and gathered your mounting materials, you can begin the physical installation process. Start by preparing the wall surface to ensure a strong and lasting bond for your adhesives. Gently wipe the designated area with a dry or slightly damp microfiber cloth to remove any accumulated dust, lint, or wall oils. If you use a damp cloth, allow the wall to dry completely before proceeding, as any trapped moisture will weaken the adhesive and could lead to mold growth behind your display in humid climates.
Next, establish your reference lines to keep the display perfectly straight and aligned. If you are creating a strict grid layout, use a physical level or a laser level to project a straight horizontal line across the wall. Keep your pre-cut paper templates taped to the wall as a visual guide, replacing them one by one with the actual cards as you work. Having a clear reference line prevents the common mistake of a crooked grid, which becomes highly noticeable once multiple cards are mounted side by side.
Now, apply your chosen mounting method to the back of the protective sleeves, top loaders, or acrylic frames. If you are using reusable mounting putty, roll a small, pea-sized ball for each of the four corners of the card holder to distribute the weight evenly and prevent the corners from curling forward. Press the card holder firmly against the wall at your marked spot, holding it in place for the duration recommended by the adhesive manufacturer to ensure a secure bond.
As you progress through the installation, make sure to step back periodically to verify the overall alignment of your display. Viewing the wall from a distance of a few meters helps you spot minor spacing errors, uneven gaps, or slightly tilted cards that are difficult to detect when working up close. Make any necessary adjustments immediately, while the adhesive is still fresh and easy to reposition, to ensure a flawless final result.
Maintain and Update Your K-Pop Display
Keeping your K-pop photo wall looking pristine requires regular, gentle maintenance to protect both the cards and the display materials. Establish a routine of dusting the display using a soft, dry microfiber cloth or a static duster to sweep away dust from the tops of the sleeves and frames. Avoid using liquid glass cleaners, wet wipes, or chemical sprays directly on the display, as moisture can easily seep into the edges of the card holders and cause the paper cards inside to warp or discolor.
When you want to update your display or rearrange your cards, prioritize patience to avoid damaging your walls or your collection. Slowly peel the adhesive putty or mounting tape away from the wall at a sharp angle, supporting the card holder with your other hand to prevent it from bending. If an adhesive strip feels stubborn or tightly bonded to the wall, warming it slightly with a hairdryer on a low, cool setting can help soften the adhesive for a clean, damage-free release.
In tropical climates, managing environmental factors is crucial for preserving the quality of your lomo cards over time. Avoid setting up your photo wall in areas that receive direct sunlight, as ultraviolet rays will quickly fade the vibrant colors of the prints. To minimize light exposure and keep your collection fresh, consider rotating the displayed cards with others from your storage binders every few months, and ensure your room has adequate ventilation to prevent high humidity from softening the card stock.
Frequently Asked Questions (FAQ)
Can I use washi tape to decorate the edges of my lomo cards?
You should never apply washi tape directly to the surface or edges of your bare lomo cards. Even though washi tape is generally low-tack, the adhesive can still leave a sticky residue, lift the glossy coating, or tear the paper fibers over time. Instead, place your card inside a clear protective sleeve or top loader first, and then apply the decorative washi tape to the outside of the plastic holder to customize the look safely.
How do I prevent my photocards from fading on a sunlit wall?
To protect your photocards from fading, avoid mounting your display on walls that receive direct sunlight during the day. You can also use protective sleeves or acrylic frames that feature built-in UV-blocking properties to filter out harmful light rays. Regularly rotating the cards in your display back into a dark storage binder or album is another excellent way to prolong their lifespan and keep the colors vibrant.

Community discussion
Share your experience or ask a question. Comments are reviewed before publication.