
Using mirror stickers is one of the most accessible ways to transform a cramped room into an airy, open space. Unlike heavy traditional glass mirrors that require drilling and robust wall anchors, lightweight adhesive mirror sheets or tiles can be mounted quickly to create immediate depth. The key to achieving a convincing spatial illusion lies in understanding how these reflective surfaces interact with your room’s existing light, layout, and proportions.
By strategically positioning these stickers, you can trick the eye into perceiving double the actual floor area. Whether you are dealing with a narrow hallway, a compact bedroom, or a cozy living area, a thoughtful arrangement maximizes ambient light and pushes back visual boundaries. Achieving this flawless look requires selecting the right materials, planning your layout carefully, and executing a precise installation that prevents warping and peeling.
Understanding Light and Reflection in Small Spaces
To make a small room feel larger, you must first understand how reflections manipulate human perception. When your eyes look at a mirror, your brain processes the reflected image as a continuation of the physical room, effectively doubling the perceived depth. This optical trick breaks the visual boundary of a solid wall, making tight quarters feel significantly less confining.
Products mentioned in this guide
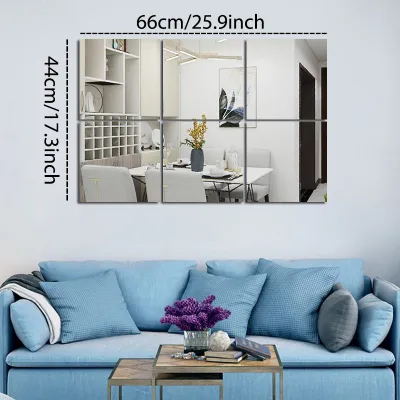
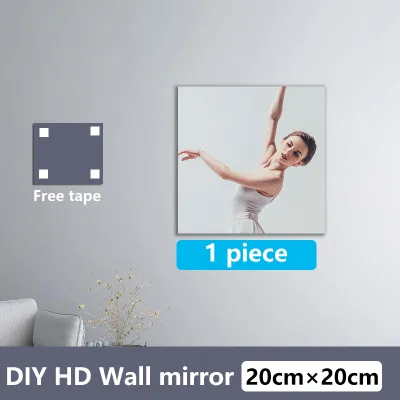

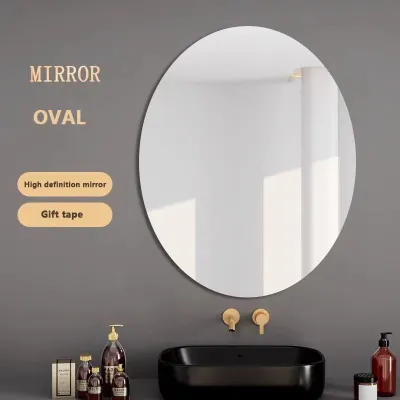
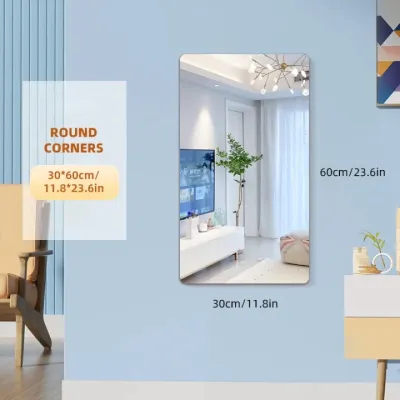
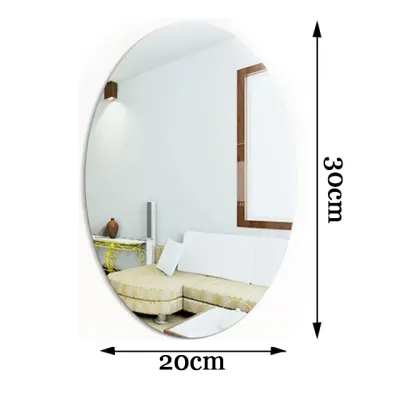
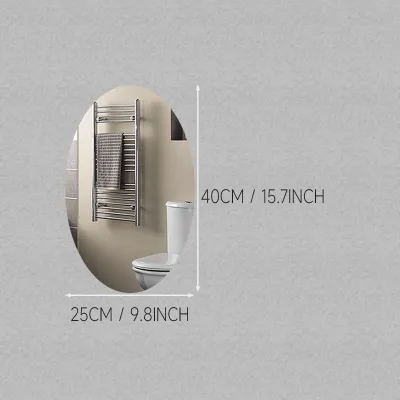
Prices are valid at publication and may change. Please refer to the product page for the latest price.
The success of this illusion relies heavily on how the mirror stickers interact with the room’s illumination. Natural light streaming through a window is the most effective tool for brightening a dark interior. When a reflective surface catches this daylight, it bounces the rays into deeper, shadowed corners of the room, instantly elevating the overall brightness. Artificial light from floor lamps, wall sconces, or ceiling fixtures can be utilized in a similar manner to eliminate dark spots during evening hours.
To maximize this effect, you must identify the most strategic focal points in your room. Positioning mirror stickers where they can reflect an outdoor view, a piece of vibrant artwork, or an open doorway creates a sense of continuity. Conversely, reflecting a blank wall or a dark ceiling does little to enhance the space, meaning the choice of what your mirrors reflect is just as important as where they are placed.
Strategic Placement Techniques for Maximum Illusion
The most impactful placement for mirror stickers is directly opposite your primary light sources. If you have a prominent window, arranging your stickers on the facing wall allows them to capture the incoming daylight and distribute it throughout the room. This setup mimics the presence of a second window, creating a balanced, symmetrical flow of light that makes the entire area feel more expansive.

When planning your arrangement, you must choose between a seamless, continuous mirror wall and a spaced geometric grid. A seamless layout, where tiles are placed edge-to-edge without gaps, provides an uninterrupted reflection that closely mimics a solid glass wall, offering the maximum possible spatial extension. On the other hand, a geometric grid layout—using small gaps between square, hexagonal, or rectangular stickers—creates a stylish, decorative windowpane effect. While a grid breaks up the reflection slightly, it adds architectural interest and prevents the room from feeling overly clinical.
Vertical placement and proportion are critical to ensuring the mirrors look natural within your existing decor. For the most comfortable viewing experience and the best spatial illusion, the center of your mirror arrangement should sit approximately at eye level, which is generally around 1.5 meters from the floor. If your goal is to make a low ceiling feel higher, consider arranging the stickers in vertical columns that draw the eye upward, keeping the scale of the arrangement proportional to nearby furniture like sofas or console tables.
You must also take care to avoid reflecting visual clutter. If your mirror stickers face an open wardrobe, a busy utility shelf, or a cluttered desk, they will simply double the visual noise, making the room feel more chaotic rather than larger. Always aim your reflective surfaces toward open floor space, minimalist decor, or clean architectural lines to maintain a serene and spacious atmosphere.
Choosing the Right Mirror Sticker Specifications
Selecting the correct material is a crucial decision that affects both the visual quality and the safety of your installation. Mirror stickers are primarily available in two materials: glass and acrylic. Glass mirror tiles offer superior visual clarity with zero distortion, making them ideal for close-up viewing and high-end finishes, though they are heavier and require a very secure adhesive. Acrylic mirror stickers are highly shatter-resistant, lightweight, and easy to handle, making them excellent for households with active pets or children, though they can warp slightly if applied to uneven surfaces.
The size and shape of the stickers should complement your room’s specific dimensions. Large, single-panel adhesive mirrors are excellent for creating a clean, minimalist look in bathrooms or dressing areas. Multi-piece geometric mosaics, such as hexagons or diamonds, offer greater flexibility, allowing you to customize the layout to fit awkward wall shapes or narrow columns.
Pay close attention to the edge treatments of the stickers before purchasing. Polished or beveled edges not only elevate the aesthetic quality of the arrangement by catching the light at different angles, but they also ensure physical safety during handling and cleaning. Unfinished or sharp edges can pose a cutting hazard, especially during the installation process when you are pressing the tiles firmly against the wall.
Step-by-Step Installation Guide for a Flawless Finish
A successful installation begins with thorough surface preparation. The wall must be completely clean, dry, and free of dust, grease, or loose paint, as any debris will compromise the adhesive bond. Wipe the area down with a damp cloth and a mild detergent, then allow it to dry completely; in humid tropical climates, ensuring the wall is entirely moisture-free is essential before proceeding.
Before peeling off any adhesive backing, you must measure and dry-fit your layout. Use a spirit level and a pencil to draw light reference lines directly on the wall to ensure your alignment remains perfectly straight. You can temporarily secure the stickers using low-tack painter’s tape to visualize the final arrangement and make any necessary adjustments to the spacing or positioning.
When you are ready to apply the stickers, peel the backing paper off gradually, starting from one corner. Press the sticker gently onto the wall, working from the center outward to push out any trapped air bubbles that could cause visual distortion or premature peeling. For acrylic stickers, leave the protective front film on until the entire installation is complete to prevent accidental scratches during the process.
Always be prepared to halt the installation if you encounter unexpected wall conditions. If you notice that the wall paint is peeling off with the tape, if the plaster feels damp, or if the adhesive fails to grip the surface securely, stop immediately. Consult the manufacturer’s instructions or seek professional advice, as forcing the installation on an unstable substrate can lead to falling tiles and wall damage.
Maintenance and Cleaning for Long-Lasting Clarity
To preserve the reflective quality and spatial benefits of your mirror stickers, regular and gentle maintenance is required. Dust and fingerprints can quickly dull the surface, reducing the amount of light it reflects. Always use a clean, soft microfiber cloth to wipe down the mirrors, as rough paper towels or abrasive sponges can leave permanent micro-scratches, particularly on softer acrylic surfaces.
Avoid using harsh chemical cleaners, ammonia-based products, or strong solvents, which can seep behind the edges and degrade both the reflective backing and the adhesive layer. Instead, opt for a mild, non-abrasive glass cleaner or a simple mixture of water and a drop of dish soap sprayed lightly onto the cloth rather than directly onto the mirror surface.
Periodically inspect the edges of your mirror stickers, especially in high-humidity environments like bathrooms or tropical laundry areas. Look for any signs of lifting corners or moisture intrusion behind the tiles. Addressing minor adhesion issues early by applying a small amount of wall-safe adhesive or replacing a single lifting tile can prevent the entire arrangement from failing.
Frequently Asked Questions (FAQ)
Can mirror stickers be applied to textured or uneven walls?
No, mirror stickers require a flat, smooth surface for proper adhesion and visual accuracy. Applying them to textured walls like stucco, rough plaster, or brick will result in poor contact, leading to air pockets and a high risk of the stickers falling off. Furthermore, any unevenness behind the sticker will cause the reflective surface to bend, resulting in a warped, funhouse-mirror distortion that ruins the illusion of space.
How do I remove mirror stickers without damaging the paint?
To remove mirror stickers safely, use a hair dryer on a low-heat setting to gently warm the adhesive backing, making it pliable. Once warmed, slowly peel the sticker away from the wall at a sharp, shallow angle rather than pulling straight outward. If you notice the underlying paint or drywall beginning to lift or tear, stop immediately and apply a commercial adhesive remover or consult a professional painter to avoid structural damage to your wall.
Do mirror stickers work in rooms with very little natural light?
Yes, mirror stickers can still effectively enlarge a room with minimal natural light by interacting with artificial light sources. Position the stickers to reflect light from floor lamps, wall sconces, or overhead fixtures to bounce artificial light into dark corners. However, keep in mind that mirrors cannot create light on their own; placing them in a completely dark corner without a nearby light source will only result in the reflection of shadows, which can make the space feel smaller and colder.

Community discussion
Share your experience or ask a question. Comments are reviewed before publication.