
Arranging mirror tiles on a wall is one of the most effective, budget-friendly design strategies to make a compact room feel open and airy. By breaking up a solid, flat wall with reflective surfaces, you instantly trick the eye into perceiving more depth and square footage than actually exists. This technique works exceptionally well in tight urban condominiums, narrow hallways, and cozy bedrooms where traditional bulky furniture or large framed mirrors might overwhelm the limited floor space.
To achieve the best results, you must look beyond simply sticking tiles onto a wall. The magic lies in choosing the right layout pattern, positioning the tiles to capture light, and avoiding common placement errors that can lead to visual clutter. With a thoughtful plan, these simple glass squares can transform a cramped room into a bright, welcoming sanctuary.
Core Design Principles for Mirror Tile Placement
To successfully expand a room using mirror tiles, it helps to understand the optical mechanics at play. Mirrors do not just reflect images; they manipulate light and shadow. When you place reflective tiles in a compact space, they bounce both natural sunlight and artificial light from lamps or ceiling fixtures into dark corners. This increased illumination reduces heavy shadows, which are often the primary culprit behind a room feeling small and enclosed.
Products mentioned in this guide
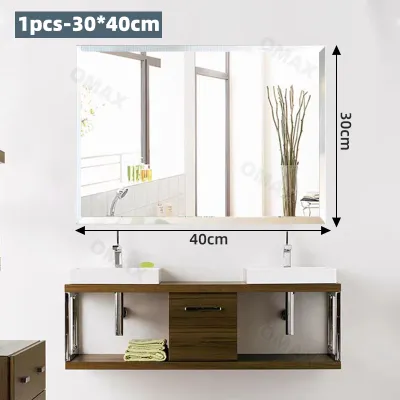
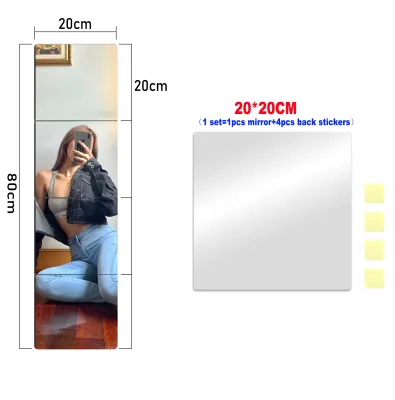

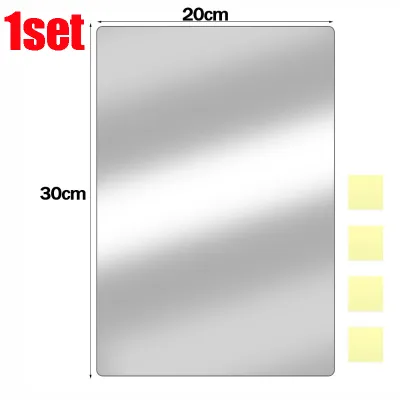
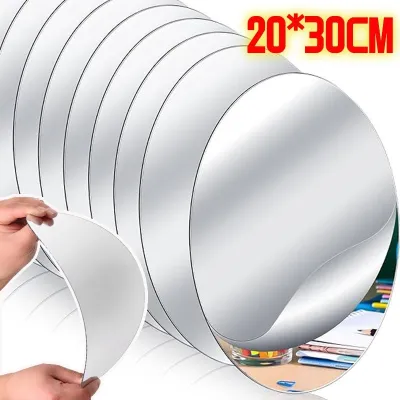
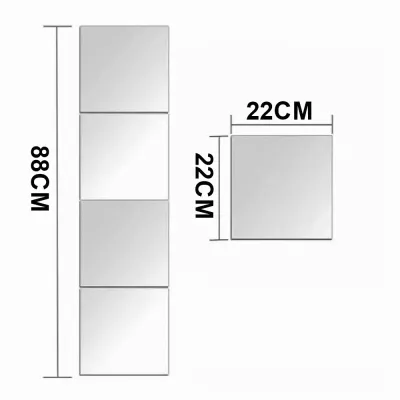
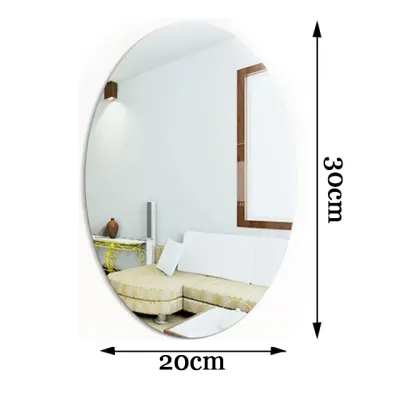
Prices are valid at publication and may change. Please refer to the product page for the latest price.
Beyond light distribution, mirror tiles create a powerful illusion of depth by duplicating the room’s existing architectural lines and decor. When the eye looks at a mirrored surface, it naturally projects the space forward, making a solid wall appear like an opening or a pathway to another room. This visual extension breaks the physical boundaries of the room, giving the impression of a much larger floor plan.
You can also use mirror tiles to establish or shift focal points in awkwardly shaped or narrow spaces. In a room that lacks a natural architectural feature, such as a fireplace or a large window, a beautifully arranged cluster of mirror tiles can serve as the main anchor. By directing the viewer’s attention to this bright, reflective zone, you draw focus away from tight corners and narrow dimensions, creating a more balanced and harmonious environment.
Effective Layout Patterns for Mirror Tiles
The geometric arrangement you choose for your mirror tiles plays a critical role in shaping the room’s perceived proportions. Different patterns guide the eye in distinct directions, allowing you to customize the spatial illusion to suit your specific room shape.

Classic Grid and Staggered Brick Layouts
Aligning your mirror tiles in a strict, symmetrical grid is an excellent way to create a clean, modern window-pane effect. This structured layout introduces a sense of order and architectural rhythm to a plain wall, mimicking the look of multi-pane steel windows. The grid pattern works exceptionally well in minimalist or contemporary spaces, providing a sophisticated backdrop that expands the room without drawing too much attention to itself.
If your primary goal is to make a narrow wall feel wider, consider a staggered brick or running bond pattern. By offsetting the horizontal joints of the tiles, you encourage the eye to travel sideways across the wall, visually stretching the horizontal boundaries of the room. This layout is particularly effective in tight entryways or behind low-profile living room furniture.
Regardless of whether you choose a grid or a brick pattern, always check the tile dimensions and plan your spacing carefully before mounting. You must decide whether you want a seamless, continuous mirror effect or a structured look with consistent gaps. If you prefer gaps, using tile spacers ensures uniform lines, while a seamless look requires perfectly square, high-quality tiles with flat edges to prevent distracting distortions.
Diagonal and Custom Geometric Arrangements
For rooms with low ceilings, rotating square mirror tiles by 45 degrees to create a diagonal or diamond pattern can work wonders. This angled arrangement draws the eye upward and outward simultaneously, making the ceiling appear higher while adding dynamic visual movement to the space. The diamond layout breaks the monotony of standard horizontal and vertical lines, giving the wall an artistic, custom-designed feel.
You can also use custom geometric arrangements to create borders or framing effects that define specific functional zones. For instance, framing a central cluster of mirror tiles with a contrasting border can designate a dining area or a vanity nook without the need for physical room dividers. This zoning technique keeps the overall layout open and fluid while maintaining clear functional boundaries.
When planning complex geometric layouts, always adjust the design complexity based on the room’s existing architectural lines. If your space already features busy patterns, exposed beams, or intricate window frames, keep the mirror tile arrangement relatively simple. Overly complex patterns in an already busy room can create visual conflict, defeating the purpose of making the space feel larger and more serene.
Strategic Wall Placement for Maximum Impact
To maximize the spatial expansion and light distribution of your mirror tiles, you must identify the most strategic walls for installation. Placing tiles directly opposite or adjacent to windows is one of the most effective strategies. This positioning allows the mirrors to capture incoming natural light and bounce it deep into the room, effectively doubling the brightness. In tropical regions like the Philippines, where bright afternoon sun is common, this placement can dramatically reduce the need for artificial lighting during the day while bringing beautiful outdoor views of greenery or sky inside.
Another highly effective tactic is installing mirror tiles behind low-profile furniture, such as console tables, low bookshelves, or sofas. By placing the reflective surface directly above or behind these pieces, you visually push the wall boundary backward. This creates the illusion that the furniture is floating in a larger, more open space rather than being pushed up against a hard wall.
In narrow corridors, stairwells, or tight transition zones, consider using vertical columns of mirror tiles. Arranging the tiles in tall, slender strips guides the eye upward, enhancing the sense of height and making cramped passageways feel less claustrophobic. This vertical orientation breaks up long, monotonous walls and adds a touch of elegance to functional transition areas.
Before finalizing your placement, evaluate the sightlines from the main entry point of the room. Walk into the space and observe what the mirrors will reflect first. You want the reflection to welcome the eye with a sense of openness and cohesion, rather than reflecting a dark corner, a bathroom door, or a cluttered storage rack. A well-planned first impression sets the tone for how spacious the entire room feels.
Placement Mistakes That Shrink or Clutter a Room
While mirror tiles are excellent tools for spatial expansion, poor placement can easily backfire and make a room feel smaller or chaotic. One of the most common mistakes is positioning mirrors where they reflect cluttered areas, open shelving, or busy pathways. Because mirrors duplicate whatever is in front of them, reflecting visual noise will double the clutter, making the room feel incredibly cramped and disorganized.
It is also important to recognize that covering an entire wall from floor to ceiling is not always the best approach. While a full mirrored wall can work in specific commercial settings, in a cozy residential home, it can create a disorienting, funhouse-like effect. Instead of feeling expanded and comfortable, the space can feel cold, unstable, and visually overwhelming. Opting for partial coverage, framed sections, or structured patterns usually yields a much more comfortable and sophisticated result.
Preventing harsh glare is another crucial consideration. Before mounting your tiles, check the angle of direct sunlight during different times of the day, as well as the placement of bright overhead lighting fixtures. If a mirror tile array directly reflects a powerful light bulb or intense midday sun, it can create blinding reflections that make the room uncomfortable to inhabit.
Finally, ensure that the reflected image showcases pleasant elements rather than blank walls, utility fixtures, or awkward angles. Reflecting a plain, unadorned wall does little to enhance the room’s depth and can feel sterile. Aim to capture reflections of indoor plants, decorative lighting, or open pathways to create a more inviting and visually rich environment.
Wall Preparation and Safe Installation Guidelines
A successful mirror tile project relies heavily on proper wall preparation and safe installation practices. Because mirror tiles are made of glass, they require a secure, stable foundation to prevent them from slipping or falling over time. Start by thoroughly cleaning, drying, and priming the wall surface. Removing dust, grease, and loose paint ensures that the adhesive can form a strong, permanent bond with the wall.
When selecting your mounting materials, always choose a high-quality adhesive or heavy-duty double-sided tape specifically formulated for mirrors. Standard construction adhesives often contain chemicals that can eat through the protective silver backing of the mirror, causing unsightly black spots or streaks over time. Check the manufacturer’s specifications to ensure the adhesive is compatible with both glass mirrors and your specific wall material, whether it is drywall, plaster, or concrete. In highly humid environments, such as tropical homes in the Philippines, moisture-resistant adhesives are essential to prevent the bond from weakening over time.
Handle and install the tiles with extreme care to prevent edge chipping or cracking. If you are installing tiles in high-traffic areas like narrow hallways or entryways where people might bump into them, consider using edge trim or a specialized sealant to cover any exposed, sharp edges. This not only protects the tiles from damage but also ensures the safety of everyone in the household.
Always prioritize safety and know when to seek assistance. If your wall shows signs of dampness, structural unevenness, peeling paint, or crumbling plaster, stop the installation immediately. Mounting heavy glass tiles on an unstable surface is a safety hazard. In these situations, consult a qualified professional to repair the wall structure and ensure a safe, secure installation.
Frequently Asked Questions (FAQ)
What size mirror tiles work best for small rooms?
Choosing the right tile size is essential for maintaining balance in a compact space. Generally, medium to large-format mirror tiles (such as 30×30 centimeters) work best for small rooms because they offer larger, uninterrupted reflections, which maximize the illusion of depth. Small, mosaic-style mirror tiles can look beautiful as accents, but using them over a large area can create too many seam lines, resulting in a busy, fragmented reflection that actually makes the room feel smaller. Always match the scale of the tiles to your wall size and existing furniture proportions, and check the manufacturer’s specifications for thickness and weight limits to ensure your wall can safely support the layout.
How do I clean mirror tiles without damaging the reflective backing?
To keep your mirror tiles sparkling and clear, use gentle, non-abrasive glass cleaners and a soft microfiber cloth. Avoid using harsh chemical cleaners, abrasive scrubbing pads, or highly acidic solutions like vinegar in high concentrations, as these can scratch the glass surface or seep into the seams and damage the delicate reflective backing. When cleaning, spray the glass cleaner directly onto the microfiber cloth rather than spraying it onto the tiles; this prevents excess liquid from running down into the joints and pooling behind the mirrors, which can degrade the adhesive and cause the backing to peel. Always refer to the manufacturer’s care instructions for any specific cleaning restrictions.

Community discussion
Share your experience or ask a question. Comments are reviewed before publication.