
Arranging a gallery wall of photocard holders is an excellent way to transform a personal collection into a sophisticated, visually balanced design feature. Whether you are displaying music memorabilia, sports trading cards, or limited-edition prints, treating these small-format items as a unified art installation elevates the entire room. A successful layout requires careful spatial planning, selecting the correct mounting hardware for your specific wall type, and understanding how to balance visual weight. By taking a systematic approach to preparation and installation, you can create a secure, damage-free display that protects your collectibles while showcasing them beautifully.
Planning Your Gallery Wall Layout
Before making any permanent marks or drilling holes, you must define the physical boundaries of your display area. Start by measuring the available wall space with a tape measure, noting any nearby architectural features such as window frames, light switches, or door moldings. If you are positioning the gallery wall above a piece of furniture, such as a desk, console table, or bed, aim to keep the bottom edge of the layout roughly 8 to 12 inches above the furniture to prevent the space from feeling cramped.
Once you have your dimensions, select a layout style that complements both your room and the size of your collection. A structured grid layout works exceptionally well for identical acrylic photocard holders, creating a clean, modern, and symmetrical appearance. For a more dynamic or growing collection, a salon-style layout allows you to mix different holder sizes, orientations, and frame styles, anchoring the arrangement with a larger central piece. Alternatively, an organic cluster layout offers an asymmetrical, free-form design that can easily expand outward over time as you acquire new pieces.
Products mentioned in this guide
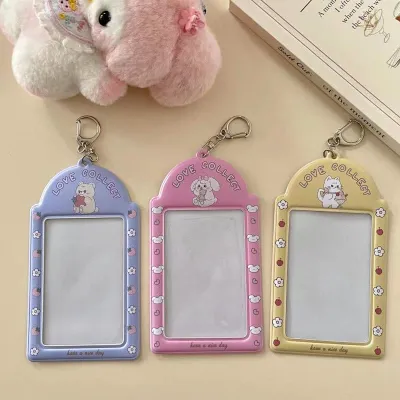
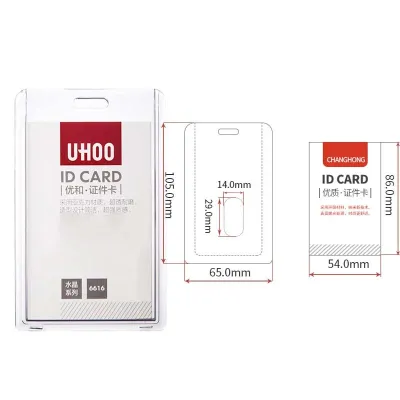
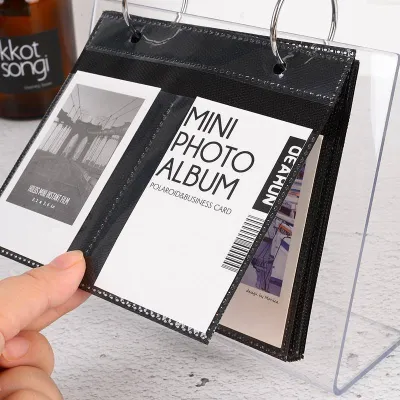
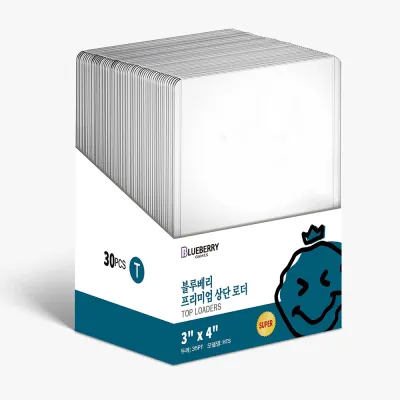
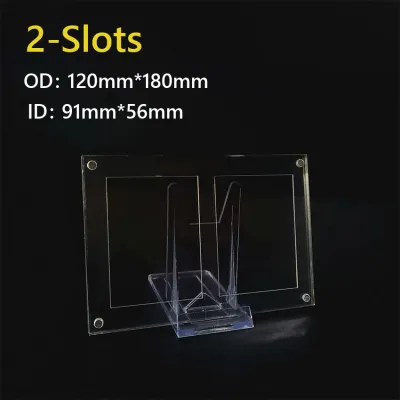
Prices are valid at publication and may change. Please refer to the product page for the latest price.
To test the visual balance of your chosen layout without risking wall damage, create physical templates of your photocard holders. Trace the outline of each holder onto plain paper or kraft paper and cut them out. Use low-tack painter’s tape to arrange these paper templates directly on the wall. This hands-on method allows you to step back, evaluate the composition from different angles in the room, and adjust the spacing until the arrangement feels perfectly balanced. You can also lay the physical holders out on the floor or use digital design software to mock up the grid before finalizing the placement.
Choosing the Right Photocard Holders and Hardware
Achieving a cohesive look requires selecting photocard holders that share a common design language. While you do not need every holder to be identical, maintaining consistency in material, depth, or frame style prevents the wall from looking chaotic. For instance, if you choose clear acrylic magnetic cases, try to use them throughout the display, or alternate them systematically with framed holders of a matching color. Pay close attention to the depth of the holders; mixing ultra-thick acrylic blocks with thin plastic sleeves can create awkward shadows and disrupt the flat plane of your gallery wall.

Your choice of mounting hardware depends entirely on your wall material and the weight of the loaded holders. In many homes, especially in tropical regions, walls are constructed from solid concrete, masonry, or plaster, which require plastic wall anchors and masonry drill bits for secure mechanical mounting. If you are working with drywall, threaded drywall anchors or toggle bolts are necessary to distribute the weight safely. For tiled surfaces, such as in a creative studio or modern workspace, specialized glass-and-tile drill bits must be used to prevent cracking the tile face.
If you prefer a non-invasive mounting method, adhesive-based hanging strips are a popular alternative, but they require strict verification. Calculate the total weight of your display by weighing the photocard holder, the photocard itself, and any decorative backing materials together. Compare this total against the manufacturer’s official weight capacity printed on the adhesive packaging. In warm, humid environments, adhesive bonds can degrade over time, so it is crucial to choose high-quality, moisture-resistant adhesive strips and stay well under the maximum rated weight limit to prevent accidental falls.
Step-by-Step Installation Guide
To ensure your photocard holders are hung straight and securely, follow a precise, step-by-step installation process. Gather your tools before starting, including a pencil, a measuring tape, a spirit level (or a laser level for maximum accuracy), and your chosen mounting hardware.
- Mark the Placement Zones: Using your paper templates as a guide, use a spirit level to project a perfectly horizontal baseline across your display area. Mark the exact top corners or center mounting points of each photocard holder lightly with a pencil. If you are using a laser level, align the beam with your planned grid lines to keep all elements perfectly square.
- Prepare the Wall Surface: For adhesive installations, clean the marked areas thoroughly with isopropyl alcohol to remove dust, oils, and wall grime, which can severely compromise adhesive adhesion. Avoid using household spray cleaners, as they often leave behind a slick residue. For mechanical installations, pre-drill your holes using the correct drill bit size for your wall anchors, taking care to vacuum away any masonry dust from the hole before inserting the anchor.
- Mount the Holders: If using adhesive strips, apply them to the back of the holder first, press the holder firmly against the wall for at least 30 seconds, and then temporarily remove the holder body (if using dual-lock style strips) to let the wall-side adhesive cure. Allow the adhesive to cure fully according to the manufacturer's instructions—typically 24 hours—before hanging the loaded photocard holders. For screw-in mounts, insert the wall anchors flush with the wall surface, align the mounting bracket or holder, and tighten the screws until secure.
- Verify Alignment: Once all holders are mounted, place your spirit level across the top of each row to verify that nothing shifted during the fastening process. Step back to view the entire wall from a distance to ensure the grid lines are straight and the spacing is visually consistent.
If you encounter structural steel, electrical conduit, or plumbing lines while drilling, or if your wall material crumbles and cannot hold an anchor securely, stop the installation immediately. In these situations, or when dealing with exceptionally heavy custom frames, consult a qualified professional to ensure the structural integrity of your wall is not compromised.
Styling and Balancing Your Display
Once your holders are securely mounted, the focus shifts to the internal composition of the gallery. To achieve visual harmony, distribute the colors and visual weight of your photocards evenly across the layout. If you have a card with a very dark background or highly saturated, vibrant colors, avoid placing it at the very edge of the display where it might pull the viewer’s eye away from the center. Instead, balance a visually heavy card on the left side of your grid with a card of similar visual weight or color intensity on the right side.
Pay close attention to the orientation of your cards. If your collection includes a mix of portrait (vertical) and landscape (horizontal) photocards, arrange them in a deliberate pattern. For a structured grid, keeping all holders in a uniform portrait orientation is often the cleanest approach. If you are working with a salon-style layout, you can frame a central landscape card with vertical cards on either side to create a pleasing, symmetrical frame-within-a-frame effect.
Consistent spacing is the secret to making a gallery wall look professional rather than cluttered. Maintain an identical gap between every holder in your layout; a standard distance of 2 to 3 inches is highly effective for small-format displays. Additionally, ensure there is ample negative space—the empty wall area—around the entire perimeter of the gallery. This breathing room isolates the display from other decorative elements in the room, allowing your photocard collection to stand out as an intentional, curated exhibition.
Maintenance and Adjustments
Maintaining your gallery wall ensures that both your wall surfaces and your valuable photocards remain in pristine condition over time. When swapping out photocards to update your display, use holders that feature front-loading mechanisms, slide-out panels, or magnetic closures. This allows you to change the cards easily without having to pull the holder off the wall, which puts unnecessary stress on adhesive strips or mechanical wall anchors.
To clean your photocard holders, use a clean, dry microfiber cloth to gently wipe away dust. Acrylic and plastic surfaces are highly susceptible to scratching, so avoid using paper towels, abrasive sponges, or harsh chemical glass cleaners. Ammonia-based cleaners can cause acrylic to develop micro-cracks, known as crazing, or turn cloudy over time. If a deeper clean is necessary, use a specialized acrylic cleaner or a highly diluted mixture of mild dish soap and water, drying the surface immediately with a soft cloth to prevent water spots.
In tropical climates where high humidity and temperature fluctuations are common, perform routine checks on your gallery wall. Inspect the adhesive strips periodically to ensure they are not peeling or sliding down the wall. Check the backs of the photocard holders for any signs of moisture buildup or condensation, which can damage paper collectibles. If you notice any dampness or softening of the adhesive, temporarily remove the display and address the room’s ventilation or humidity levels to protect your collection.
Frequently Asked Questions (FAQ)
Can I use adhesive strips for heavy acrylic photocard holders? (FAQ)
Yes, you can use adhesive strips for acrylic photocard holders, provided you verify the manufacturer’s weight ratings and prepare the wall surface correctly. Weigh your fully assembled holder, including the photocard and any decorative frames, to ensure it falls well within the limits of the adhesive. If your walls have a textured surface, or if you live in a highly humid environment where adhesives can degrade, mechanical fasteners like screws and wall anchors are a much safer option to prevent your holders from falling and sustaining damage.
How do I prevent photocards from fading in a gallery wall display? (FAQ)
To protect your photocards from fading, avoid hanging your gallery wall in direct sunlight or near strong artificial light sources. Look for photocard holders made with UV-protective acrylic or plastic, which helps filter out harmful ultraviolet rays that degrade paper pigments. Additionally, consider establishing a rotation schedule where you swap out sensitive or highly valuable cards with replicas or less sensitive items every few months to minimize prolonged light exposure.
What is the ideal spacing between photocard holders? (FAQ)
An ideal baseline spacing between photocard holders is 2 to 3 inches. This distance provides enough separation to let each individual card shine while keeping the overall layout cohesive. You can adjust this spacing based on the scale of your wall and the size of your holders; larger, chunkier frames benefit from slightly wider gaps, whereas a tight, high-density grid of minimalist acrylic sleeves looks best with a consistent 1.5-inch spacing.
Community discussion
Share your experience or ask a question. Comments are reviewed before publication.