
To achieve a visually balanced gallery wall of photocard holders, you must establish a clear layout style, maintain consistent spacing of 2 to 3 inches, and distribute visual weight evenly by placing heavier or more colorful frames opposite each other. Whether you are showcasing rare music collectibles, sports cards, or personal mini-prints, a well-planned arrangement elevates individual cards into a cohesive work of art.
Transforming a collection of small items into an eye-catching wall display requires a blend of structural planning and design principles. By taking the time to map out your space, gather the right tools, and protect your paper collectibles from environmental wear, you can create a stunning focal point that keeps your cherished cards safe and beautifully organized.
Planning Your Photocard Holder Gallery Wall Layout
Before making any marks on your wall or purchasing mounting hardware, it is essential to assess your available space and the total number of items you plan to display. Because a standard collectible card is relatively small—typically measuring around 55 by 85 millimeters—a single photocard holder can easily look lost on a large, empty wall. Grouping them together in a deliberate layout ensures they command attention and look intentional rather than accidental.
Products mentioned in this guide
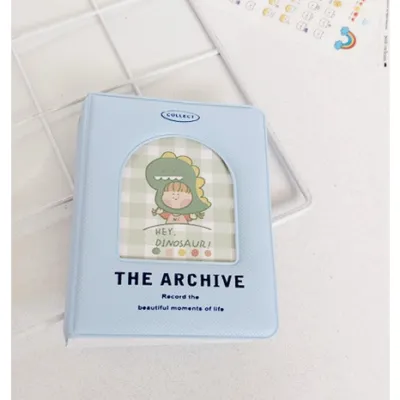
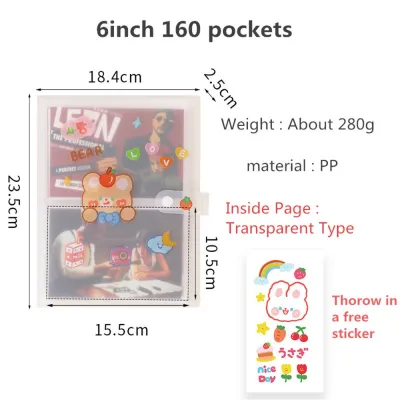
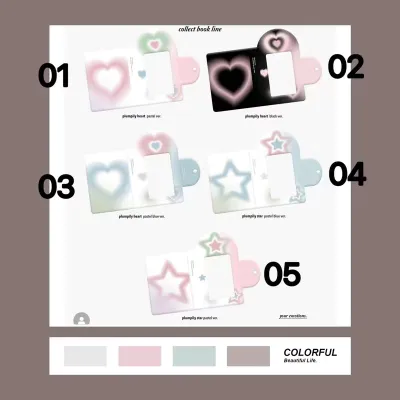
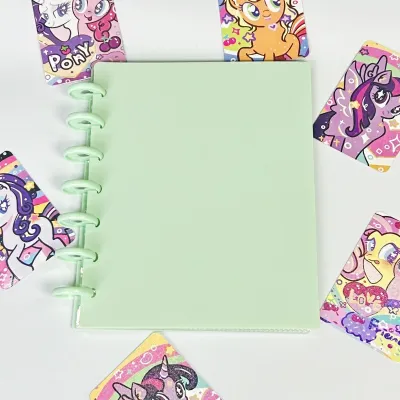
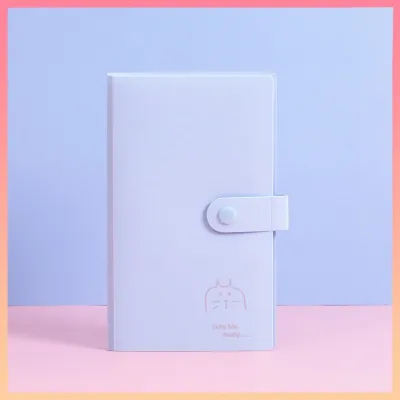
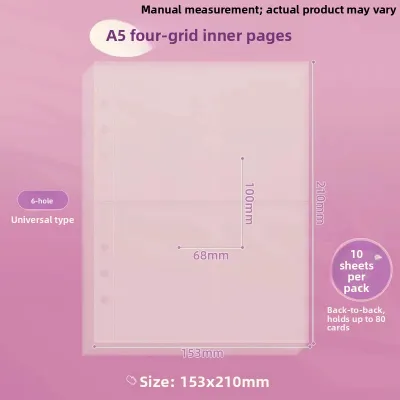
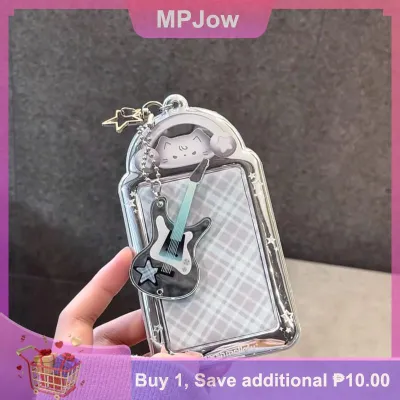

Prices are valid at publication and may change. Please refer to the product page for the latest price.
Depending on your personal style and the size of your collection, you can choose from three primary layout configurations:
- Grid Layout: This highly structured arrangement relies on uniform rows and columns. It is ideal for identical, clear acrylic frames and works best for complete card sets or collections with a singular theme. A grid layout offers a clean, modern, and museum-like aesthetic, though it requires precise measurements during installation.
- Salon or Eclectic Layout: This style mixes different frame sizes, shapes, and orientations. It is perfect if you want to display your photocards alongside other memorabilia, such as concert tickets, postcards, or mini art prints. An eclectic layout feels organic and dynamic, and it allows you to easily add new pieces over time without dismantling the entire arrangement.
- Linear Layout: This configuration aligns your frames along a single horizontal line, often utilizing a narrow floating shelf or picture ledge. A linear layout is highly minimalist and serves as an excellent option for renters, as it allows you to lean and swap out your displays without making multiple holes in the wall.
To visualize your layout without damaging your walls, create a physical or digital mockup. You can lay your photocard holders out on a clean floor or table, adjusting their positions until you find a balanced composition. Alternatively, use digital room planning software or graphic design apps to experiment with different arrangements against a photo of your actual wall.
As you plan, define the outer boundaries of your gallery wall. Use painter’s tape to mark an imaginary rectangle or square on the wall that represents the maximum footprint of your display. Keeping your arrangement contained within these clean outer boundaries prevents the collection from looking cluttered or spreading too far across the room.
Tools and Materials Needed for Installation
Executing a flawless gallery wall requires gathering the correct tools and materials beforehand. Having everything ready ensures a smooth, stress-free installation process and helps prevent accidental damage to both your walls and your collectible cards.

First, select the right style of photocard holder for your display. Clear acrylic magnetic frames are highly popular for their sleek, borderless look and ease of use. Mini wooden frames add warmth and natural texture to a room, while small floating display cases can house slightly thicker items or cards in protective top loaders.
Next, assemble your layout and measurement tools:
- A measuring tape to calculate distances and ensure even spacing.
- A pencil for making light, easily erasable placement marks.
- A spirit level to guarantee that every frame hangs perfectly straight.
- Painter's tape to secure templates without peeling your wall paint.
Your choice of hanging hardware depends heavily on your wall type and living situation. For permanent installations on drywall or concrete walls—which are common in many homes in the Philippines—small picture hooks and fine nails provide a secure hold. If you are renting or mounting your display on tiled surfaces, choose heavy-duty, damage-free adhesive strips designed to hold the specific weight of your frames.
Finally, keep some lightweight paper on hand, such as kraft paper, baking paper, or old newspaper. You will use this to create actual-size templates of your frames, allowing you to test the layout directly on the wall before committing to any hardware.
Step-by-Step Guide to Hanging Photocard Holders
Once you have planned your layout and gathered your tools, you can begin the physical installation. Following a systematic process ensures that your planned design translates perfectly to the wall with minimal errors.
Step 1: Establish the anchor point. Every balanced gallery wall needs a central focal point to anchor the design. Aim to place the center of your overall arrangement at eye level, which is standardly 57 to 60 inches from the floor. If you are hanging the display directly above a desk, bed, or console table, center the layout over the furniture, leaving about 6 to 8 inches of clearance above the surface to keep the area feeling open.
Step 2: Create and apply paper templates. Place each photocard holder onto your template paper, trace the outline with a pencil, and cut out the shapes. Write a brief note on each paper template indicating which card or frame style it represents, as well as its orientation. Use small pieces of painter’s tape to stick these paper templates to the wall in your chosen layout.
Step 3: Adjust spacing and alignment. Step back several feet to view the paper layout from a distance. Adjust the templates until the overall shape feels cohesive and balanced. To ensure a clean and professional look, maintain a consistent gap of 2 to 3 inches between each template. You can cut a small piece of cardboard to use as a physical spacer, ensuring every gap is identical.
Step 4: Install the hanging hardware. Mark the exact hook or adhesive placement directly onto the paper templates. If you are using adhesive strips, clean the wall surface thoroughly with rubbing alcohol to remove dust, grease, and moisture, which is especially important in humid climates. Follow the manufacturer’s instructions carefully, paying close attention to weight limits and curing times. If you are drilling into concrete walls, ensure you use the correct masonry drill bits and plastic wall anchors to secure your screws.
Step 5: Mount and level. Carefully hang your photocard holders over the marked spots, gently tearing away the paper templates as you secure each piece. Place a spirit level on top of each mounted frame to make final micro-adjustments and ensure every line is perfectly horizontal.
Warning and Safety Boundaries: Always check your manufacturer’s instructions for weight limits and installation guidelines. Before drilling or hammering into any wall, verify that there are no hidden electrical wires or water pipes behind the surface, particularly near light switches or outlets. If you encounter unexpected wall materials, hard concrete that resists standard tools, or if the total weight of your display exceeds the rated capacity of your adhesive strips, stop immediately and consult a qualified professional installer.
Achieving Visual Balance with Mixed Sizes and Colors
A gallery wall of small items can easily look chaotic if design principles are ignored. To make your collection of varied photocard holders look cohesive and intentional, you must apply basic rules of visual balance.
Distributing visual weight is key to a comfortable composition. Visual weight refers to how much an item draws the eye. Larger frames, darker colors, and highly detailed card designs carry more visual weight than small, light-colored, or clear frames. If you place all your visually heavy items on one side of the layout, the display will feel lopsided. Instead, distribute these prominent pieces diagonally from one another or place them near the center of the arrangement to anchor the design.
Color coordination helps unify diverse card designs. If your collection features a wide array of vibrant colors and concepts, you can ground them by using uniform frame colors, such as all matte black or all clear acrylic. If you prefer to mix frame colors, distribute them symmetrically across your grid or layout so that no single color dominates a single corner.
Matting and backing can act as a powerful design bridge. Placing your small photocards against a consistent background color inside the holder creates a unifying thread. A neutral backing card, such as soft white, cream, or light gray, provides a clean border that highlights the card’s artwork while standardizing the visual presentation across different card sizes.
Finally, pay close attention to sightlines. Even if the internal arrangement of your gallery wall is organic and eclectic, try to ensure that the outer edges of the perimeter frames form a relatively clean, straight boundary. Aligning the top, bottom, or side edges of the outermost frames helps the human brain perceive the collection as a single, organized unit rather than a random scattering of items.
Protecting Your Photocards and Wall Finish
Displaying precious paper collectibles requires balancing visual appeal with long-term preservation. This is particularly crucial when dealing with delicate materials in tropical environments where environmental factors can quickly damage your collection.
UV and heat protection are essential for preventing irreversible damage. Direct, harsh sunlight emits ultraviolet rays that cause paper fibers to degrade, ink to fade, and clear acrylic frames to yellow over time. Position your gallery wall away from windows that receive direct sunlight, especially during the intense midday and afternoon hours in the Philippines. If your room is naturally bright, consider using photocard holders made with UV-filtering acrylic to shield your cards.
Humidity control is another critical factor in preserving paper items. High moisture levels can cause paper photocards to warp, ripple, or stick to the interior surface of the holder, which can ruin the card’s gloss coating when you attempt to remove it. Avoid placing your gallery wall in high-moisture areas, such as near bathrooms, kitchen stoves, or directly in front of air conditioning vents. To prevent sticking, always place your photocards inside acid-free, archival-safe plastic sleeves before sliding them into rigid holders.
When it comes to safe removal and maintenance, patience is required to protect your wall finish. If you used adhesive strips, never pull them outward away from the wall, as this will tear the paint and drywall. Instead, hold the frame gently and pull the adhesive tab slowly, straight down parallel to the wall, stretching the strip until it releases cleanly. For long-term displays of heavier frames, transition from adhesive strips to mechanical fasteners like small nails, as prolonged exposure to high tropical humidity can eventually weaken adhesive bonds and cause frames to fall unexpectedly.
Frequently Asked Questions (FAQ)
Can I use magnetic photocard holders on a gallery wall?
Yes, magnetic photocard holders are highly suitable for a gallery wall, but they are generally heavier than standard thin plastic sleeves or paper frames. Because of this added weight, standard lightweight double-sided tape may not provide a secure hold. Ensure you use heavy-duty adhesive strips rated specifically for the frame’s weight, or use small picture nails to prevent the holders from falling and damaging your cards or flooring.
What is the best spacing between small photocard frames?
The ideal spacing between small photocard frames is 2 to 3 inches. This distance provides enough separation so that each card can be appreciated individually, while keeping them close enough to read as a single, cohesive art installation. Spacing wider than 3 inches can make your collection look scattered and disconnected, while gaps tighter than 2 inches can make the wall look cramped and make it difficult to clean around the frames.
Community discussion
Share your experience or ask a question. Comments are reviewed before publication.