
Creating a gallery wall using a magnetic album system or magnetic pages is an innovative way to display your favorite memories while retaining the flexibility to swap photos whenever inspiration strikes. Unlike traditional framed displays that require you to disassemble deep frame backings every time you want to make a change, a magnetic setup simplifies the curation process. By planning your layout carefully, prepping your materials for tropical conditions, and using the correct mounting hardware, you can design a stunning, professional-grade visual display that stands up to time and climate.
Plan Your Gallery Wall Layout with a Magnetic Album
Before driving any nails or applying adhesives, you must carefully evaluate the physical space designated for your display. Start by measuring the width and height of the available wall area. In most living spaces, the center of the gallery wall should sit at eye level, which is standardly measured at approximately 140 to 150 centimeters from the floor. This focal point acts as the anchor for your entire layout, ensuring that the finished display feels integrated with the surrounding furniture rather than floating awkwardly in isolation.
Consider the visual weight of your pieces when designing the layout. Larger or darker images naturally draw more attention and should generally be positioned toward the bottom or center of your arrangement to ground the display. Spacing should remain consistent throughout the setup; aiming for a gap of 5 to 10 centimeters between each piece helps maintain a balanced look without crowding the wall.
Products mentioned in this guide
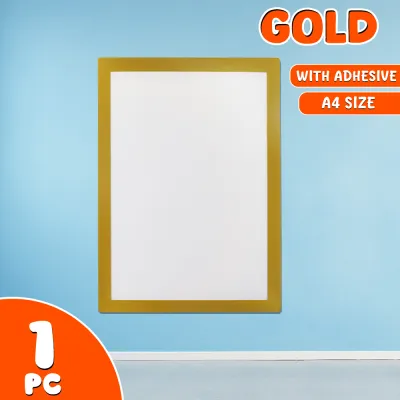
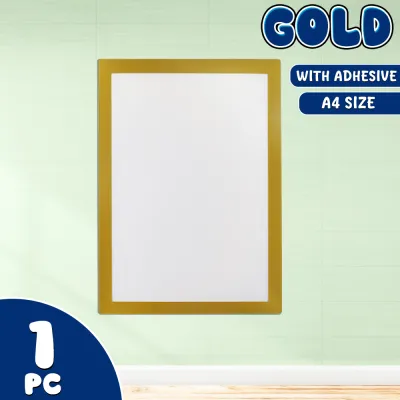
![[🇵🇭 Stock&COD] 5/10pcs A4 A6 Magnetic Wall Photo Frame Certificate Holder Multi Color Display Frame Office Decor](https://img.lazcdn.com/g/p/bcaca3d473036147a92daa163ca50ec6.jpg_400x400q80.jpg_.webp)
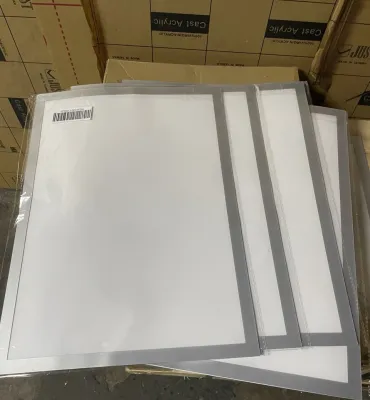


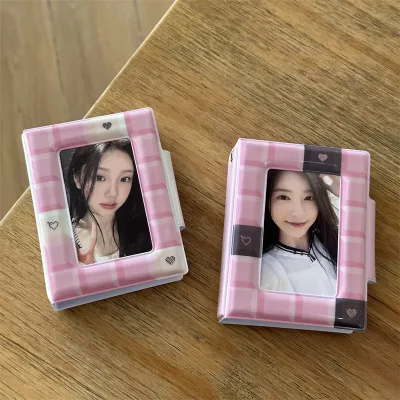
Prices are valid at publication and may change. Please refer to the product page for the latest price.
Next, select a layout style that complements both your interior decor and the variety of your photo collection. A uniform grid layout—such as a clean three-by-three or two-by-four arrangement—works exceptionally well for modern, minimalist spaces and provides a highly structured aesthetic. If you have photos of varying dimensions and orientations, an eclectic salon style offers a more relaxed, artistic feel where frames of different sizes cluster around a central axis. For narrow areas like hallways or staircases, a linear row layout keeps the visual path clean and prevents the space from feeling cramped.
To translate your vision onto the wall without causing accidental damage, create paper templates of your display items. Trace the exact outer dimensions of your magnetic album pages, magnetic acrylic blocks, or backing boards onto sheets of kraft paper or recycled newspapers, and cut them out. Label each paper template with the specific photo or theme it represents so you can easily keep track of your design during the testing phase.
Lay these paper templates out on a large, flat floor space in front of your target wall to experiment with different configurations. Once you are satisfied with the floor arrangement, transfer the templates to the wall one by one, securing them with low-tack painter’s tape. This step allows you to step back, view the layout from different angles in the room, and make precise adjustments to the spacing and alignment before committing to any permanent installation.
Prepare Your Photos and Magnetic Album Materials
Achieving a cohesive and polished gallery wall starts with thoughtful curation of your visual content. Select photos that share a common thread, whether it is a unified theme like family travel, a consistent color palette, or a matching digital filter. For instance, converting all your images to black-and-white or applying a warm, sepia-toned filter instantly unifies mismatched photos, giving your display a curated, gallery-like quality. Once your selection is finalized, carefully trim the photos to fit your designated display areas, taking care not to crop out critical subjects or background elements.

If you are using self-adhesive magnetic album pages—often featuring cling-style plastic overlays—the preparation process requires precision. Begin by slowly peeling back the protective clear plastic film from the adhesive backing sheet, starting from one corner. Position your trimmed photos onto the sticky surface, leaving at least a 1.5-centimeter border around each image to ensure the plastic film can seal properly to the backing. Using a soft squeegee or a clean, dry cloth, smooth the plastic film back down over the photos, working from the center outward to push out any trapped air bubbles. If you prefer a frameless, ultra-clean edge, you can use a sharp utility knife and a metal ruler to trim away excess blank borders from the outer edges of the pages.
For those opting for magnetic acrylic frames or blocks, cleanliness is paramount to achieving a professional finish. Wipe down both inner faces of the acrylic panels with a high-quality microfiber cloth to remove all traces of dust, lint, and fingerprints before sandwiching your photo. Ensure the photo lies completely flat against the base panel, then gently lower the top magnetic plate until the corner magnets snap securely together.
Before moving to the installation phase, take a moment to inspect and verify the physical characteristics of each prepared piece. Note the final weight, thickness, and structural rigidity of each page or frame, as these specifications directly dictate the type of hanging hardware required to support the load safely. Heavier acrylic blocks or reinforced backing boards will demand more robust mounting solutions than lightweight, flexible paper pages.
Install the Display Securely on Your Wall
Mounting your gallery wall securely requires matching your hanging hardware to both the weight of your display pieces and the specific construction of your walls. In many homes, particularly in tropical climates like the Philippines, walls are constructed from solid concrete, masonry, or plaster rather than drywall. This makes understanding your wall type essential before you begin drilling or hammering, as standard drywall screws will not hold in masonry without the proper anchors.
If you plan to use adhesive-based mounting solutions, such as double-sided mounting tape or adhesive strips, you must carefully evaluate their limitations in local environmental conditions. High humidity, seasonal moisture, and tropical heat can degrade the chemical bonds of standard adhesives over time, potentially causing your display pieces to fall and suffer damage. Always check the manufacturer’s product packaging to verify the maximum weight capacity, surface compatibility, and recommended curing times before applying them to your walls. Ensure the wall surface is thoroughly cleaned with isopropyl alcohol and completely dry before application, and allow the adhesive to cure fully without any load for the duration specified by the manufacturer.
For heavier magnetic frames, solid backing boards, or permanent installations, mechanical hardware is the safest and most reliable choice. When working with concrete or masonry walls, use a hammer drill with a masonry bit to create pilot holes, insert plastic wall anchors, and secure your picture hooks or screws firmly into place. If you are mounting near light switches, power outlets, or hidden utility lines, always proceed with caution to avoid drilling into live electrical wiring or plumbing; if you are unsure of the path of your home’s utilities, consult a qualified professional to handle the drilling.
Use a high-quality spirit level and a metal measuring tape to mark your exact hanging points directly onto the paper templates taped to the wall. This technique ensures that your drilling or hook placement is perfectly aligned without needing to mark up your finished paint job. Once the hanging hardware is securely installed, carefully hang your magnetic album pages or frames, gently tear away the paper templates from behind them, and step back to verify that the spacing remains perfectly balanced and the horizontal lines are straight.
Maintain and Update Your Magnetic Photo Wall
Maintaining the pristine appearance of your magnetic gallery wall requires regular, gentle care tailored to your local environment. Dust and airborne particulates can accumulate quickly on horizontal edges and acrylic surfaces, especially in open-air or highly ventilated tropical rooms. Use a clean, dry microfiber cloth to dust the fronts and sides of your frames weekly; avoid using harsh chemical glass cleaners or abrasive paper towels on acrylic, as these can leave permanent micro-scratches that dull the clarity of your display.
Environmental protection is critical to preserving both your physical photographs and the integrity of your display materials. Position your gallery wall away from direct, harsh sunlight, as ultraviolet (UV) rays will rapidly fade photo pigments and cause white paper borders to turn yellow. Additionally, avoid installing your display in high-moisture zones, such as directly opposite a bathroom door, near kitchen sinks, or adjacent to active air conditioning vents where condensation can form. High moisture levels can cause paper photos to warp, promote mold growth, and weaken the self-adhesive films used in magnetic album pages, leading to peeling and bubbling.
One of the greatest advantages of a magnetic display is the ease with which you can update your photos as your family grows or seasons change. To safely swap out images in magnetic acrylic frames, gently slide or pry the two panels apart from the corners rather than pulling them forcefully from the center, which can stress the magnets. For self-adhesive magnetic album pages, slowly peel back the clear plastic overlay starting from one corner at a shallow angle. Carefully lift the old photo to avoid tearing the backing sheet, place your new image down, and smooth the protective film back into place from the center outward to ensure a clean, bubble-free seal.
Frequently Asked Questions (FAQ)
Can I hang self-adhesive magnetic album pages directly on the wall?
Hanging bare, self-adhesive magnetic album pages directly on a wall is not recommended because these pages are inherently flexible and lack structural rigidity. Over time, gravity combined with indoor humidity will cause the flexible pages to curl, sag, or pull away from the wall surface, potentially damaging your photos. To display them safely, mount the flexible pages onto a rigid substrate like lightweight foam board or heavy cardstock using acid-free double-sided tape, or slide them into rigid acrylic sleeves or lightweight clip frames before mounting them to your wall.
How do I prevent photos from fading in a magnetic gallery wall?
To prevent your photos from fading over time, ensure your gallery wall is positioned away from windows that receive direct, intense sunlight. If your room is naturally very bright, consider using magnetic acrylic frames that feature built-in UV-filtering properties to block harmful light rays. Most importantly, avoid displaying irreplaceable original vintage prints or one-of-a-kind physical photographs; instead, scan your originals to create high-resolution digital backups, print high-quality copies for your gallery wall, and store the precious originals safely in a dark, climate-controlled archival box.
Community discussion
Share your experience or ask a question. Comments are reviewed before publication.