
Choosing the correct ceiling light involves more than just picking a design you like; it requires matching the fixture’s physical dimensions and light output to your specific space. Whether you are updating a compact bedroom or illuminating a spacious living area, getting the size and brightness right ensures visual balance and functional visibility. A fixture that is too small will look lost on your ceiling, while an oversized one can dominate the room and make the space feel cramped. Similarly, inadequate brightness leads to eye strain, while excessive glare can ruin a relaxing evening. By taking precise measurements of your room, applying standard design formulas, and calculating your specific lumen requirements, you can select a ceiling light that provides both visual harmony and functional illumination.
Step 1: Measure Your Room and Ceiling Height
To begin your lighting project, you must gather the foundational physical dimensions of your space. Start by measuring the length and width of the room using a standard tape measure. In many homes in the Philippines, dimensions are often recorded in meters. To use standard lighting formulas, convert these measurements to feet by multiplying the meter value by 3.28. Once you have the length and width in feet, multiply them together to determine the total square footage of the room. For example, a bedroom measuring 3 meters by 3.6 meters is approximately 10 feet by 12 feet, yielding a total area of 120 square feet.
Next, measure the vertical distance from the floor to the ceiling. Ceiling height is a critical factor in determining which type of fixture is suitable for your space. Standard residential ceilings are often around 2.4 to 2.7 meters high. For ceilings in this range or lower, flush mount lights are highly recommended because they sit directly against the ceiling plane, preserving valuable headroom. A safe rule of thumb is to maintain at least 2.1 meters (7 feet) of clearance between the bottom of the light fixture and the floor to prevent tall occupants or guests from accidentally bumping into it.
Products mentioned in this guide
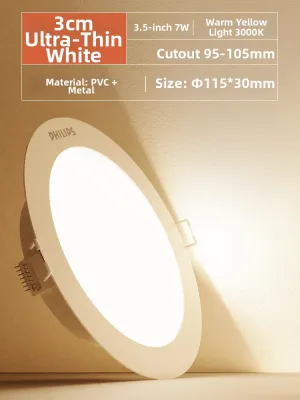
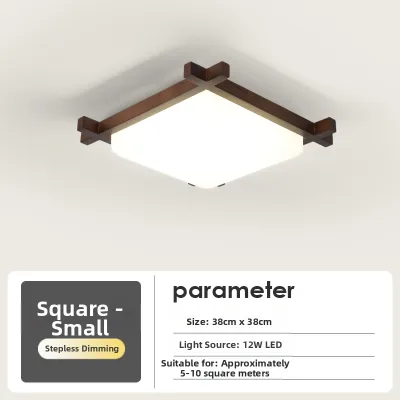

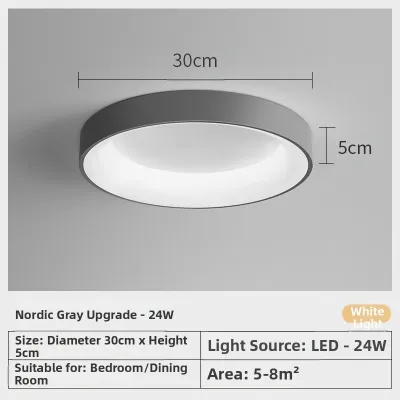


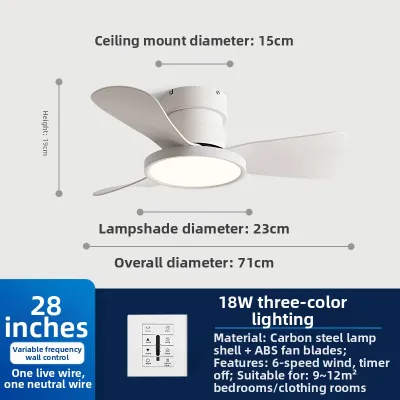
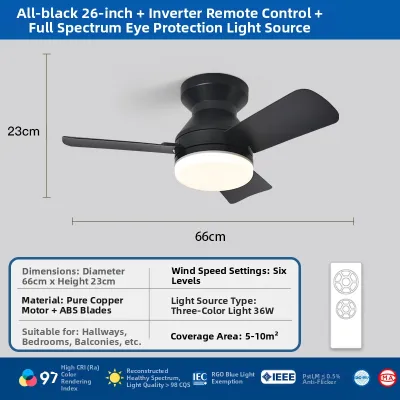
Prices are valid at publication and may change. Please refer to the product page for the latest price.
Finally, scan the ceiling and surrounding walls for any physical obstructions. In tropical climates, ceiling fans are incredibly common and must be factored into your placement plan. Ensure that the blades of your ceiling fan do not pass directly beneath or close to your ceiling light, as this can create a highly distracting strobing effect when both appliances are running. Additionally, check the clearance of tall furniture pieces, such as wardrobes or bookshelves, and verify that high kitchen cabinet doors can swing open fully without striking the proposed fixture.
Step 2: Calculate the Ideal Ceiling Light Diameter
Once you have recorded your room’s dimensions, you can use a reliable interior design formula to determine the ideal physical size of your ceiling light. The standard rule of thumb is to add the room’s length and width in feet, and then convert that exact sum directly into inches to find the target diameter of your fixture. Using our previous example of a 10-foot by 12-foot room, adding 10 and 12 gives you 22. Therefore, a ceiling light with a diameter of approximately 22 inches (about 56 centimeters) will look visually balanced in that space.

Keep in mind that this formula serves as a baseline for general room illumination and should be adjusted based on your specific layout and furniture arrangement. If you are centering a fixture over a specific focal point, such as a dining table or a kitchen island, the dimensions of the furniture should take precedence over the room’s overall size. For instance, a dining table light should generally have a diameter that is one-half to two-thirds the width of the table to ensure it does not overwhelm the dining area or cause glare at eye level.
When selecting flush mount lights, paying close attention to visual scale is particularly important. Because flush mounts sit flat against the ceiling, they can sometimes appear smaller from below than their actual measurements suggest. If your calculated diameter falls between two standard product sizes, it is usually safer to choose the slightly larger option to ensure the fixture has enough visual presence on the ceiling plane. However, avoid going too large in rooms with low ceilings, as a massive fixture can make the ceiling feel lower than it actually is.
Step 3: Determine the Required Brightness (Lumens)
Determining the correct brightness for your room requires shifting your focus from wattage to lumens. Historically, homeowners relied on wattage to estimate brightness, but this metric only measures the amount of electrical energy a bulb consumes. With the widespread adoption of energy-efficient LED technology, wattage is no longer a reliable indicator of light output. Instead, you must look at lumens, which measure the actual amount of visible light emitted by a source. To achieve the right brightness, you must calculate the total lumens required for your specific room size and function.
To do this, lighting professionals use a metric called foot-candles, which represents the amount of light that falls on a one-square-foot surface. Different activities require different levels of illumination. Task-heavy areas, such as kitchens, home offices, and bathrooms, require higher foot-candle levels—typically between 30 and 40 foot-candles—to ensure safety and precision. In contrast, relaxation spaces like bedrooms and living rooms only require about 10 to 20 foot-candles to maintain a warm, inviting atmosphere.
To calculate your total required lumens, multiply your room’s square footage by the target foot-candle range. For a 120-square-foot bedroom requiring 15 foot-candles, the calculation is 120 multiplied by 15, which equals 1,800 lumens. When shopping for a ceiling light, always check the product packaging or the manufacturer’s specification sheet for the verified lumen output. Relying on verified specifications ensures that you do not accidentally purchase an underpowered fixture that leaves your room in shadow.
Step 4: Adjust for Room Specifics and Light Loss
While the basic lumen formula provides an excellent starting point, you must adjust your final calculations to account for the unique physical characteristics of your room. One of the most significant factors is the color palette of your walls, ceiling, and flooring. Dark paint colors, matte finishes, and heavy wood paneling absorb a substantial amount of light, which can make a room feel dimmer than expected. If your room features dark accent walls or deep wood tones, you may need to increase your target lumen output by 10% to 20% to compensate for this absorption. Conversely, light-colored or reflective surfaces bounce light around the room, maximizing the efficiency of your fixture.
Natural daylight also plays a role in how you perceive brightness throughout the day. Rooms with large, sun-facing windows will require less artificial light during daytime hours, but you must still design your primary ceiling light to handle the room’s full illumination needs at night. Additionally, consider the materials used in the construction of the ceiling light itself. Fixtures with frosted glass, fabric shades, or fully enclosed covers naturally diffuse and block a portion of the emitted light. To ensure you achieve your desired brightness, look for fixtures with a higher initial lumen rating if you plan to use a heavily shielded or decorative design.
Step 5: Verify Electrical and Installation Compatibility
Before finalizing your purchase, you must verify that the selected ceiling light is fully compatible with your home’s electrical infrastructure and structural capacity. Begin by inspecting the existing ceiling junction box. This box must be securely anchored to the ceiling joists and rated to support the weight of your new fixture. Heavy glass or metal flush mounts require robust support, and installing a heavy fixture on an inadequate plastic box can lead to structural failure and safety hazards.
Next, verify the electrical specifications of the fixture. In the Philippines, the standard residential voltage is 220V to 240V at 60Hz. Ensure that any imported fixtures or integrated LED systems are rated for this voltage range to prevent premature component failure or electrical hazards. You should also check the bulb base interface (such as standard E27 screw bases) and the maximum wattage limit of the socket if you plan to use replaceable bulbs.
Safety must always be your top priority during any electrical project. Always isolate the power at the main circuit breaker before inspecting, removing, or installing any light fixture; never rely solely on a wall switch to turn off the electricity. Strictly follow the manufacturer’s provided installation manual for wiring connections and mounting steps. If your project involves working at height, dealing with complex fixed wiring, installing fixtures in damp areas like bathrooms, or handling heavy suspended loads, stop and consult a qualified professional or a licensed electrician to ensure a safe and compliant installation.
Frequently Asked Questions (FAQ)
Can I use a flush mount light in a room with high ceilings?
While you can physically install a flush mount light on a high ceiling, it is often not the most effective choice. High ceilings create a large volume of empty space, and a flush mount fixture can look visually lost and disproportionately small. Furthermore, because the light source is positioned so far above the living plane, the light may disperse too widely before reaching the floor, leaving the lower half of the room feeling dim. For ceilings higher than 3 meters, consider semi-flush mounts, pendant lights, or chandeliers that hang lower to bring the light source closer to where it is needed.
How do I choose the right color temperature for my room?
Color temperature is measured in Kelvin (K) and determines whether the light appears warm or cool. This is a matter of personal preference and room function rather than a universal performance standard. Warm white light (2700K to 3000K) mimics the soft glow of traditional incandescent bulbs, making it ideal for creating a cozy, relaxing environment in bedrooms and living rooms. Cool white light (4000K) offers a neutral, clean appearance that enhances focus in kitchens and home offices. Daylight (6500K) provides a bright, bluish-white light that is highly effective for detailed task work and utility spaces.
What if my calculated lumen requirement is higher than a single fixture can provide?
If your room requires more lumens than a single central ceiling light can safely or aesthetically deliver, you should implement a layered lighting strategy. Relying solely on one high-output fixture can create harsh shadows and intense glare. Instead, combine your central ceiling light with supplementary light sources. You can install recessed downlights around the perimeter of the room, mount wall sconces to add vertical interest, or place floor and table lamps in darker corners. This distributed approach ensures even illumination, eliminates dark spots, and allows you to adjust the light levels to suit different times of day.
Community discussion
Share your experience or ask a question. Comments are reviewed before publication.