
Outdoor spaces benefit immensely from the warm, inviting glow of decorative lighting. When looking to illuminate a garden, patio, or balcony without increasing your electricity bill, solar fairy lights offer an energy-efficient, versatile, and highly customizable solution. However, selecting the right set requires looking beyond aesthetics to evaluate key technical specifications that dictate performance, durability, and safety.
To choose the best solar fairy lights for outdoor use, you must evaluate four primary technical specifications: solar panel efficiency, battery capacity and chemistry, the ingress protection (IP) waterproof rating, and physical design features such as bulb spacing and lighting modes. In tropical climates like the Philippines, where heavy rains, high humidity, and intense sunlight alternate throughout the year, matching these specifications to your specific environmental conditions is essential to ensure your decorative setup remains functional and safe over the long term.
Define Your Outdoor Lighting Needs and Setup
Before diving into technical specification sheets, take the time to analyze your physical outdoor environment and define your decorative goals. The layout of your space dictates the length of the light string you need, the mounting style required, and the optimal placement of the solar charging unit.
Products mentioned in this guide
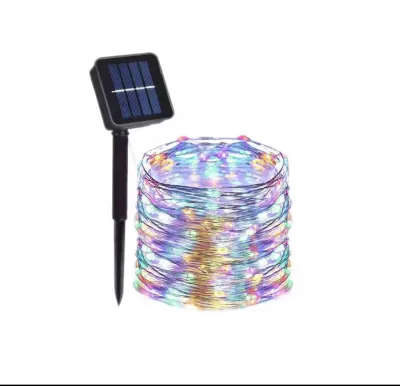
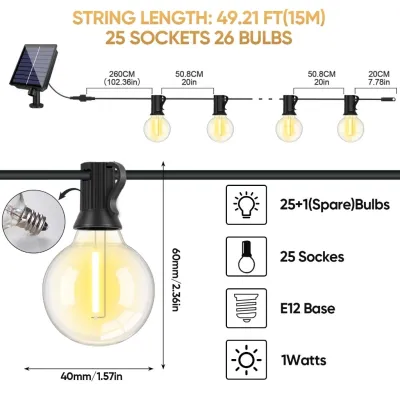
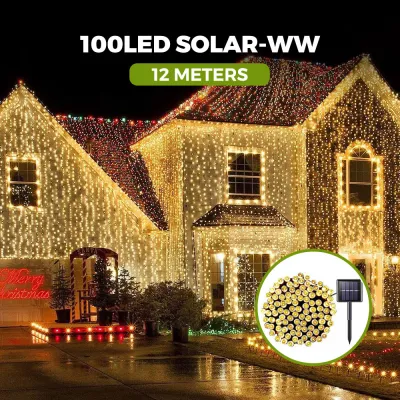
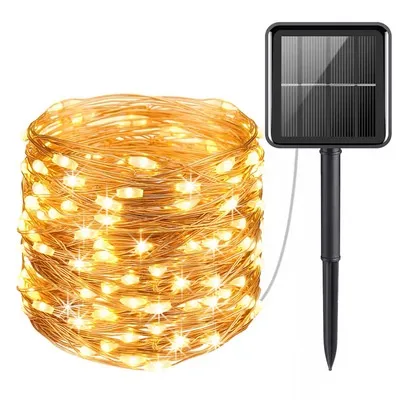
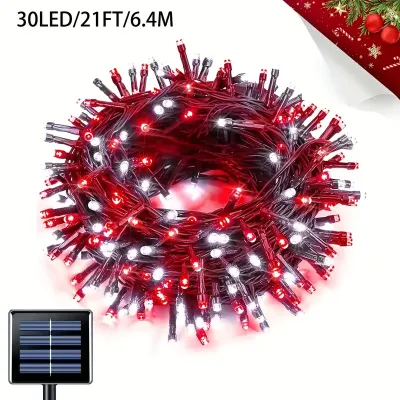
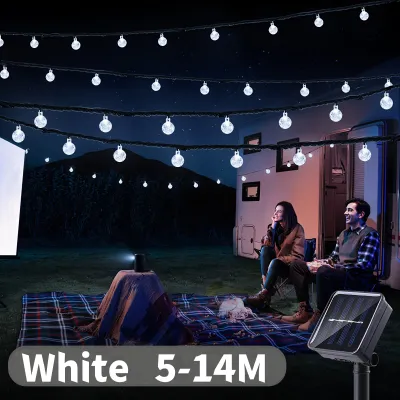
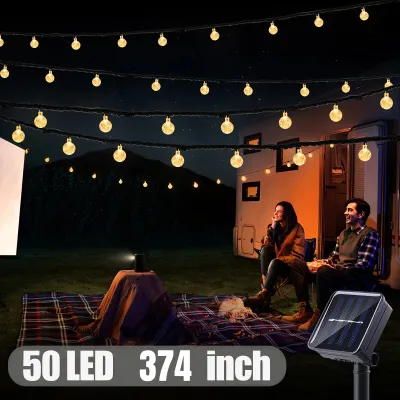
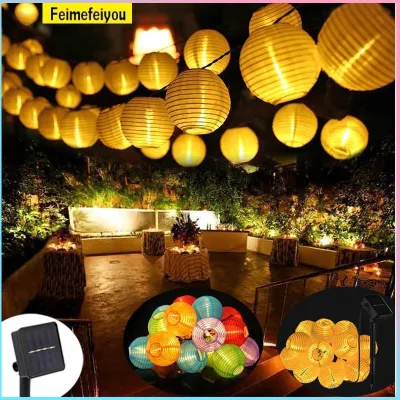
Prices are valid at publication and may change. Please refer to the product page for the latest price.
Begin by measuring the exact area you plan to decorate, whether it is a garden fence, a balcony railing, a patio canopy, or the trunk of a tree. Use a flexible measuring tape or a piece of string to trace the path where the lights will hang, making sure to account for natural drapes, swags, or wraps. Adding a buffer of ten to fifteen percent to your final measurement ensures you have enough slack to complete the installation without tension on the wires.
Next, observe the sunlight patterns in your chosen space throughout the day. Solar panels require direct, unobstructed sunlight to charge their internal batteries effectively. If your target decorating area is shaded by a roof overhang, dense tree canopy, or adjacent walls, you will need a solar fairy light set that features a generous lead cable—the unlit wire between the solar panel and the first LED bulb. This allows you to position the light string in the shade while placing the solar panel in a sunny spot.
Finally, verify the general suitability of the product for your specific installation. While solar lights operate on low-voltage direct current (DC) power generated by their batteries, some hybrid systems or optional charging adapters connect directly to standard alternating current (AC) household outlets. Always check product labels for voltage compatibility and look for recognized electrical safety certifications to ensure the product is safe for outdoor use in your region.
Step-by-Step Guide to Evaluating Solar Fairy Light Specs
Evaluating technical specifications systematically helps you avoid low-quality products that dim quickly or fail after the first heavy rainfall. Focus on the following key components to find a reliable, high-performing set of outdoor lights.

Check the Solar Panel Type and Placement Requirements
The solar panel is the powerhouse of your lighting system, converting sunlight into electrical energy. Most consumer solar fairy lights utilize one of two panel types:
- Monocrystalline panels: These panels are made from single-crystal silicon, offering higher energy conversion efficiency. They perform better in low-light or partially cloudy conditions, making them ideal for areas with variable weather.
- Polycrystalline panels: Constructed from multiple silicon fragments melted together, these panels are generally more budget-friendly but slightly less efficient, requiring more direct sunlight to achieve a full charge.
Beyond the panel type, check the physical dimensions of the solar housing and the included mounting hardware. Reliable models typically provide versatile mounting options, such as a pointed ground stake for garden beds and a wall-mount bracket with pre-drilled holes for fences or masonry. Ensure the lead cable is long enough to bridge the gap between the sunny panel location and the shaded decorative area, preventing placement compromises.
Verify Battery Capacity and Expected Run Time
The energy collected by the solar panel during the day is stored in an integrated rechargeable battery. To ensure your lights stay illuminated throughout the evening, you must verify both the battery chemistry and its capacity:
- Nickel-Metal Hydride (Ni-MH): Commonly found in budget-friendly solar lights, these batteries are reliable but have lower energy density and a shorter overall lifespan compared to modern alternatives.
- Lithium-ion (Li-ion) or Lithium Iron Phosphate (LiFePO4): These batteries offer superior energy density, faster charging times, and a significantly higher number of charge-discharge cycles, making them the preferred choice for premium, long-lasting outdoor setups.
Battery capacity is measured in milliampere-hours (mAh). A higher mAh rating indicates a larger energy storage capacity, which supports longer run times or a higher number of individual LED bulbs. However, actual run time is highly conditional; it depends heavily on daily sunlight exposure, the angle of the solar panel, and seasonal weather patterns. On a clear, sunny day, a fully charged battery can easily power LEDs for eight to ten hours, whereas an overcast day may only yield two to four hours of light.
To maximize efficiency, look for solar light controllers equipped with integrated light sensors. These sensors automatically trigger dusk-to-dawn operation, turning the lights on only when ambient light drops and shutting them off at sunrise to conserve stored battery power.
Confirm the Waterproof Rating for Tropical Weather
Water resistance is a critical safety and durability factor for any outdoor electrical installation, particularly in tropical regions prone to sudden downpours and persistent high humidity. The level of protection is indicated by the Ingress Protection (IP) rating, which consists of two digits:
- IP44 rating: Indicates protection against solid objects larger than 1 mm and splashes of water from any direction. This is the minimum acceptable rating for covered patios or semi-sheltered balconies.
- IP65 rating: Indicates complete protection against dust ingress and resistance to low-pressure water jets from any angle. This rating is highly recommended for fully exposed garden areas, fences, and rooftops.
It is important to note that different components of a solar fairy light system may carry different IP ratings. For example, the LED string itself might be rated IP65, while the solar panel housing or the integrated controller button might only carry an IP44 rating. Always verify the specifications of all system components before exposing them to direct, heavy rainfall.
Never submerge solar fairy light components in water, and avoid installing the solar panel or battery compartment in low-lying garden depressions where standing water can accumulate during heavy tropical storms.
Compare Light Modes, Color Temperatures, and Bulb Spacing
Once the structural and power requirements are satisfied, you can evaluate the aesthetic and functional specifications that influence the visual impact of your outdoor lighting.
- Lighting Modes: Many solar fairy lights feature built-in controllers offering multiple modes, such as steady-on, slow fade, twinkling, flashing, and sequential patterns. Dynamic modes like flashing or twinkling cycle the LEDs on and off rapidly, which actually consumes less power than the steady-on mode, helping to extend battery life on days with limited sunlight.
- Color Temperature: Measured in Kelvin (K), color temperature defines the warmth or coolness of the light. Warm white (2700K to 3000K) delivers a soft, yellowish glow that creates a cozy, relaxing, and intimate atmosphere suitable for dining areas and patios. Cool white (5000K to 6500K) emits a bright, bluish-white light that enhances visibility and security along pathways or garden borders. These color temperatures represent conditional style preferences rather than absolute performance metrics.
- Bulb Spacing: The distance between individual LEDs on the wire affects the density of the light output. Tight spacing (such as 5 cm to 10 cm) creates a concentrated, brilliant line of light, ideal for wrapping tightly around tree trunks or columns. Wider spacing (15 cm to 30 cm) is better suited for draping across large fences, walls, or open garden spaces where a softer, more distributed glow is desired.
Common Mistakes to Avoid When Buying Solar String Lights
Avoiding common purchasing pitfalls saves time, money, and frustration. One of the most frequent errors is ignoring the solar panel’s light requirements. Planning to install a solar panel under a deep balcony roof, beneath dense tree canopies, or behind tinted glass will result in insufficient charging, leading to dim lights that shut off after only a few minutes of operation.
Another mistake is assuming that any product labeled “outdoor” or “weatherproof” is automatically fully waterproof. Without verifying the specific IP rating of both the wire and the controller box, you risk premature product failure due to water intrusion. Always check the technical specifications rather than relying on generic marketing terms.
When purchasing from online marketplaces or e-commerce platforms, buyers often overlook seller ratings, return policies, and local electrical safety labels. Ensure you purchase from reputable stores that offer clear warranties, and look for verified customer reviews that specifically address long-term water resistance and battery health.
Finally, avoid buying excessively long light strings (such as 50-meter or 100-meter options) if they are packaged with a small, low-capacity solar panel and battery. A larger number of LEDs requires a proportionally larger power source. If the panel and battery are undersized, the entire string will suffer from reduced brightness and a drastically shortened operational run time.
How to Test and Install Your Solar Fairy Lights Safely
Proper testing and installation ensure your solar fairy lights operate safely and perform at their best. Before spending time hanging your new lights, perform a quick pre-installation test to verify that all components are functioning correctly.
Place the solar panel in direct sunlight for a full day to charge the battery. Once charged, bring the unit indoors or completely cover the solar panel with a dark cloth or cardboard to block out all light. This triggers the built-in light sensor. Turn the power switch on; if the LEDs illuminate and cycle through the various modes, the system is ready for installation. If the lights do not turn on, re-verify the switch position and ensure the panel is completely shielded from ambient light.
When hanging your lights, follow safe mounting practices to protect both the product and your property:
- Avoid making sharp, tight bends in the wire, which can fatigue and snap the delicate internal copper conductors.
- Use insulated mounting clips, plastic cable ties, or cup hooks to secure the wire. Avoid using metal staples or nails, which can easily pinch or pierce the protective plastic insulation, causing short circuits or allowing moisture to enter.
- Keep the light string and the solar panel housing away from high-heat sources, such as outdoor grills, fire pits, or active chimneys, as excessive heat can melt the wire insulation or damage the battery.
For fixed wiring, installations at significant heights requiring ladders, or setups involving heavy suspended loads, prioritize physical safety. Always isolate any connected power sources, strictly follow the manufacturer’s provided installation instructions, and consult a qualified professional or licensed electrician if your project requires structural modifications or integration with your home’s main electrical system.
When positioning the solar panel, mount it in a location that receives maximum sunlight throughout the day. Angle the panel slightly (typically 15 to 30 degrees) to allow rainwater to run off naturally, which helps keep the surface clean. Ensure the panel is clear of shadows cast by nearby structures, fences, or growing garden plants as the sun moves across the sky.
Frequently Asked Questions (FAQ)
Can solar fairy lights work on cloudy or rainy days?
Yes, solar fairy lights can still charge on cloudy or rainy days, but their efficiency is significantly reduced. Solar panels require light energy rather than direct heat to charge, meaning some power is still generated through cloud cover. However, because the energy input is lower, the battery will not reach a full charge, resulting in shorter operational run times at night. A battery that was fully charged during previous sunny days can help maintain performance through brief overcast spells.
How do I maintain the solar panel to ensure maximum efficiency?
To maintain optimal charging efficiency, regularly wipe the surface of the solar panel with a soft, clean, damp microfiber cloth. Over time, dust, pollen, rain spots, and bird droppings accumulate on the panel, blocking sunlight and reducing energy conversion. Avoid using abrasive scrubbing pads, steel wool, or harsh chemical cleaners, as these can scratch or degrade the protective outer layer of the panel, permanently reducing its performance.
Are solar fairy lights safe to leave outside all year round?
While high-quality outdoor solar fairy lights are designed to withstand normal outdoor conditions, extreme weather events require precautions. In regions prone to severe tropical storms, typhoons, or seasonal flooding, it is highly recommended to temporarily take down and store your lights and solar panels. Extreme winds can tear the wires, and prolonged exposure to torrential, wind-driven rain can challenge water seals. Storing them during severe weather preserves their lifespan and protects your investment.
Community discussion
Share your experience or ask a question. Comments are reviewed before publication.