
Selecting the appropriate Bosca solar flood light requires matching the fixture’s verified output, battery capacity, and solar charging efficiency to your specific outdoor environment. Rather than relying on generic wattage claims, base your decision on the manufacturer’s specification labels for lumens, battery chemistry, and IP ratings to ensure the light performs reliably in your intended location. In tropical regions like the Philippines, where outdoor fixtures must endure intense heat, high humidity, and heavy seasonal monsoons, understanding these technical details is essential. A well-chosen solar flood light enhances home security and provides dependable illumination during power outages without adding to your monthly electricity bill.
To make an informed choice, you must look past the prominent marketing numbers on the box and analyze how the light’s physical and electrical components interact. Different outdoor spaces demand different lighting behaviors; a wide driveway requires broad, high-intensity coverage, while a garden path benefits from softer, localized illumination. By evaluating your property’s layout and matching it with the correct technical specifications, you can avoid common pitfalls such as premature battery failure, inadequate brightness, or water damage. This guide outlines the systematic steps to assess your space, interpret product labels, and select the ideal solar flood light configuration for your needs.
Assess Your Outdoor Lighting Needs
Before browsing specific models, you must clearly define what you expect the solar flood light to achieve in your outdoor space. Outdoor lighting generally falls into three categories: security deterrence, pathway illumination, and ambient accent lighting. Security lighting requires high-intensity, immediate illumination to expose blind spots around gates, fences, and dark corners. Pathway lighting focuses on safety, providing clear visibility along walkways and steps to prevent trips and falls. Ambient lighting is more decorative, designed to highlight landscaping features or create a warm, inviting atmosphere on patios and decks. Identifying your primary goal helps narrow down the required brightness levels and operational modes.
Products mentioned in this guide
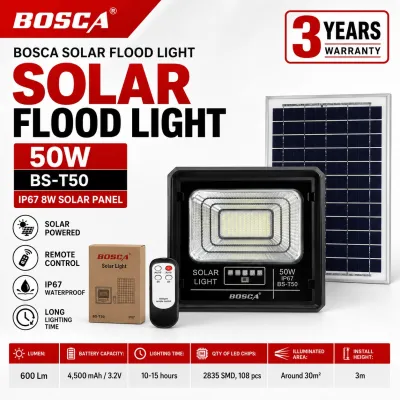
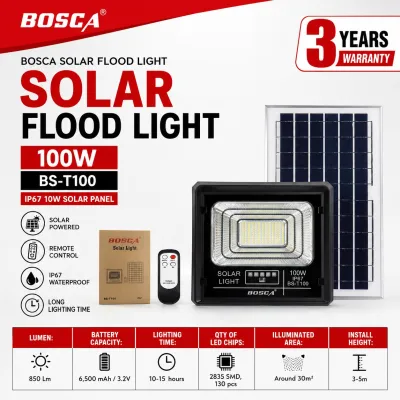
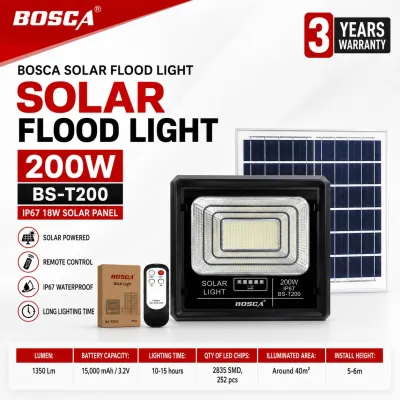
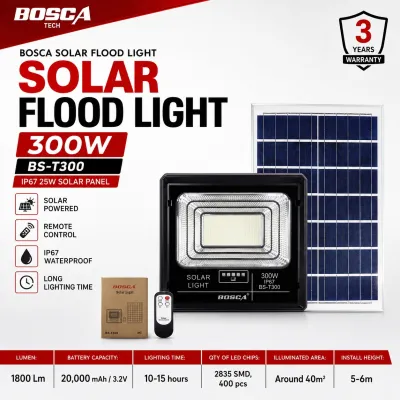
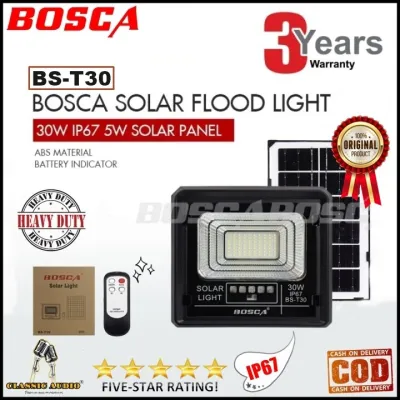
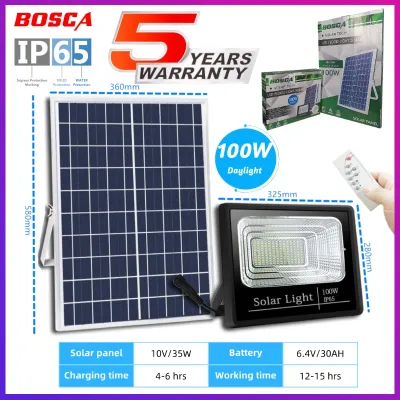
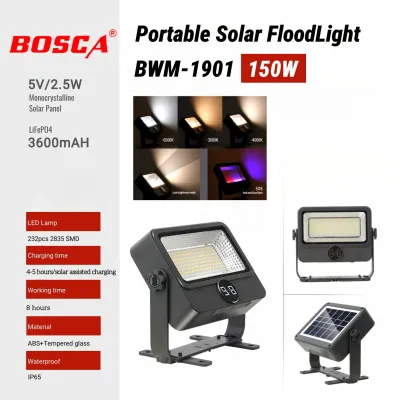
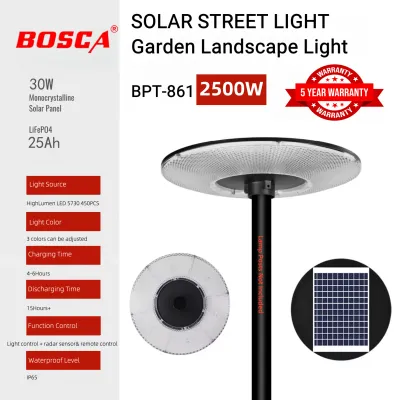
Prices are valid at publication and may change. Please refer to the product page for the latest price.
Next, estimate the physical dimensions of the area you need to illuminate and determine the mounting height. The height at which you install the fixture directly influences the light’s throw distance and beam angle. Mounting a flood light high on a wall or pole (for example, at three to four meters) distributes the light over a larger surface area, but the intensity of the light on the ground decreases. Conversely, mounting the light lower concentrates the beam, creating a brighter but narrower pool of light. Most outdoor flood lights feature a beam angle of 120 degrees, which provides a wide, sweeping spread suitable for open yards, but you must verify that the light’s throw is sufficient to cover the entire distance from the mounting point to the ground.
Finally, consider the daily usage pattern and how it affects energy consumption. You must decide whether you need continuous dusk-to-dawn operation or a motion-activated setup. Continuous operation means the light remains on at a set brightness level for the entire night, which demands a substantial battery capacity and highly efficient solar charging to prevent the light from dying halfway through the night. Motion-activated systems, which utilize Passive Infrared (PIR) sensors, keep the light off or at a very dim standby level until they detect movement. This mode is highly energy-efficient, making it an excellent choice for areas with limited daytime sun exposure or for smaller fixtures with modest battery capacities.
Key Specifications to Check on Bosca Models
When evaluating different models, the technical specification label on the packaging or user manual is your most reliable source of truth. The first specification to verify is the brightness, measured in lumens, rather than the nominal wattage. In the solar lighting industry, wattage ratings on packaging can sometimes be misleading, as they may refer to the theoretical maximum power of the LED chips or the solar panel rather than the actual power consumption or light output. Lumens provide a direct measure of visible light output. For general pathway or garden lighting, a range of 300 to 800 lumens is often sufficient, while security and driveway applications typically require 1,000 to 3,000 lumens or more. Additionally, check the LED chip count; a higher number of high-quality chips generally ensures more even light distribution and better heat dissipation, which extends the lifespan of the LEDs.

The battery is the heart of any solar lighting system, determining how long the light can operate after the sun goes down. You must check both the battery capacity, measured in milliampere-hours (mAh) or watt-hours (Wh), and the battery chemistry. Modern solar flood lights typically use either Lithium Iron Phosphate (LiFePO4) or standard Lithium-ion (Li-ion) batteries. LiFePO4 batteries are highly recommended for outdoor applications due to their superior thermal stability, safety, and longevity. They can withstand high ambient temperatures without significant degradation and offer a much longer cycle life—often lasting over 2,000 charge-discharge cycles compared to the 300 to 500 cycles of standard Li-ion batteries. Ensuring your chosen model features a high-capacity LiFePO4 battery is crucial for maintaining reliable performance through consecutive rainy or cloudy days.
Equally important is the solar panel’s efficiency and capacity, which dictates how quickly and effectively the battery charges during the day. Solar panels are generally classified as monocrystalline or polycrystalline. Monocrystalline panels are more efficient, particularly in low-light or overcast conditions, making them highly suitable for regions with frequent cloud cover or rainy seasons. Polycrystalline panels are more cost-effective but require a larger surface area to generate the same amount of power. Verify the panel’s wattage rating (W) and voltage (V) on the specification sheet. The panel’s output must be properly matched to the battery capacity; an undersized panel will fail to fully charge a large battery, leading to reduced runtimes and accelerated battery degradation over time. Additionally, verify any electrical certifications (such as CE or RoHS) and check if the system supports dimming methods or remote control interfaces to ensure safe and customizable operation.
Matching Features to Specific Outdoor Scenarios
Different outdoor environments present unique challenges, and matching the right features to each scenario ensures optimal performance. For security-focused areas like driveways, main gates, and dark perimeters, you should prioritize high-lumen output and reliable motion detection. Look for models equipped with adjustable PIR sensors that allow you to customize the detection range and sensitivity. This customization is vital to prevent false triggers from passing vehicles, swaying tree branches, or stray animals, which can unnecessarily drain the battery. A wide beam angle of 120 degrees or more is ideal for these areas, ensuring maximum coverage and eliminating dark corners where intruders could hide.
For recreational spaces such as gardens, patios, and outdoor dining areas, the focus shifts from intense security illumination to visual comfort and aesthetics. High-intensity, cool-white light can feel harsh and clinical in a relaxing backyard setting. Instead, consider models that offer adjustable brightness levels or warmer color temperatures, such as warm white (3000K) or neutral white (4000K), which create a more inviting atmosphere. These preferences are highly subjective, so choosing a model with a remote control that allows you to dim the light or switch between color temperatures provides excellent flexibility. Additionally, ensure the fixture is positioned to direct light downward, minimizing glare and preventing light pollution from spilling into neighboring properties.
Remote or heavily shaded areas require a specific hardware configuration to function effectively. If you need to illuminate a carport, a covered porch, or a pathway beneath a dense tree canopy, an integrated solar light—where the solar panel is mounted directly on top of the light fixture—will not receive enough sunlight to charge. In these scenarios, you must choose a split-type solar flood light. These systems separate the solar panel from the light fixture, connecting them with a long, weather-resistant extension cable. This design allows you to mount the solar panel in an unobstructed, sun-drenched location, such as a rooftop or fence top, while placing the actual light fixture exactly where illumination is needed, even if that spot is completely shaded.
Installation and Environmental Checks
Before finalizing your purchase, you must perform several physical and environmental checks to ensure safe installation and long-term durability. First, verify the Ingress Protection (IP) rating of the fixture. The IP rating consists of two digits: the first indicates protection against solid objects and dust, while the second indicates water resistance. For outdoor fixtures exposed to the elements, an IP65 rating is the minimum requirement, meaning the unit is dust-tight and protected against water jets. In tropical climates prone to severe rainstorms and typhoons, opting for an IP66 or IP67 rating provides an extra layer of security against heavy downpours and high humidity, preventing moisture from corroding the internal electronics.
Second, assess the structural requirements of your mounting location. Solar flood lights, particularly heavy-duty models with large aluminum casings and integrated batteries, can be surprisingly heavy. You must check the physical dimensions and weight of both the light fixture and the solar panel. Ensure that the wall, wooden fence, or mounting pole is structurally sound and capable of supporting the weight, especially under high wind loads during stormy weather. Always use the heavy-duty expansion bolts or mounting brackets supplied by the manufacturer. If your installation involves fixed electrical wiring, working at significant heights, or mounting heavy suspended loads, always isolate the power source, strictly follow the manufacturer’s installation instructions, and consult a qualified professional to ensure safety and compliance with local building codes.
Finally, carefully evaluate the sunlight exposure of your proposed solar panel location. To achieve the manufacturer’s specified charging times and nightly runtimes, the solar panel must receive direct, unobstructed sunlight for at least six to eight hours daily. Keep in mind that the angle of the sun changes throughout the year, so a spot that is sunny in the morning might be shaded by a nearby building or tree in the afternoon. Avoid placing the panel directly under roof eaves, gutters, or overhanging branches. Regularly cleaning the solar panel surface to remove dust, pollen, and bird droppings is also necessary, as even a thin layer of dirt can significantly block sunlight and reduce charging efficiency.
Frequently Asked Questions (FAQ)
How long do the batteries in solar flood lights typically last?
The lifespan of the battery in a solar flood light depends heavily on its chemical composition and daily usage patterns. Lithium Iron Phosphate (LiFePO4) batteries, which are commonly found in high-quality solar fixtures, typically last between three to five years, representing approximately 1,500 to 2,000 charge-discharge cycles. Standard Lithium-ion (Li-ion) batteries generally have a shorter lifespan of one to two years, or about 300 to 500 cycles, before their capacity begins to degrade significantly. To maximize the lifespan of your fixture, check the manufacturer’s documentation for specific cycle life ratings and verify if the battery is designed to be user-replaceable, allowing you to extend the utility of the light without replacing the entire unit.
Can I install a solar flood light under a roof eave or dense tree?
Yes, you can install the light fixture itself under a roof eave, carport, or dense tree canopy, but the solar panel must be positioned in a location that receives direct, unobstructed sunlight. If you use an integrated model where the solar panel is permanently attached to the light body, installing it in a shaded area will prevent the battery from charging properly, leading to dim light or complete failure at night. To solve this issue, choose a split-type solar flood light. This configuration allows you to mount the light fixture under the shade of an eave or tree while placing the solar panel on a sunny rooftop or pole, connected by a weather-resistant extension cable.

Community discussion
Share your experience or ask a question. Comments are reviewed before publication.