
Choosing the correct lights for ceiling led lights requires balancing physical dimensions with actual light output. To determine the right LED panel light size and wattage for your room, you must match your ceiling’s physical structure—such as recessed T-grids for suspended ceilings or slim surface-mounted profiles for solid concrete slabs—with a calculation of the required brightness (lumens) based on the room’s floor area in square meters and its primary function. A single large panel might suffice for a compact utility room, whereas a spacious living area or kitchen benefits significantly from multiple smaller panels distributed across the ceiling to prevent harsh shadows.
Quick Answer: Sizing Your LED Panel Light
To quickly estimate your needs, look at your room’s square footage and ceiling type. For a standard 3m x 3m bedroom (9 square meters) with a solid concrete ceiling, a single 12-watt to 18-watt round or square slim surface-mounted panel (approx. 20 to 30 cm in diameter) providing around 1,000 to 1,500 lumens is generally sufficient for comfortable ambient light. For standard commercial or home office drop ceilings, a single 2×2 foot (60×60 cm) recessed panel of 36 to 40 watts (delivering roughly 3,200 to 4,000 lumens) can easily illuminate up to 12 to 15 square meters of work space. As a general rule of thumb, target about 100 to 150 lumens per square meter for casual living spaces, and up to 300 to 500 lumens per square meter for task-oriented environments like kitchens, home offices, or study areas.
Standard LED Panel Dimensions and Form Factors
LED panel lights come in distinct physical shapes and mounting styles designed to integrate with specific ceiling architectures. Choosing the wrong mounting style can make installation impossible, especially when dealing with the solid concrete slabs common in residential construction across the Philippines versus the suspended gypsum or acoustic tile ceilings found in modern offices and commercial spaces. Understanding these physical formats ensures your chosen fixture fits securely and looks proportional to the room.
Products mentioned in this guide
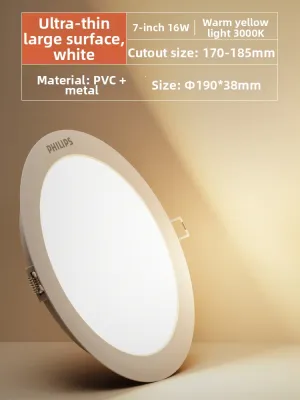
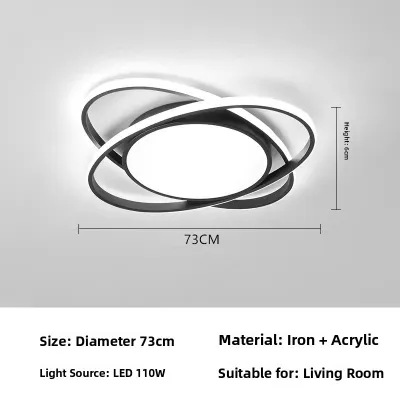
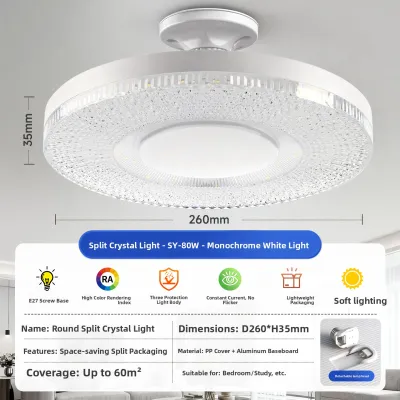
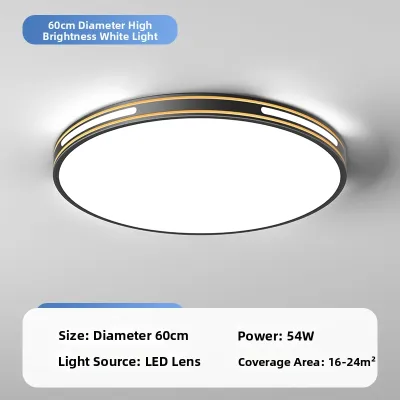
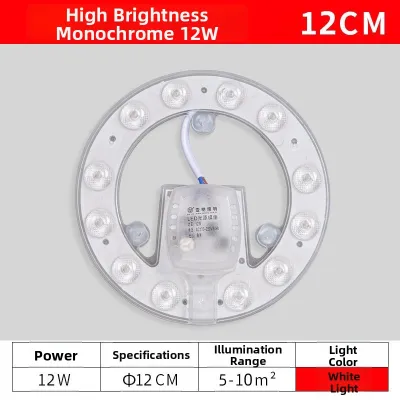
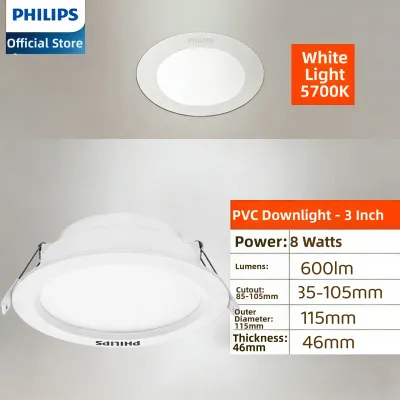
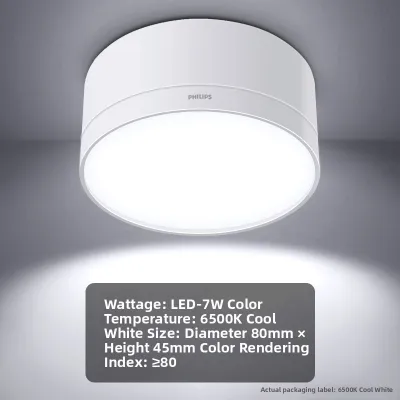
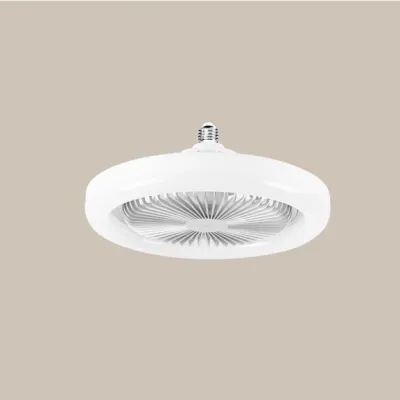
Prices are valid at publication and may change. Please refer to the product page for the latest price.

Recessed Troffer Panels (2×2 and 2×4)
Recessed troffer panels are designed to drop directly into standard T-grid suspended ceilings. The most common sizes are 2×2 foot (approx. 60×60 cm) and 2×4 foot (approx. 60×120 cm). These fixtures sit flush with the ceiling tiles, creating a clean, integrated look that distributes light over a wide area.
However, installing recessed troffers requires a dedicated ceiling cavity. You must verify that your suspended drop-grid system has at least 10 to 15 centimeters of clear vertical space above the grid to accommodate the fixture housing, junction box, and driver. These heavy panels must be secured with safety wires anchored directly to the structural slab above, rather than relying solely on the lightweight grid rails. Consequently, recessed troffers are rarely suitable for standard residential concrete ceilings unless a secondary gypsum board false ceiling has been framed with adequate interior clearance.
Surface-Mounted and Slim Panels
For homes with solid concrete ceilings or low-clearance drywall, surface-mounted and ultra-slim edge-lit panels offer an elegant, highly adaptable alternative. These fixtures do not require a deep ceiling cavity. Ultra-slim panels, often less than 2 centimeters thick, can be installed using a shallow mounting bracket or a surface-mounting frame that screws directly into the concrete slab or drywall ceiling.
These panels are available in square, rectangular, and round shapes, ranging from small 10 cm downlights to large 60×60 cm surface frames. Sitting close to the ceiling surface, they maximize vertical headroom, which is particularly beneficial in homes with standard 2.4-meter to 2.7-meter ceiling heights. They provide exceptional flexibility in placement since you are not constrained by a pre-existing ceiling grid, allowing you to position the lights precisely where illumination is needed most.
Calculating Brightness: Choosing Lights for Ceiling LED Lights by Area
Selecting the physical size of your panel is only half the equation; you must also calculate the correct light output to avoid a room that feels either like a dim cave or a sterile, over-exposed operating room. Historically, homeowners relied on wattage to judge brightness, but with highly efficient LED technology, wattage only tells you how much electricity the fixture consumes. To determine actual brightness, you must look at lumens.
The Lumens per Square Meter Rule
To find the exact light output required for your space, use the standard lighting formula based on lux (lumens per square meter). First, calculate the area of your room by multiplying its length by its width in meters. For example, a living room that is 4 meters wide and 5 meters long has an area of 20 square meters.
Next, determine the target lux level based on how you intend to use the room. Ambient lighting for bedrooms and living rooms typically requires 100 to 150 lux. Task-heavy spaces like kitchens, home offices, or study areas demand higher visibility, requiring 300 to 500 lux.
Multiply your room’s square meters by the target lux to find the total lumens needed:
- Formula: Room Area (sqm) × Target Lux = Total Lumens
- Example (Living Room): 20 sqm × 150 lux = 3,000 lumens. You could achieve this with one large 30-watt panel delivering 3,000 lumens, or more effectively, two 15-watt panels delivering 1,500 lumens each to spread the light evenly.
- Example (Home Office): 10 sqm × 400 lux = 4,000 lumens. This requires higher density lighting, which can be achieved using a combination of a central 24-watt panel (approx. 2,000 lumens) and supplementary localized desk lamps.
Adjusting for High Ceilings
The standard lux formulas assume a typical residential ceiling height of 2.4 to 2.7 meters. If your home features high ceilings or loft spaces exceeding 3 meters, light intensity decreases significantly by the time it reaches the floor or work surfaces. This is due to the inverse-square law of light propagation.
To compensate for this light loss in high-ceiling rooms, you must increase your total calculated lumens by 20% to 30% for every additional half-meter of height above 3 meters. Additionally, pay close attention to the beam angle of the LED panels. Most standard flat panels have a wide beam angle of 120 degrees, which scatters light broadly and is excellent for low ceilings but can result in weak, diluted light in high-ceiling spaces. In these scenarios, look for panels with narrower beam angles or optical lenses that focus the light downward, or plan to install suspended panel lights that hang lower into the room to bring the light source closer to the living plane.
Room-by-Room LED Panel Sizing Guide
Every room in a home serves a different purpose, meaning a one-size-fits-all approach to ceiling panels will lead to poor lighting design. Below is a practical breakdown of how to size and position LED panels for typical residential spaces:
- Living Room (15 to 25 sqm): As the primary social space, a living room requires flexible, glare-free ambient light. Instead of installing a single massive panel in the center—which can look commercial and create harsh shadows—opt for multiple smaller panels. For a 20 sqm living room, installing four 12-watt to 15-watt slim square panels (approx. 20×20 cm, each producing around 1,000 lumens) spaced symmetrically across the ceiling provides beautifully balanced, shadow-free illumination.
- Kitchen (10 to 15 sqm): Kitchens are high-task environments where safety and visibility are critical. A combination of a central 24-watt to 30-watt rectangular panel (such as a 30×60 cm surface-mounted panel delivering 2,400 to 3,000 lumens) works well for general ambient light. However, because overhead central lights can cause your body to cast shadows over the countertops, you must supplement this central panel with localized under-cabinet LED strip lights or small directional spotlights over the sink and prep areas.
- Bedroom (9 to 12 sqm): Bedrooms should feel relaxing and cozy. A single central 18-watt to 24-watt round slim panel (delivering roughly 1,500 to 2,000 lumens) is usually sufficient for general ambient needs. To enhance comfort, select panels with a warm white color temperature (3000K) or choose dimmable fixtures that allow you to lower the light levels in the evening.
- Home Office or Study (8 to 12 sqm): To maintain focus and prevent eye strain during long working hours, a home office requires bright, uniform light. A central 2×2 foot (60×60 cm) panel or two 18-watt rectangular panels providing a combined 3,500 to 4,000 lumens in a cool white or daylight color temperature (4000K to 6500K) will keep the workspace vibrant and well-lit.
Checking Ceiling Constraints and Installation Clearances
Before purchasing any LED panel lights, you must conduct a thorough physical and electrical audit of your installation space to ensure compatibility and safety. Never assume a fixture will fit based on its nominal catalog dimensions alone.
First, measure your ceiling cavity depth if you are planning to use recessed panels. Measure the vertical distance from the bottom of the ceiling joists or T-grid to the structural slab or roof deck above. Ensure there is enough clearance for the panel and its external LED driver, which must sit flat with at least 5 centimeters of clear air space around it to dissipate heat safely. In tropical climates like the Philippines, where attic spaces and ceiling cavities can reach high temperatures during the summer months, proper thermal ventilation around the driver is critical to prevent premature driver failure.
Second, verify structural weight limits. Suspended grids are designed for lightweight acoustic tiles; adding heavy 2×4 panels can cause the grid to sag or collapse if the fixtures are not independently supported. Always secure heavy panels to the structural concrete slab or steel roof trusses using dedicated steel suspension cables.
Third, keep LED panels at least 30 centimeters away from HVAC vents, exhaust fans, and water sprinklers to avoid physical interference and localized heat buildup.
Finally, adhere to strict electrical safety boundaries. Always isolate the circuit by turning off the main breaker at the distribution panel before handling any wiring. Verify that the product label on the LED panel and its driver explicitly states compatibility with the local Philippine utility standard of 220V to 240V AC at 60Hz. Standard 110V imports or 50Hz-only drivers will overheat, flicker, or fail instantly. For any new wiring runs, structural ceiling modifications, or heavy fixture installations, always hire a licensed electrical professional to ensure compliance with the Philippine Electrical Code.
Common Sizing and Placement Mistakes to Avoid
Avoiding a few common design and installation errors can save you from costly replacements and daily visual discomfort:
- The "Single Giant Light" Mistake: Installing one extremely bright 2×4 panel in the middle of a large residential room creates an unpleasant "office hallway" effect, leaving the corners dark while blinding anyone sitting directly underneath. Use multiple smaller fixtures to distribute light evenly.
- Ignoring Color Temperature (CCT) Consistency: Mixing a warm white (3000K) panel with a daylight (6500K) panel in the same visual space looks chaotic and uncoordinated. Keep all ceiling panels within the same room at a consistent color temperature.
- Placing Panels Too Close to Walls: Installing wide-angle LED panels within 60 centimeters of a wall can cause harsh glare, highlight minor plastering imperfections on the wall surface, and waste light. Position panels further inward to maximize floor coverage.
- Skipping the Depth Check: Buying recessed panels before checking if your ceiling has a hollow cavity is a frequent error, especially in Filipino homes with solid concrete ceilings. Always buy surface-mounted or slim-profile panels if you do not have a suspended grid or false ceiling.
Frequently Asked Questions (FAQ)
Can I use a 2×4 LED panel in a small bedroom?
While it is physically possible if you have a suspended ceiling grid, installing a large 2×4 foot (60×120 cm) panel in a small bedroom is highly discouraged. A fixture of this size typically outputs 4,000 to 5,000 lumens, which will visually overwhelm a small bedroom, creating an uncomfortably bright, clinical environment that interferes with relaxation. For smaller bedrooms, it is far better to use a single 18-watt round or square slim panel (approx. 20 to 30 cm) or multiple smaller dimmable fixtures to achieve a soft, balanced, and cozy atmosphere.
Do I need multiple small panels or one large panel?
The choice depends on your room’s layout and your budget. A single large panel is more cost-effective and simpler to wire, making it a practical choice for square, compact rooms like utility areas, small kitchens, or laundry rooms. However, for larger, elongated, or L-shaped spaces, multiple smaller panels are far superior. Spacing multiple smaller panels across the ceiling ensures uniform light distribution, eliminates dark corners, and minimizes harsh shadows, resulting in a much more comfortable and professional-looking lighting design.
Community discussion
Share your experience or ask a question. Comments are reviewed before publication.