
To choose the right stand for picture frame displays, you must match the stand’s support height to the frame’s vertical dimensions, verify that the stand’s weight capacity can support the frame’s materials, and select an attachment method compatible with your frame’s backboard. Generally, a reliable stand should support at least two-thirds of your frame’s total height to prevent tipping. Additionally, the display environment—such as narrow shelves, high-traffic entryways, or rooms with active ceiling fans—will dictate whether you need a traditional easel back, a weighted metal base, or an adjustable tension arm.
In tropical climates like the Philippines, choosing the correct stand involves more than just aesthetics. High humidity can soften cardboard backings over time, while constant drafts from open windows or ceiling fans can easily blow over poorly balanced frames. Taking the time to measure your frame and assess your display surfaces ensures your cherished memories and artwork remain safe and beautifully displayed.
Assess Your Frame Dimensions and Weight Requirements
Before purchasing a stand for picture frame setups, you must gather precise physical measurements of the frame itself. Start by measuring the outer height and width of the frame using a standard ruler or tape measure. Do not rely on the photo size (such as 4×6 or 8×10 inches), as the outer molding or matting can add several inches to the overall dimensions. Additionally, measure the outer depth of the frame profile. Deep-set frames, such as shadow boxes or thick wooden moldings, require a stand with a wider footprint to accommodate the extra thickness.
Products mentioned in this guide
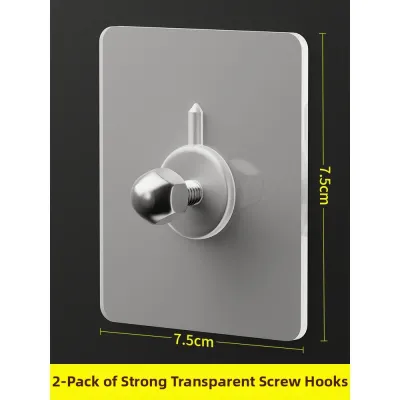
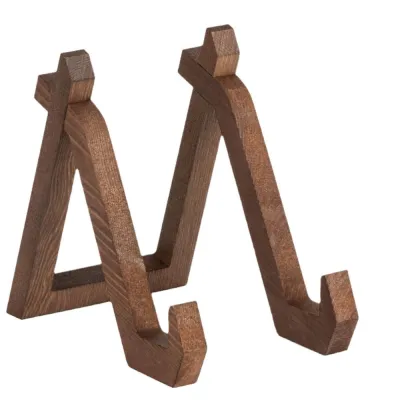
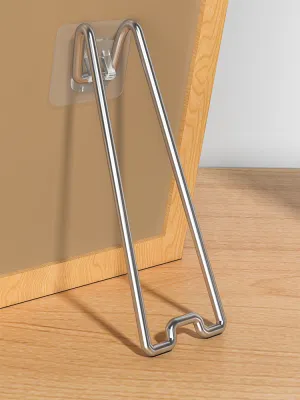
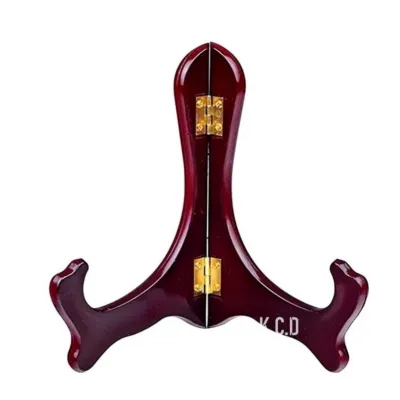
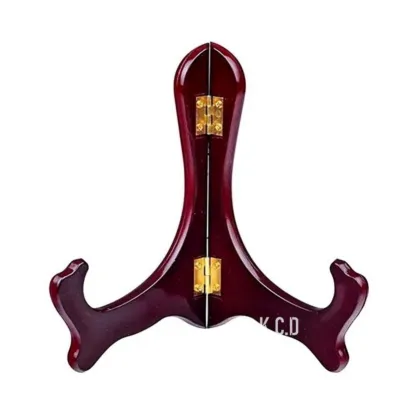
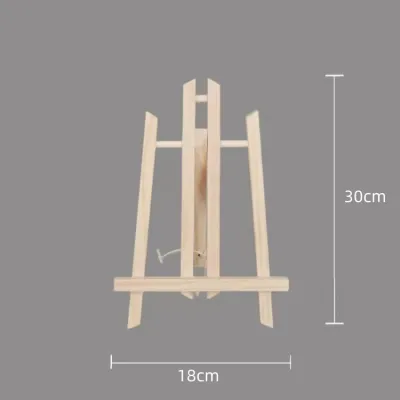
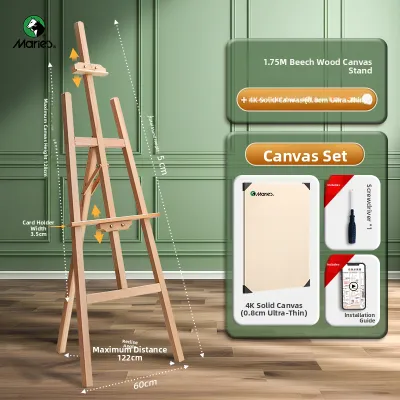

Prices are valid at publication and may change. Please refer to the product page for the latest price.
Next, determine the total weight of your frame. You can easily do this by placing the fully assembled frame—including the glass, backing, and artwork—on a digital kitchen scale. Heavy materials like solid hardwood, metal, or thick glass exert significantly more leverage on a stand than lightweight plastic or acrylic. Knowing the exact weight allows you to check the manufacturer’s weight limits on stand packaging, ensuring you do not overload a delicate support mechanism.
Finally, inspect the material of your frame’s backboard. Common backboard materials include medium-density fiberboard (MDF), compressed cardboard, plastic, and solid wood. The backboard material directly dictates which attachment methods are safe to use. For instance, thin cardboard backings may warp or tear under the stress of a heavy screw-in stand, whereas solid wood backboards can easily accommodate small screws for a highly secure mount.
In humid environments, cardboard backboards are particularly susceptible to moisture absorption. Over time, this moisture can cause the backing to bow or sag under pressure. If you notice any softness or warping in your existing backboard, it is best to replace it with a sturdier MDF or plastic backing before attaching a new stand.
Match the Stand Type to Your Display Location
Different display surfaces require different stand designs to ensure stability and the correct viewing angle. For standard tabletop surfaces, desks, and wide shelves, a traditional easel back—often called a kickstand—is the most common and practical choice. These stands fold flat against the back of the frame when not in use and extend outward to create a stable tripod effect. Easel backs work best when you have ample surface depth, as the extended leg requires several inches of clearance behind the frame.

When displaying frames on narrow surfaces like mantels, floating ledges, or shallow console tables, space is often limited. In these setups, a traditional easel back might hang off the edge, risking a fall. Instead, opt for weighted bases or adjustable tension arms. Weighted metal bases hold the frame in a more upright position, significantly reducing the required depth footprint. Adjustable tension arms allow you to fine-tune the lean angle, ensuring the frame sits securely even on tight ledges.
If you plan to display multiple frames together, you must decide between individual stands and connected gallery stand systems. Individual stands offer maximum flexibility, allowing you to rearrange your photos, mix different frame styles, and adjust angles independently. However, they can look cluttered on a small shelf. Connected gallery systems hold multiple frames on a single, unified base, providing a clean, modern look and keeping your photos perfectly aligned, though they limit your ability to customize individual frame angles.
Local environmental factors should also influence your choice of stand type. In homes that rely on open windows, air conditioning units, or powerful ceiling fans for ventilation, lightweight frames on standard easel stands can easily be blown over. For these areas, choosing a heavier, weighted metal stand or a stand with a wider, slip-resistant base provides essential resistance against sudden drafts.
Select the Correct Stand Size and Attachment Method
To ensure a secure fit, you must match the stand’s support arm length to the vertical height of your frame. As a general rule, the support arm of an easel or stand should extend to at least two-thirds of the frame’s total height. If the stand is too short, the frame’s center of gravity will sit too high, making it incredibly easy to tip backward. Conversely, if the stand is too long, it may protrude above the top edge of the frame, ruining the visual presentation.
Choosing the right attachment method is critical for protecting both the frame and the artwork inside. Consider the following common options based on your frame’s backing:
- Screw-in hinges: These are ideal for solid wood or thick MDF backboards. They provide a permanent, highly secure connection that can support heavier frames. Always pre-drill small pilot holes to prevent the wood or MDF from splitting during installation.
- Adhesive backings: Best suited for lightweight plastic, metal, or smooth composite frames. While convenient, adhesive backings can lose their grip over time in hot, humid climates. If using adhesives, ensure the backing surface is thoroughly cleaned with rubbing alcohol and allowed to dry completely before application.
- Clip-on or slide-on stands: These temporary stands slide onto the bottom edge of the frame. They are excellent for thin, lightweight frames or temporary displays, but you must ensure the clip width matches the thickness of your frame edge precisely to prevent slipping.
Before finalizing your installation, check the back of the frame for existing hardware. Many frames come equipped with pre-installed D-rings, hanging wires, or sawtooth hangers for wall mounting. Ensure your chosen stand does not block or interfere with these components. Keeping these wall-hanging elements clear gives you the flexibility to transition the frame to a wall display in the future without needing to remove a permanently attached stand.
Verify Stability and Adjust for Safe Placement
Once your stand is attached, place the frame on your intended display surface to evaluate its center of gravity. Gently nudge the top of the frame to test its balance. If the frame wobbles excessively or feels top-heavy, you need to adjust the angle of the easel arm. Extending the arm further outward lowers the center of gravity and increases stability, though it requires more surface depth. Finding the right balance between a comfortable viewing angle and physical stability is key.
Next, identify potential tipping hazards in the immediate display environment. High-traffic areas, such as entryway tables, hallways, or low coffee tables, are prone to accidental bumps from passing family members or pets. Smooth, polished surfaces like glass, varnished wood, or marble can also cause stand legs to slide. If you are placing a frame in these zones, take extra precautions to secure the base of the stand.
There are times when a tabletop stand is simply insufficient for safe display. If your frame is exceptionally large (typically exceeding 11×14 inches), extremely heavy, or if you cannot achieve a stable balance on your chosen surface, do not force it. In these cases, transitioning to a secure wall-mounting solution is the safest path. Wall mounting protects your valuable frames and artwork from accidental falls while freeing up valuable surface space on your shelves and tables.
Frequently Asked Questions (FAQ)
Can I use a picture frame stand for heavy wooden frames?
Yes, but you must carefully evaluate the stand’s specifications and structural integrity first. Always check the manufacturer’s weight limits printed on the product packaging or label before installation. Inspect the stand’s hinge mechanism and base thickness; heavy frames require robust metal hinges and thick, solid support arms rather than thin plastic or flexible cardboard. If your heavy wooden frame exceeds the stand’s rated weight capacity, or if the stand flexes under the weight, you should transition to a secure wall-mounting method to prevent damage.
How do I prevent a frame stand from slipping on a smooth table?
To prevent a frame stand from sliding on polished wood, glass, or metal surfaces, apply small, non-slip silicone pads or rubber bumpers to the bottom of the stand’s base or easel leg. Alternatively, you can use a small amount of removable museum wax under the contact points for a secure, temporary grip. Always ensure the display surface is completely clean, dry, and free of dust or furniture polish before placing the frame. Avoid using permanent glues or strong double-sided tapes, as these can permanently damage the finish of your furniture.
Community discussion
Share your experience or ask a question. Comments are reviewed before publication.