
Pin lights are essential tools for creating layered, professional lighting in residential spaces. Choosing the right pin light requires matching the fixture’s beam angle, brightness level, and physical placement to the specific visual goal of your room. Whether you want to highlight a prized collection on a shelf, wash a textured accent wall with warm light, or illuminate a kitchen counter for meal prep, understanding how light behaves is key. This guide explores how to select and position pin lights across three primary scenarios—display areas, accent walls, and task zones—to achieve the perfect balance of form and function.
Understanding Pin Light Specifications for Scene Matching
To make an informed decision, you must first decode the technical specifications of pin lights. The beam angle, measured in degrees, dictates how wide the light spreads from the source. A narrow beam angle (typically 15 to 24 degrees) concentrates light into a tight, intense spot, making it ideal for highlighting single, small objects. A medium to wide beam angle (36 to 60 degrees) distributes light over a broader surface, which is better suited for general illumination or washing larger wall sections.
Brightness is measured in lumens, not watts. While a low-lumen output (around 200 to 400 lumens) works beautifully for subtle accent lighting in a dark room, active task areas or high-ceiling spaces often require 500 to 800 lumens per fixture to ensure adequate visibility.
Products mentioned in this guide
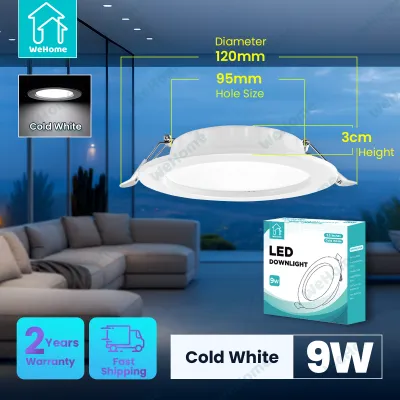
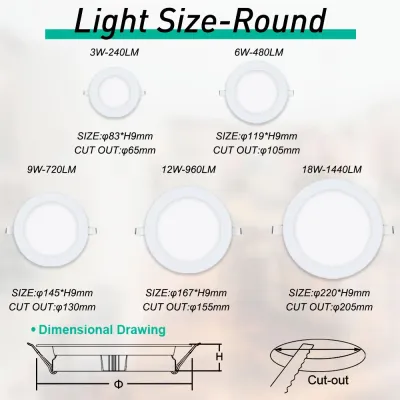
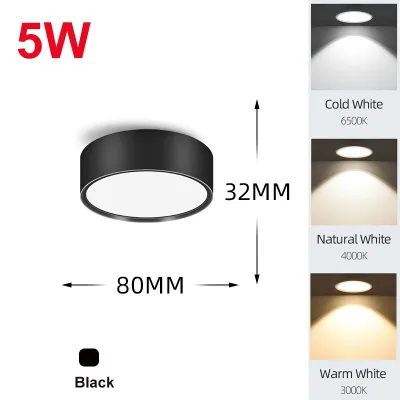
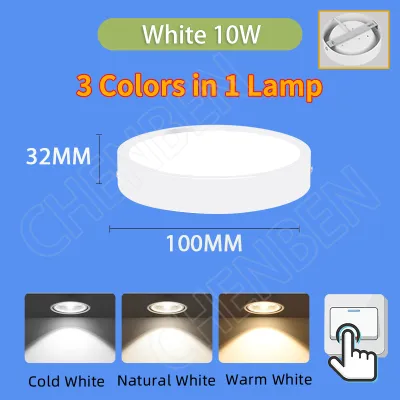
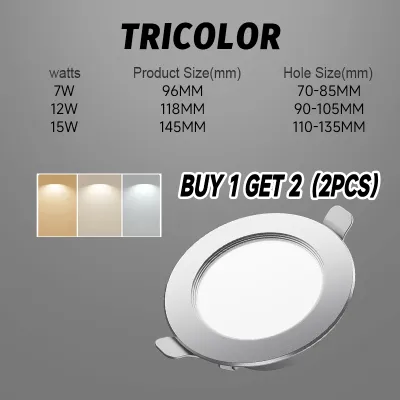
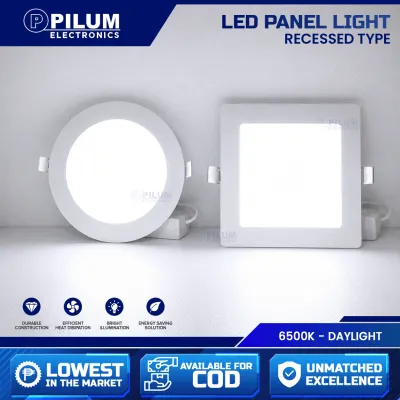
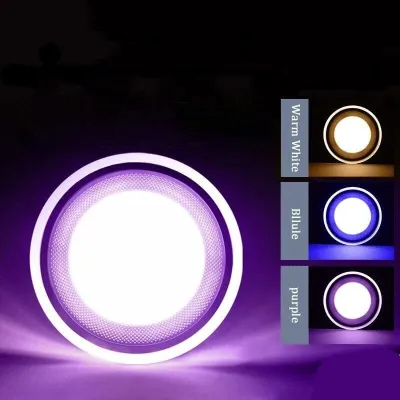
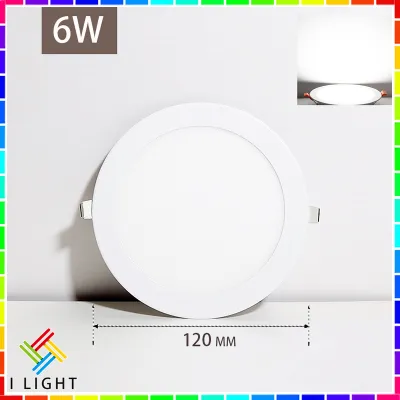
Prices are valid at publication and may change. Please refer to the product page for the latest price.
Color temperature, measured in Kelvin (K), is a conditional preference that dramatically alters spatial perception and material rendering. Warm white light (2700K to 3000K) creates a cozy, inviting atmosphere that complements natural wood and warm-toned fabrics, making it popular in living rooms. Cool white or daylight tones (4000K to 6500K) offer a crisp, high-contrast environment that enhances focus and clarity, which is highly functional for task-oriented spaces but can feel clinical if overused.
Lighting Display Areas and Shelving Without Glare
Illuminating display shelves and collectibles requires a careful balance to prevent harsh shadows and uncomfortable glare. Glare occurs when the light source shines directly into a viewer’s eyes or reflects off glass shelves and glossy objects. To avoid this, position your pin lights at an angle rather than directly overhead. Placing the fixtures slightly forward and angling them back toward the display ensures that reflections bounce away from the viewer’s line of sight.

The scale of your display dictates the beam angle. For small, individual collectibles or sculptures, a narrow beam angle focuses attention precisely on the object, creating a dramatic museum-like effect. For broader displays, such as rows of books or wide decorative bowls, a wider beam angle provides even coverage across the entire shelf.
To keep the light source itself hidden, look for pin lights with deep-set designs, built-in baffles, or honeycomb louvers. These physical barriers block stray light from escaping sideways, ensuring that only the illuminated object is visible while the ceiling remains clean and glare-free. Adjustable gimbal heads are also highly recommended, as they allow you to fine-tune the direction of the light after installation as your display changes.
Enhancing Accent Walls and Architectural Features
Pin lights can transform flat walls into dynamic architectural features through techniques like wall washing and texture grazing. Wall washing creates a smooth, even distribution of light across a vertical surface, minimizing shadows and making a room feel more spacious. To achieve this, position your pin lights further from the wall—typically about one-third of the wall’s height—and space them evenly to ensure the light beams overlap seamlessly.
Texture grazing, on the other hand, highlights the physical depth of materials like brick, stone, or textured plaster. By placing the pin lights very close to the wall (usually within 15 to 30 centimeters) and directing the beam straight down, you cast long, dramatic shadows that emphasize the wall’s texture.
To prevent uneven, distracting “scallop” shapes—where bright cones of light alternate with dark gaps—you must calculate the spacing based on the fixture’s beam angle and distance from the wall. Wider beam angles allow for wider spacing, while narrow beams require closer placement to maintain a continuous wash. Utilizing fixtures with tilt and rotation capabilities lets you adjust the light to frame artwork perfectly or highlight specific architectural details without having to reinstall the housing.
Optimizing Pin Lights for Focused Task Areas
In task areas like kitchen counters, study desks, or reading nooks, pin lights must deliver high-quality, functional illumination. Prioritize fixtures with higher lumen outputs and a high Color Rendering Index (CRI) of 90 or above. A high CRI ensures that colors appear vibrant and true to life, which is particularly important when preparing food or working on detailed crafts, while also reducing eye strain during extended tasks.
Proper positioning is critical to prevent your body or hands from casting shadows over your work surface. For kitchen countertops, install the pin lights directly above the front edge of the counter or slightly forward, rather than behind where you stand. This ensures the light falls directly on the prep area without being blocked by your shoulders.
Because task lighting is often used for long periods, check the heat output of the fixtures, especially in compact or low-ceiling workspaces. Modern LED pin lights run significantly cooler than older halogen models, making them safer and more comfortable for close-proximity use. Additionally, ensure your chosen fixtures are compatible with dimming systems, allowing you to transition the space from a bright, high-energy workspace to a relaxed, low-light environment when the task is complete.
Electrical Compatibility and Installation Boundaries
Before purchasing any pin lights, you must verify their electrical compatibility with your home’s infrastructure. Check the voltage requirements (typically 220V in the Philippines) and ensure the wattage limits of your existing circuits or track systems are not exceeded. If you are using a track lighting system, verify that the pin light connectors match the specific track standard (such as H-type, J-type, or L-type) to ensure a secure mechanical and electrical connection.
Consider the structural requirements of your ceiling. Recessed pin lights require sufficient clearance space behind the ceiling board to accommodate the fixture housing and driver, as well as adequate ventilation to prevent heat buildup. If your ceiling is solid concrete or lacks void space, surface-mounted pin lights or track-mounted systems offer an excellent alternative that does not require cutting into the structure.
While replacing a simple bulb or clipping a fixture into an existing track can be a straightforward DIY task, fixed wiring modifications, damp-rated installations (such as in bathrooms or outdoor eaves), and working at heights carry inherent risks. Always isolate the power at the main circuit breaker before handling any electrical components. For new circuit installations, recessed housing placement, or complex wiring, stop and consult a licensed electrician in the Philippines to ensure compliance with local electrical codes and safety standards.
Frequently Asked Questions (FAQ)
Can I use the same pin light for both task and accent lighting?
Using a single, fixed pin light for both purposes can be challenging because task lighting requires a wide, bright beam to cover a workspace, while accent lighting relies on a narrow, focused beam to create contrast. However, you can bridge this gap by choosing adjustable fixtures. Look for pin lights with interchangeable optics or zoom lenses that allow you to manually adjust the beam angle. Pairing these fixtures with dimmable controls or smart bulbs lets you dial up the brightness for tasks and dim it down to create a subtle accent when the workspace is idle.
How do I prevent pin lights from overheating in enclosed display cabinets?
To prevent overheating in confined spaces like display cabinets or shelving units, always check the manufacturer’s specifications for maximum operating temperatures and clearance requirements. Avoid using halogen pin lights, which generate intense heat that can damage delicate collectibles, dry out wood, or pose a fire hazard. Instead, select low-heat, high-efficiency LED modules. Ensure the cabinet design includes small ventilation gaps at the top and bottom to allow warm air to escape, and never place heat-sensitive items directly in front of the light lens.
Community discussion
Share your experience or ask a question. Comments are reviewed before publication.