
Selecting the perfect led letter light involves balancing visual proportions, color temperatures, material aesthetics, and electrical safety. Whether you want to spell out a motivational word in your study nook, create a focal point in your living room, or add a warm initial to your bedroom, the right choice depends on your space’s physical boundaries and existing decor. Making an informed decision ensures your lighting installation looks intentional, stays secure, and operates safely.
Assess Your Space to Determine the Right Size
Before purchasing any LED letter light, you must establish the physical limits of your target surface. Grab a tape measure and record the width and height of the wall, floating shelf, or desk where the lights will reside. Writing down these exact dimensions prevents you from buying letters that either crowd the space or look insignificantly small on a large wall.
A reliable rule of thumb is the proportion rule. For expansive surfaces like a main living room wall or an open-concept dining area, you need larger letter formats—typically A4 size (around 30 centimeters in height) or larger. These generous dimensions ensure the letters command attention and do not get visually swallowed by the surrounding empty space.
Products mentioned in this guide
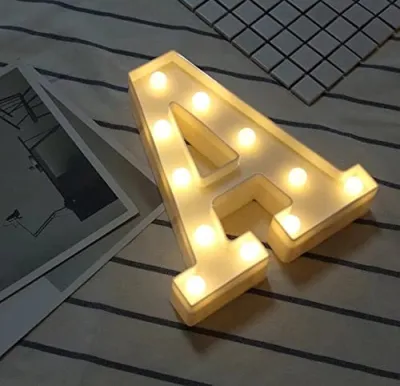
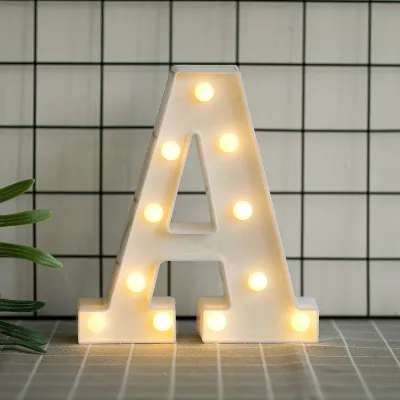
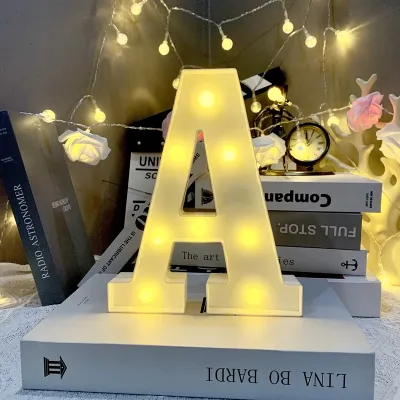

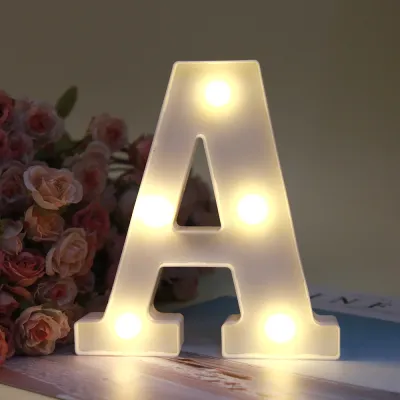
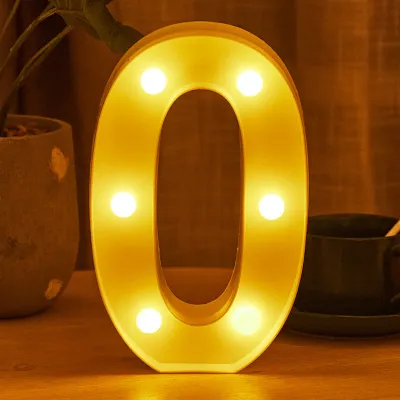
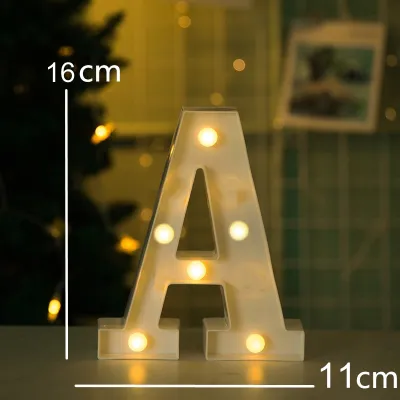
Prices are valid at publication and may change. Please refer to the product page for the latest price.
Conversely, intimate spaces demand a scaled-down approach. If you are decorating a bedside table, a compact vanity, or a small study desk, palm-sized or compact LED letters (ranging from 10 to 15 centimeters in height) are far more appropriate. These smaller units provide a delicate accent without cluttering your functional work or rest surfaces.
Viewing distance is another critical factor in size selection. If you intend for the letters to be easily legible from across a large room or from an adjacent hallway, they must be taller and feature thicker illuminated lines. For close-up viewing, such as on a shelf directly above your desk, smaller letters with finer details work beautifully because your eyes do not need to strain to resolve the shapes.
In humid tropical environments like the Philippines, wall conditions can affect how light sits against the surface. High humidity can cause slight wall bowing or paint texture changes over time. Measuring the surface flatness ensures that flat-backed acrylic boxes or rigid metal frames will sit flush against the wall without awkward gaps.
Define the Purpose and Placement for Optimal Impact
Clarifying the primary role of your LED letter lights helps narrow down your size, brightness, and mounting options. Decide early on whether you want these lights to serve as the room’s main visual focal point or as a subtle, supporting ambient accent. This distinction dictates how many letters you can group together and how much visual weight they should carry.

If you are designing a bold focal point, you might choose to spell out full names, motivational words, or custom phrases. This setup requires larger, brighter letters and a dedicated, unobstructed wall or mantelpiece. Because a full word occupies significant horizontal space, you must ensure the background is clean and free of competing artwork or busy wallpaper patterns.
For a subtle ambient accent, a single initial or a small symbol is often the most elegant choice. Placing a single illuminated letter in a quiet corner, nestled among books on a shelf, or on a bedside table creates a cozy glow without dominating the room. These accent pieces work best when they feature lower brightness levels or built-in dimming capabilities.
You must also evaluate how the lights will be physically supported. Wall-mounted letters require careful planning for damage-free adhesives, mounting brackets, or hooks. Freestanding letters, on the other hand, require a flat, stable surface and a sufficiently wide base to prevent tipping, especially if placed in high-traffic areas.
Suspended installations require extra precautions to ensure safety. If you plan to hang letters from the ceiling or a high beam, you must use secure overhead anchoring hardware rated for the weight of the lights. Always follow the manufacturer’s specific installation instructions, and if you are unsure about the structural integrity of your ceiling, consult a qualified professional to prevent falling hazards.
Match Colors and Color Temperature to Your Decor
The color and color temperature (CCT) of your LED letter lights directly influence the mood of your space and how well the lights integrate with your interior design. Color temperature is measured in Kelvin (K), and selecting the right range ensures your lighting complements, rather than clashes with, your room’s existing elements.
Warm White (2700K–3000K): This temperature range emits a soft, yellowish glow reminiscent of traditional incandescent bulbs. It is highly recommended for bedrooms, cozy reading corners, and living areas where relaxation is the priority. Warm white light beautifully complements natural wood finishes, warm-toned textiles, and rustic or bohemian decor styles.
Cool or Neutral White (4000K–5000K): Offering a crisp, clean, and energizing white light, this range is ideal for modern, minimalist, or industrial spaces. Neutral and cool white light pairs exceptionally well with monochromatic color schemes, metallic accents, and sleek glass surfaces, making it a popular choice for home offices or modern kitchens.
Colored and RGB Options: If you are decorating a gaming room, a home theater, or a child’s bedroom, vibrant colors or multi-color RGB setups offer excellent creative freedom. When choosing RGB letter lights, prioritize models that include a dedicated remote control or mobile app connectivity. This allows you to adjust the colors, brightness, and dynamic patterns to match different activities or times of day.
To coordinate effectively with your existing color palette, decide whether you want a high-contrast or a harmonious look. Choosing a light color that contrasts sharply with your wall paint—such as a bright pink neon letter on a dark navy wall—makes the sign pop dramatically. Alternatively, selecting complementary tones, like a soft warm white light against a beige or cream wall, creates a seamless, soothing blend that enhances the room’s overall warmth. Note that perceived color temperature and spatial effects are highly subjective, so choose the combination that best fits your personal comfort.
Select LED Letter Light Materials and Styles That Fit Your Interior
LED letter lights are manufactured in several distinct styles and materials, each carrying its own visual weight and aesthetic vibe. Understanding these differences allows you to choose a product that aligns perfectly with your room’s overall design theme.
Flexible Neon and Silicone Tubes: These modern fixtures use flexible silicone casing to house the LEDs, delivering a continuous, seamless glow that mimics traditional glass neon. They feature smooth, flowing lines and are highly customizable, making them perfect for cursive script or modern graphic designs. Silicone-based lights are lightweight, durable, and remain cool to the touch even after hours of operation.
Acrylic or Plastic Marquee Boxes: Featuring a retro, blocky, or three-dimensional box design, these lights contain visible internal LED nodes that resemble classic theater marquee bulbs. They offer a nostalgic, vintage, or eclectic charm. Because they are often made of lightweight plastic or acrylic, they are easy to move and place on shelves, though they do carry more physical and visual bulk than slim neon outlines.
Metal or Wood-Framed Options: For a premium, textured finish, letters framed in distressed wood or matte-finished metal are excellent choices. They fit seamlessly into mature, elegant, industrial, or rustic interior designs. The physical materials add a tactile quality to the room even when the lights are turned off, serving as handsome decorative sculptures during the day.
When choosing between these options, consider the visual weight of the material. Bulky marquee letters and thick wooden frames occupy more physical depth and visual space, meaning they require larger surfaces to avoid looking cramped. In contrast, sleek, minimalist silicone neon outlines have a very low profile, making them ideal for tight spaces where you want to maximize light without sacrificing physical room.
Verify Power Requirements and Electrical Safety
Electrical safety and compatibility are paramount when integrating any new light fixture into your home. Before making a purchase, especially from online marketplaces that source products globally, you must verify that the light’s electrical specifications match your local household power supply.
Voltage Compatibility: In the Philippines, the standard household voltage is 220V to 240V at 60Hz. You must verify that the power adapter included with your LED letter light is rated for this voltage. Connecting a device designed exclusively for 110V markets directly to a 220V outlet without a proper step-down transformer will instantly burn out the adapter, ruin the LEDs, and pose a serious fire hazard.
Low-Voltage Safety: For peace of mind, prioritize LED letter lights that operate on low voltage, typically stepping down to 12V or 5V via an external power brick or USB adapter. Low-voltage systems are inherently safer because they drastically reduce the risk of severe electrical shock, making them the ideal choice for children’s bedrooms, playrooms, or homes with curious pets.
Certifications and Heat Management: Look for products that carry recognized safety certifications, such as the Philippine Standard (PS) mark, the Import Commodity Clearance (ICC) sticker, or reputable international equivalents like CE, FCC, or RoHS. These certifications verify that the product has undergone safety testing. Additionally, ensure the manufacturer specifications indicate low heat emission, which prevents the housing from becoming a burn hazard during prolonged use.
Power Source Selection: Decide between battery-operated and plug-in models based on your usage patterns. Battery-powered units (usually running on AA or AAA batteries and priced in the affordable ₱300 to ₱800 range) offer excellent cordless flexibility, allowing you to place them anywhere without worrying about unsightly wires. However, they incur ongoing battery replacement costs and tend to dim as the batteries drain. For permanent, daily installations, USB-powered or wall-plug models (often ranging from ₱1,000 to ₱3,000 for high-quality or custom designs) are far more practical and deliver consistent, reliable brightness.
Safety Warning: If your installation involves fixed wiring, integration into your home’s main electrical circuit, mounting in damp areas (like bathrooms or semi-outdoor balconies exposed to tropical rain), or working at significant heights, always isolate the power at the circuit breaker first. Read the manufacturer’s installation instructions thoroughly, and consult a qualified professional electrician to handle the wiring securely.
Step-by-Step Installation and Styling Guide
Achieving a polished, professional-looking installation requires patience and a methodical approach. Follow these clear, sequential steps to ensure your LED letter lights are mounted securely and look balanced.
Step 1: Plan the Layout: Before picking up any tools or peeling adhesive backings, map out your design. Use low-tack painter’s tape to mark the exact position and outer boundaries of each letter on your wall or shelf. This step allows you to step back, assess the spacing, check the alignment with a spirit level, and make easy adjustments without leaving permanent marks or damaging your paint.
Step 2: Prepare the Surface: Clean the mounting surface thoroughly with a dry, lint-free microfiber cloth to remove accumulated dust, oils, and cobwebs. In humid tropical climates, moisture on walls can severely weaken adhesives. Ensure the wall is completely dry and clean so that mounting strips or hooks can form a strong, lasting bond with the surface.
Step 3: Mount the Lights: Carefully mount each letter using the manufacturer’s recommended hardware. For damage-free installations, high-quality adhesive strips or specialized mounting clips are excellent choices. Avoid using harsh construction glues, heavy-duty double-sided foam tapes, or nails unless you are prepared to repair and repaint the wall later. Always read the product’s specific mounting instructions before applying pressure.
Step 4: Manage the Cables: Visible, dangling cords can quickly ruin the clean aesthetic of your lighting display. Use self-adhesive cord clips, paintable cable channels, or strategic decor placement—such as positioning potted plants, books, or framed photos in front of the wires—to conceal the power cords and adapters. Keeping the cables neatly tucked away ensures a professional, seamless look.
Verification: Once everything is securely mounted and the cables are managed, connect the power source and turn on the lights. Walk around the room and view the installation from different angles and seating positions. Check for any uneven spacing, glare, or loose components, and make minor positional adjustments while ensuring the power is isolated if you need to handle any electrical connections.
Frequently Asked Questions (FAQ)
Can I leave LED letter lights on all night?
Yes, high-quality LED letter lights are generally safe to leave on overnight because LEDs generate very little heat compared to traditional incandescent bulbs. However, to conserve electricity, extend the operational lifespan of the light-emitting diodes, and minimize any minor risk of component failure, it is highly recommended to connect your lights to a smart plug or choose a model featuring a built-in auto-off timer.
How do I clean my LED letter lights without damaging them?
To clean your LED letter lights safely, always turn off and unplug the device from the wall outlet first to eliminate any electrical risk. Use a soft, slightly damp microfiber cloth to gently wipe away dust and fingerprints from the outer casing. Strictly avoid using harsh chemical solvents, abrasive scrubbing pads, or spraying water or cleaning liquids directly onto the letters, as moisture can easily penetrate the seams and damage the internal circuitry.
What is the best way to hang letter lights on a rented apartment wall?
The most reliable, non-destructive method for renters is using damage-free adhesive hanging strips or removable utility hooks rated for the specific weight of your letters. For exceptionally lightweight silicone neon signs, specialized adhesive putty can work well on smooth surfaces. Avoid using nails, screws, or heavy-duty industrial mounting tapes, as these will tear the drywall paper, crack the plaster, or leave a stubborn, sticky residue that is difficult to remove without damaging the landlord’s paint.
Community discussion
Share your experience or ask a question. Comments are reviewed before publication.