
To choose the most effective wall sconces for painting at home, you must prioritize high Color Rendering Index (CRI) ratings, adjustable color temperatures, and flexible physical designs like swing-arms that minimize shadows on your canvas. Painting at home requires a delicate balance of light. In tropical climates like the Philippines, where natural daylight can shift rapidly from intense afternoon sun to sudden monsoon overcast, having a reliable, color-accurate indoor lighting setup is essential for keeping your color mixing consistent. Wall sconces offer a space-saving, permanent solution that keeps your floor clear of bulky tripod stands while positioning light exactly where your brush meets the canvas.
Understand the Core Lighting Requirements for Art Tasks
Color Rendering Index (CRI) is the most critical specification to check when shopping for lights for painting. This rating, measured on a scale from 0 to 100, indicates how accurately a light source reveals the true colors of pigments compared to natural daylight. For color-critical tasks like oil, watercolor, or acrylic painting, you should look for fixtures or bulbs with a CRI of 90 or higher. Using a light with a low CRI can cause your blues to look green or your warm tones to appear muddy, leading to frustrating surprises when you view your finished artwork in natural light.
Color temperature, measured in Kelvins (K), determines the warmth or coolness of the light emitted. Warm light, typically around 2700K to 3000K, casts a yellow hue over your canvas, which can cause you to overcompensate by adding too much blue or cool pigment to your painting. Cool daylight, ranging from 5000K to 6500K, mimics the bright, blue-toned light of an overcast sky, which can make your warm tones look dull. For a balanced home studio environment, aim for a neutral color temperature between 4000K and 5000K, which closely replicates balanced daylight without distorting your color perception.
Products mentioned in this guide
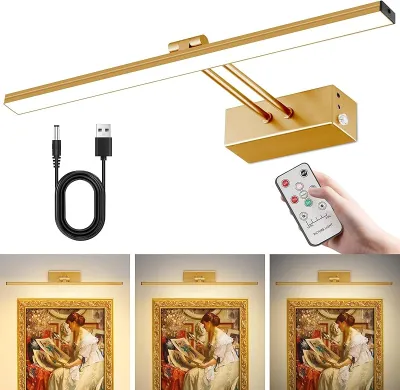
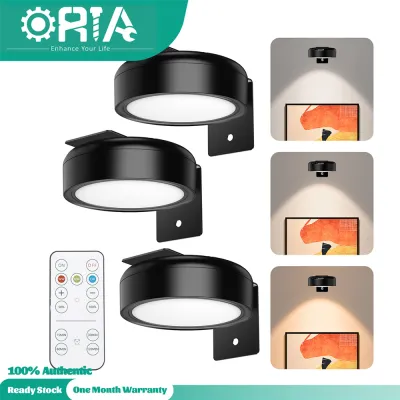
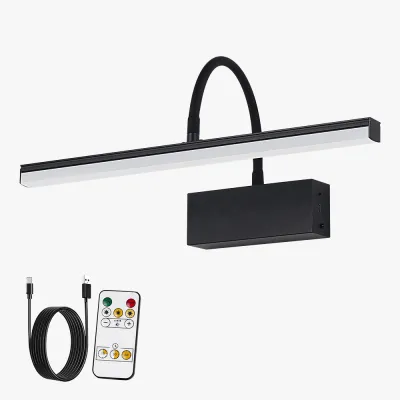
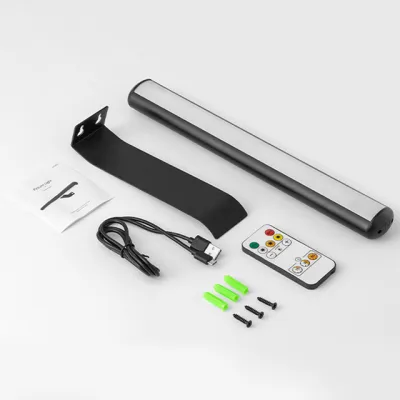
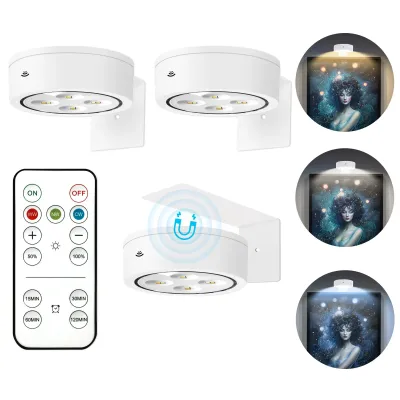
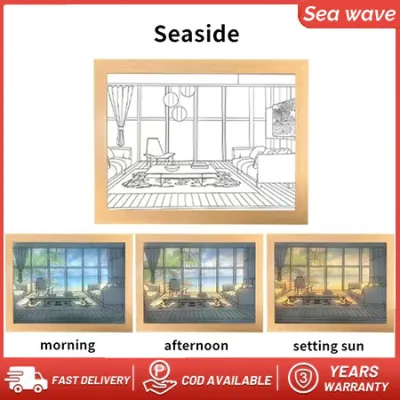
Prices are valid at publication and may change. Please refer to the product page for the latest price.
Brightness, measured in lumens, is another essential factor to evaluate before purchasing your wall sconces. If your light is too dim, you will struggle to see fine details and strain your eyes; if it is too bright, it will create harsh glare on wet paint surfaces. For a standard-sized easel setup, look for a light source that delivers between 800 and 1100 lumens, which provides ample illumination for detailed work. You can adjust this target based on the amount of ambient light in your room and the size of the canvas you plan to paint.
Evaluate Sconce Design and Placement for Shadow Reduction
The physical design of your wall sconce plays a major role in how light is distributed across your workspace. Opaque metal shades direct light in a concentrated, directional beam, which is excellent for highlighting specific areas but can create harsh edges and deep shadows. Translucent glass or fabric diffusers soften the light, spreading it more evenly across the canvas to mimic the soft glow of a north-facing window. For painting, a semi-directional fixture with a frosted or diffused cover often provides the most suitable balance of focus and softness.

Adjustability is a key feature that separates standard decorative sconces from effective art task lights. A fixed, flush-mount sconce limits your flexibility and forces you to position your easel around the light rather than the other way around. Opting for swing-arm sconces or fixtures with adjustable joints and rotating heads allows you to pull the light closer when working on fine details or push it back to evaluate the entire composition. This physical flexibility is especially useful in smaller home studios where space is limited.
Strategic placement of your wall sconce is essential to prevent your hand, brush, or body from casting distracting shadows over your work. As a general rule, you should position the sconce on the opposite side of your dominant hand. If you paint with your right hand, mount or position the light source to your left and slightly ahead of the easel so your hand does not block the light. The light should strike the canvas at an angle, typically around 45 degrees, to minimize direct glare reflecting off wet paint back into your eyes.
Additionally, consider the height at which you mount the fixture. If you paint while sitting, the sconce should be positioned lower than if you paint standing up. Ideally, the light source should be slightly above your eye level when you are in your normal painting position. This height prevents the bulb from shining directly into your eyes while ensuring the light casts downward across the canvas, highlighting the texture of your brushstrokes without creating long, distracting shadows from the easel’s frame.
Check Electrical Compatibility and Installation Boundaries
Before purchasing any wall sconce, you must verify its electrical compatibility with your home’s wiring system. In the Philippines, the standard residential voltage is 220V, so you must ensure that any imported or locally sourced fixture is rated for this voltage to prevent electrical hazards. Additionally, check the bulb socket type, such as standard E27 screw bases or GU10 pin bases, to ensure you can easily source compatible high-CRI bulbs in your local market.
Because tropical climates often bring high humidity, it is also wise to consider the material and finish of your wall sconce. High humidity can cause low-quality metals to rust or corrode over time, potentially damaging the electrical connections inside. Look for fixtures made from rust-resistant materials like solid brass, aluminum, or powder-coated steel to ensure longevity in your home studio. If your painting space is located in a semi-outdoor area like a covered veranda or a garage, ensure the fixture has an appropriate IP rating for damp environments.
Dimming capabilities are highly beneficial for a home art studio, allowing you to adjust the light intensity as natural daylight fades. To achieve this, you must ensure that both the wall sconce fixture and the bulb you select are explicitly labeled as dimmable. You must also pair them with a compatible LED dimmer switch to prevent flickering, buzzing, or premature bulb failure. Investing a few thousand ₱ in a high-quality, compatible dimming system will give you complete control over your studio’s atmosphere.
Installing a permanent wall sconce often involves running wires through walls, mounting electrical boxes, and working with live circuits. Because tropical humidity can increase electrical safety risks, always isolate the power at the main breaker before attempting any installation or maintenance work. For fixed wiring, especially on concrete walls or in multi-use studio spaces, hire a qualified professional electrician to ensure compliance with local electrical codes and safety standards.
Step-by-Step Setup and Verification for Your Painting Space
To ensure your new wall sconce provides the optimal lighting environment, follow a systematic approach to installation and testing. Begin by performing a temporary mockup before drilling any permanent holes into your wall. You can use a temporary clamp light or have someone hold the sconce at your proposed mounting height while you sit or stand at your easel. Turn on the light and observe how it falls across your canvas, checking for any immediate shadows cast by your head, shoulders, or easel frame.
Once the fixture is securely mounted, make final adjustments to the angle and position of the light head. Turn on your ambient room lights and adjust the sconce’s swing-arm to eliminate direct glare on your canvas. If you are using oil paints or glossy acrylics, wet paint can act like a mirror, reflecting light directly into your eyes. Angling the light slightly from the side rather than directly overhead will help scatter these reflections away from your line of sight, allowing you to see your brushwork clearly.
Finally, perform a color verification test to confirm that your new lighting setup is accurate. Paint a small test card with your primary color mixes, including tricky neutrals, skin tones, and blues, and let it dry completely. View the card under your new sconce light, then take it outside to compare it directly to natural, indirect midday daylight. If the colors look identical in both settings, your sconce setup is successfully calibrated for serious studio work.
Frequently Asked Questions (FAQ)
Can I use smart bulbs in my painting wall sconces?
Yes, smart bulbs can be highly useful for a home art studio, provided the fixture’s physical dimensions and wattage limits accommodate them. Many smart bulbs allow you to adjust both brightness and color temperature dynamically, letting you simulate morning light, afternoon sun, or gallery lighting. However, you must verify that the smart bulb maintains a high CRI of 90 or above across its entire color temperature spectrum, as some budget smart bulbs drop in color accuracy when shifted away from their native white settings.
Do I need multiple wall sconces for a large canvas?
If you are working on canvases larger than one meter in width, a single wall sconce may create uneven lighting, leaving the far edges in shadow. In this case, installing a pair of matching swing-arm sconces on either side of your easel provides balanced, cross-directional lighting that eliminates shadows entirely. Alternatively, you can supplement a single sconce with a flexible overhead track light or a portable floor lamp to ensure even coverage across your entire working surface.
Community discussion
Share your experience or ask a question. Comments are reviewed before publication.