
Connecting a dusk-to-dawn sensor to your LED strip lights is an excellent way to automate your home’s ambient lighting, ensuring your space transitions beautifully from day to night without manual intervention. By integrating a light-sensitive photocell sensor into your lighting circuit, you allow the system to automatically detect ambient light levels, cutting power during bright daylight hours and restoring it as dusk falls. This setup is particularly popular for creating effortless accent lighting along condo hallways, under cabinets, or around balconies. To achieve a safe and reliable installation, you must determine whether your sensor operates on high-voltage alternating current (AC) or low-voltage direct current (DC), as this dictates where the sensor sits in your wiring path.
Pre-Installation Checks and Electrical Safety
Before stripping any wires or mounting your equipment, you must verify the electrical compatibility of all your components. Check the manufacturer labels on your dusk-to-dawn sensor, the LED strip light, and the LED power supply (often called the driver or adapter). You must ensure that the voltage, current, and wattage ratings match and that the sensor can handle the total load of the LED strip without overloading. For instance, if you are using a 12V or 24V DC LED strip, you must verify whether your sensor is designed to switch low-voltage DC power or high-voltage AC power. Mixing these up can permanently damage your components or create a severe electrical hazard.
Working with electricity requires strict adherence to safety protocols, especially in tropical environments where high humidity can increase conductivity risks. Always begin by turning off the power at your home’s main circuit breaker, rather than relying solely on a wall switch. Use a reliable voltage tester to confirm that the wires you intend to handle are completely dead before proceeding. If your project involves tapping directly into your home’s fixed AC wiring, working at heights, or installing fixtures in damp areas like a balcony or bathroom, you must prioritize safety. If you encounter non-standard wire colors, damaged insulation, or an ambiguous wiring diagram from the manufacturer, stop immediately and consult a licensed electrician to complete the installation.
Products mentioned in this guide
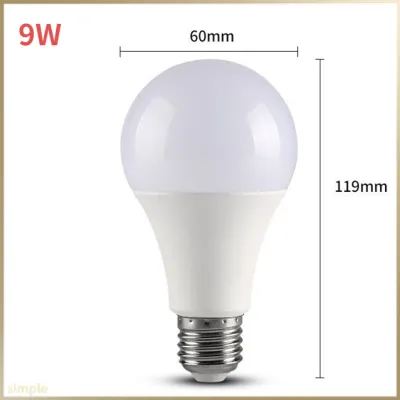
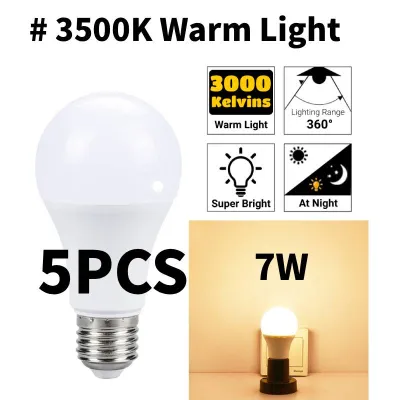
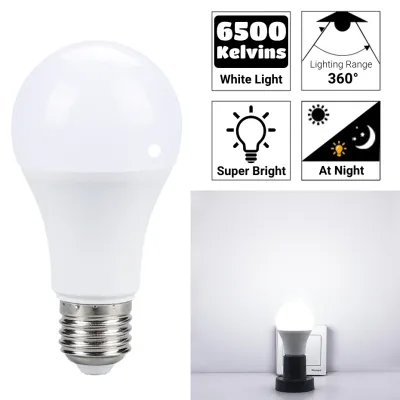
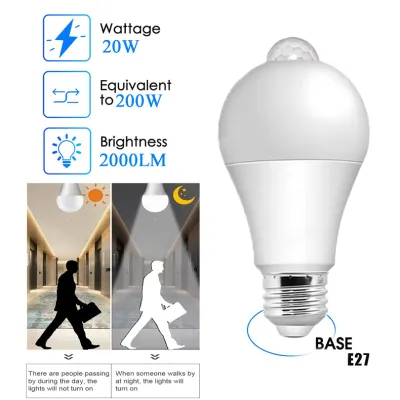
![[Local Warranty] Dusk To Dawn Led Bulb E27 5W 9W 12W Power Saving AC110V-220V White Light And Warm Light Smart Lamp Day Night Light Auto ON/OFF For Stair Hallway Pathway In Phleo](https://img.lazcdn.com/g/p/a79183a382e6a92c7c51215c63cde6ca.jpg_400x400q80.jpg_.webp)
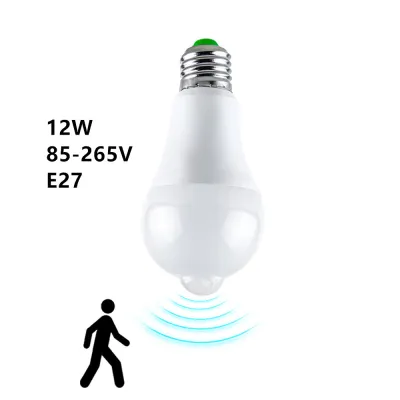
Prices are valid at publication and may change. Please refer to the product page for the latest price.
Essential Tools and Materials for the Job
Having the correct tools on hand ensures a clean, secure, and professional installation that will withstand daily use. For the wiring process, you will need a pair of high-quality wire strippers to cleanly remove insulation without damaging the underlying copper strands. Precision screwdrivers are essential for securing wires into terminal blocks, while electrical tape and heat-shrink tubing provide necessary insulation for exposed joints. To join the wires securely, utilize modern lever-lock wire connectors or terminal blocks, which offer a more reliable and vibration-resistant connection than traditional twist-on wire nuts.

For mounting the physical components, gather appropriate adhesives, mounting clips, or brackets. LED strip lights often come with adhesive backing, but high humidity can cause this adhesive to fail over time, making physical mounting clips a wise addition. The sensor photocell itself must be mounted securely using the manufacturer’s supplied hardware to keep it stable and correctly oriented. Finally, a digital multimeter is an indispensable tool for this project; you will use it to verify that there is zero voltage at your connection points before you begin wiring, and to test continuity once the connections are made.
Step-by-Step Wiring and Installation Process
The physical wiring path you follow depends entirely on whether your dusk-to-dawn sensor is designed for high-voltage AC mains or low-voltage DC power. If you are using a high-voltage AC sensor, the sensor must be installed between your home’s power source (such as a wall outlet or junction box) and the input side of the LED strip’s power adapter. In this configuration, the AC hot wire from the source connects to the sensor’s line input, the sensor’s load output connects to the hot input of the power adapter, and the neutral wires are tied together. This allows the sensor to completely cut or supply AC power to the adapter, which in turn powers the LED strip.
If you are using a low-voltage DC sensor, the wiring path changes significantly. Here, the LED power adapter plugs directly into your wall outlet, converting the AC mains power to low-voltage DC (typically 12V or 24V). The DC-compatible sensor is then wired between the output of the power adapter and the input of the LED strip. Connect the positive output wire from the power adapter to the positive input of the sensor, and the positive output of the sensor to the positive terminal of the LED strip. Connect the negative wires in a similar fashion, ensuring a continuous ground path. This low-voltage setup is generally safer for DIY enthusiasts as it avoids direct contact with high-voltage household wiring.
Regardless of the path, proper wire preparation is critical to prevent short circuits and ensure long-term reliability. Use your wire strippers to expose about half an inch of bare copper on each wire end. Insert the stripped ends fully into your lever connectors or terminal blocks, ensuring no bare wire is left exposed outside the connector. If you are splicing wires directly, wrap each connection securely with electrical tape or seal it with heat-shrink tubing to protect the copper from moisture and oxidation, which are common issues in humid tropical climates.
During this process, you must remain vigilant for any signs of confusion or non-standard setups. If the wire colors in your junction box do not match standard local electrical conventions, or if the manufacturer’s wiring diagram is unclear or contradicts your physical setup, do not guess the connections. Incorrectly wiring a sensor can lead to short circuits, melted components, or electrical fires. Treat any ambiguity as a hard stop condition, leave the power off at the breaker, and contact a qualified professional to inspect and complete the wiring.
Testing and Calibrating the Sensor Sensitivity
Once all connections are secure and insulated, you can restore power at the main breaker to begin the testing and calibration phase. Because you will likely be testing the system during daylight hours, the LED strip should initially remain off. To simulate nighttime conditions and verify that the sensor is functioning correctly, cover the photocell completely with an opaque object, such as a piece of black electrical tape or a dark cloth. Within a few seconds to a minute, depending on the sensor’s built-in delay, the LED strip should turn on. Removing the cover should cause the lights to turn off once the sensor detects the ambient room light again.
Many advanced dusk-to-dawn sensors feature physical adjustment dials for lux sensitivity and time delay. The lux dial controls how dark it must be before the sensor triggers the lights, while the time delay dial determines how long the sensor must detect a change in light before switching states. Adjust these dials gradually to suit your specific environment, keeping in mind that minor tweaks may be necessary over the first few days of use.
Positioning the sensor photocell is crucial to prevent a common issue known as optical feedback. If the photocell is placed too close to the LED strip itself, the light emitted by the strip can shine directly onto the sensor, tricking it into thinking daylight has returned. This causes the system to turn off, only to turn back on once the room goes dark again, creating an endless loop of flashing lights. Mount the sensor in a location where it can accurately measure natural ambient light from a window or open area, completely shielded from the direct glow of the LED strip or other artificial light sources in the room.
Troubleshooting Common Automation Issues
If your automated LED strip does not behave as expected, a systematic troubleshooting approach will help you identify and resolve the issue. If the lights stay on continuously during the day, the most common culprit is insufficient light reaching the sensor photocell. Check if the sensor is positioned in a deep shadow, behind a curtain, or facing away from natural light sources. Additionally, verify that the lux sensitivity dial is not set too high, which would require an unrealistically bright environment to trigger the off switch.
Conversely, if the LED strip fails to turn on at night, start by checking the physical connections and power source. Ensure that the main circuit breaker has not tripped and that the outlet or junction box is receiving power. Use your multimeter to verify that voltage is reaching the input side of the sensor. If the sensor is receiving power but not passing it to the lights, check if an external light source, such as a streetlamp or an adjacent room’s light, is shining directly onto the photocell and preventing it from registering darkness.
Flickering, strobing, or partial illumination of the LED strip usually points to electrical compatibility issues or poor connections. Ensure that all wire contacts within your connectors are tight and free of corrosion. Flickering can also occur if you have connected the sensor to an incompatible dimmer switch, or if the total wattage of your LED strip exceeds the rated capacity of either the sensor or the power supply. If you suspect a voltage drop is causing dimness at the far end of a long LED strip, verify that your power supply is rated appropriately for the length of the run, or consider powering the strip from both ends.
Setting the Mood: Warm White vs. RGB for Automated Ambient Lighting
The choice of light color plays a significant role in how your automated lighting affects the atmosphere of your living space. Warm white LED strips, typically ranging from 2700K to 3000K, emit a soft, golden glow that mimics traditional incandescent bulbs. This color temperature is highly recommended for automated evening lighting in bedrooms, living rooms, and hallways, as it promotes relaxation and prepares the body for sleep. When the dusk-to-dawn sensor automatically activates these warm tones at sunset, it seamlessly enhances the cozy, inviting feel of your home.
On the other hand, RGB (Red, Green, Blue) LED strips offer dynamic, highly customizable color options that allow you to change the mood of your space for different occasions. While RGB lighting is excellent for entertainment areas or modern accent walls, integrating it with a dusk-to-dawn sensor requires careful planning. Most standard dusk-to-dawn sensors operate by completely cutting power to the circuit. When power is restored at dusk, an RGB strip may default to a basic cycle or a factory setting rather than your preferred color.
To maintain your desired color or pattern settings with an automated sensor, you must use an RGB controller that features a non-volatile memory function. This ensures that when the sensor switches the power back on, the controller remembers and restores your last selected color scheme. Alternatively, choosing a dedicated warm white strip for your automated pathways and reserving RGB strips for manually controlled accent areas can provide the perfect balance of practical automation and versatile styling in your condo.
Frequently Asked Questions (FAQ)
Can I use a dusk to dawn sensor with a dimmable LED strip?
Yes, you can use a dusk-to-dawn sensor with a dimmable LED strip, but you must pay close attention to the wiring order and component compatibility. The sensor must always be wired before the dimmer switch in the circuit. If you place the dimmer before the sensor, the reduced voltage or altered waveform can prevent the sensor from operating correctly or damage its internal circuitry. Once wired in the correct order, you can set your dimmer to the desired brightness level, and the dusk-to-dawn sensor will automatically turn the strip on and off at that specific brightness setting.
Will the sensor drain power when the LED strip is off during the day?
Dusk-to-dawn sensors do draw a very small amount of standby power during the day to keep their internal light-sensing circuitry active. However, this passive power consumption is extremely low, typically measuring under one watt. This negligible draw will not have a noticeable impact on your monthly electricity bill. The energy saved by ensuring your high-powered LED strips are automatically turned off during daylight hours far outweighs the tiny amount of standby power consumed by the sensor itself.
Is it safe to install the sensor outdoors if my LED strip is waterproof?
While your LED strip may have a waterproof rating, you cannot assume the dusk-to-dawn sensor is automatically safe for outdoor use. You must check the specific Ingress Protection (IP) rating of the sensor module before exposing it to the elements. For outdoor installations in tropical climates prone to heavy rain and high humidity, the sensor should have a minimum rating of IP65 to protect against water jets and dust. If your sensor is only rated for indoor use, it must be installed inside a weatherproof junction box or kept entirely indoors, even if the connected LED strip is fully waterproof and mounted outside.
Community discussion
Share your experience or ask a question. Comments are reviewed before publication.