
To arrange a balanced gallery wall for your kpop girls photo collection, you must first categorize your items by size and format, select a layout style that suits your space, and use proper mounting techniques to protect both your walls and your memorabilia. Whether you are showcasing official album inclusions, limited-edition posters, or fan-made polaroids, achieving a polished look requires careful planning of visual weight, frame choices, and environmental protection.
By treating your collection as a curated art installation rather than random posters taped to a wall, you can elevate your room’s aesthetic while celebrating your favorite artists. This guide provides a step-by-step roadmap to designing, executing, and lighting a stunning gallery wall tailored to your space.
Plan Your K-Pop Girls Photo Collection and Wall Space
Before driving any nails or buying frames, you must inventory and organize your collection. K-pop merchandise comes in a wide variety of non-standard dimensions, which makes a pre-planned strategy essential. Gather all the items you want to display, including standard official album photos, mini-posters, postcards, polaroids, and individual member photocards. Categorizing these items by size and paper thickness will help you determine how many frames you need and what dimensions will work best.
Products mentioned in this guide
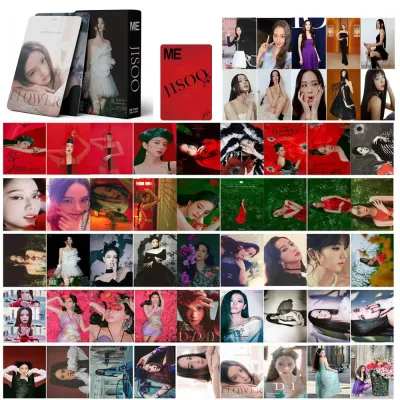
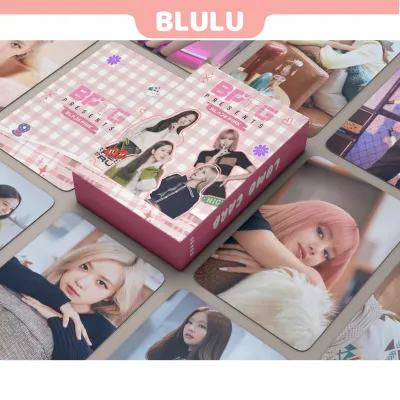
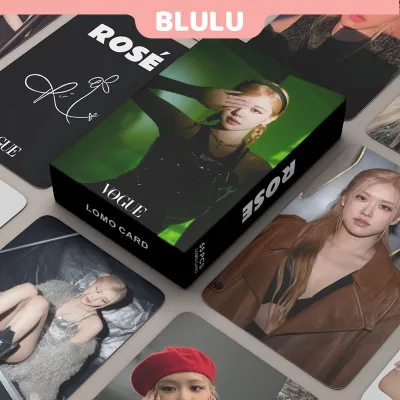
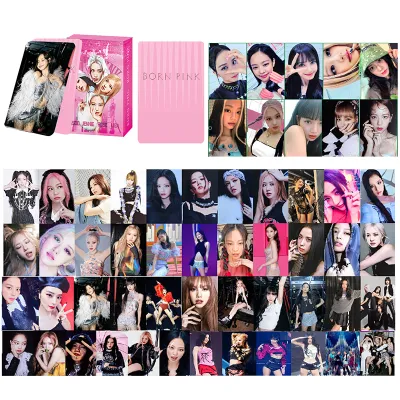
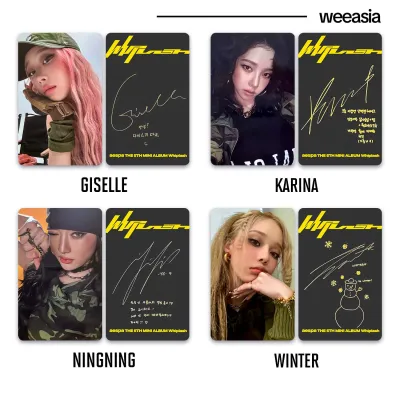
Prices are valid at publication and may change. Please refer to the product page for the latest price.
Once you have categorized your collection, decide on a framing strategy. For a clean, cohesive, and modern look, choose matching frames with identical border widths and uniform mat boards. This approach works exceptionally well if you want to make a diverse set of photos look unified. If you prefer a more dynamic, energetic, and personalized display, an eclectic mix of frames in varying colors, thicknesses, and materials can reflect the vibrant concepts of different eras. When sourcing frames in the Philippines, keep budget in mind; simple document frames can start around ₱150, while custom-matted frames will cost significantly more.
Next, measure your designated wall space with a tape measure. Note the height and width of the usable area, keeping in mind that you need to leave a margin of at least 15 to 20 centimeters around the edges of the entire arrangement. This negative space prevents the display from looking cramped or overwhelming, allowing each photo to stand out individually.
Finally, consider the local tropical climate when selecting your frame materials. High humidity levels can cause untreated wooden frames to absorb moisture, warp over time, and potentially damage the paper inside. For long-term stability, opt for metal frames, high-quality aluminum, or sealed composite materials. These options resist moisture absorption and provide a more stable environment for your valuable collectibles.
Choose the Right Gallery Wall Layout
The layout you choose should depend on the uniformity of your collection and how often you plan to update the display. Selecting the right arrangement ensures that your wall looks intentional and visually balanced.

Grid Layout for Uniform Collections
A grid layout is highly structured and works best for uniform items of identical sizes. If you have a complete set of official album concept photos, a series of identical postcard-sized prints, or a collection of framed mini-posters from the same era, a grid provides a clean, professional aesthetic.
To execute a successful grid, you must maintain absolute precision. Use a ruler or spacer block to ensure the gap between each frame is identical—typically between 5 to 8 centimeters. Even a minor misalignment of a few millimeters will be highly noticeable in a grid, so take your time measuring and marking each hanging point.
Eclectic Layout for Mixed Formats
If your collection includes a mix of large concert posters, medium-sized postcards, and tiny polaroids, an eclectic layout is the ideal choice. This organic arrangement allows you to blend different frame styles and photo dimensions into a cohesive, artistic collage.
To keep an eclectic layout from looking chaotic, you must anchor the arrangement. Start by placing one or two of your largest frames near the center of the layout, slightly offset from each other. Build outward from this central anchor using your smaller frames, maintaining a relatively consistent gap of 5 to 10 centimeters between all pieces.
To balance the visual weight of the wall, distribute darker frames, high-contrast photos, and larger images evenly across the entire arrangement. If you place all the heavy or dark elements on one side, the display will feel lopsided and visually uncomfortable.
Ledge and Shelf Displays for Flexible Arrangements
For collectors who love to update their displays with every new comeback, traditional wall mounting can be restrictive. Installing shallow picture ledges or floating shelves offers a flexible alternative that allows you to swap, rearrange, and overlap your framed photos without drilling new holes.
Ledges are perfect for layering different sizes; you can place larger framed posters in the back and overlap them slightly with smaller framed photocards or polaroids in the front. This layering technique adds depth and dimension to your wall.
Before installing picture ledges, always check the manufacturer’s weight capacity limits. Ensure the shelves are securely anchored to your wall using appropriate wall plugs or screws, especially if you plan to display heavier glass-fronted frames.
Mock Up and Hang Your Gallery Wall
To avoid making unnecessary holes in your walls, you should always test your layout before hanging a single frame. A physical mockup is the most reliable way to visualize the final result.
First, create paper templates of your frames. Place each frame onto a sheet of kraft paper, newspaper, or scrap printer paper, trace around the outer edge with a pencil, and cut out the shape. Write a quick description of the photo on each paper template so you know which image it represents.
Using low-tack painter’s tape, arrange and stick these paper templates onto your wall. This tape will secure the templates without peeling your paint or leaving sticky residue behind. Arrange the templates according to your chosen layout, adjusting the spacing and positions until you are completely satisfied with the overall balance.
Once the templates are taped to the wall, step back several meters. Evaluate the arrangement from different angles, seating positions, and lighting conditions in the room. Make sure the layout is level with your line of sight and matches the flow of the room.
With the templates still taped to the wall, mark the exact hanging points. Measure the distance from the top of each frame to its hanging bracket or wire, and transfer this measurement onto the corresponding paper template on the wall. Poke a small hole through the paper to mark the spot on the wall with a pencil, then remove the paper templates.
When installing the hangers, choose the right hardware for your wall type. In many homes in the Philippines, walls are constructed from solid concrete or hollow blocks covered in plaster. For these hard surfaces, you will need to drill a hole, insert a plastic wall plug (tox), and secure a screw. For lightweight frames on drywall, standard drywall anchors are sufficient. If you are using adhesive hooks for lightweight frames, clean the wall surface thoroughly with rubbing alcohol first and follow the manufacturer’s weight limits and curing times precisely.
During final installation, always use a spirit level placed on top of each frame to ensure they are perfectly straight. Step back frequently to double-check your progress.
Protect Your Walls and Your Collection
Preserving your walls and protecting your valuable K-pop merchandise are equally important considerations. Proper installation and environmental control will save you from costly wall repairs and ruined collectibles.
If you are renting your space or prefer not to drill holes, high-quality adhesive strips and hooks are excellent alternatives. However, you must strictly adhere to the weight limits specified on the product packaging. To prevent frames from falling and breaking, weigh each framed photo on a kitchen scale before choosing an adhesive hook. When it is time to remove the adhesive strips, pull the tab slowly and straight down parallel to the wall; pulling at an angle can tear the paint and damage the underlying plaster.
To protect your photos from fading, keep the gallery wall out of direct, harsh sunlight. Ultraviolet (UV) rays can quickly degrade paper fibers and fade ink, ruining rare or expensive official items. If your room receives a lot of natural light, consider using UV-protective acrylic or glass in your frames to shield your collection from sun damage.
Moisture is another major threat to paper collectibles, particularly in tropical climates. Avoid placing your gallery wall directly in the path of air conditioning vents, as the rapid temperature changes can cause condensation to form inside the frames. Additionally, keep the display away from highly humid areas of the home. To prevent paper from warping, buckling, or developing mold, ensure the room is well-ventilated, and consider using acid-free plastic sleeves to protect individual photocards before placing them inside a frame.
Enhance the Display with Lighting and Decor
To truly elevate your gallery wall, integrate dedicated lighting and complementary decorative accents. Proper lighting highlights the vibrant colors of your photos and creates a polished, museum-like atmosphere.
Adding picture lights or discreet LED strip lighting is an excellent way to illuminate your collection. If you choose plug-in or hardwired lighting, ensure all cables are neatly routed and hidden behind frames or paintable cable covers. When installing electrical fixtures, verify the voltage compatibility (220V is standard in the Philippines), check the manufacturer’s wattage limits, and ensure the products carry proper electrical safety certifications (such as the PS mark or ICC sticker).
For fixed wiring, installations in damp areas, or work at height, always prioritize safety. Isolate the power at the main circuit breaker before starting any electrical work, follow the manufacturer’s installation instructions carefully, and consult a qualified professional if you are unsure of the wiring requirements.
When selecting light bulbs or LED strips, consider the color temperature. Choosing between warm white (around 3000K) and cool white (around 5000K) is a matter of personal preference and aesthetic style rather than a universal rule. Warm white lighting creates a cozy, inviting atmosphere that softens skin tones in photos, while cool white lighting delivers a bright, modern, and high-energy look that makes vibrant colors pop. Whichever you prefer, position the lights at an angle to minimize distracting glare on the frame glass.
Finally, tie the entire display together by adding complementary decor items on adjacent shelves or nearby surfaces. Displaying your official lightsticks, small plushies, or open album covers alongside your framed photos creates a cohesive, beautifully themed corner that celebrates your favorite artists.
Frequently Asked Questions (FAQ)
How can I prevent my K-pop photos from fading or warping in a humid climate?
To protect your photos from moisture and fading in a humid climate, always use frames with sealed backing boards to minimize air and moisture exposure. You can place small silica gel packets behind the photos inside the frame cavity to absorb any trapped humidity. Additionally, keep the room well-ventilated, avoid hanging the display on damp walls, and run a dehumidifier during the rainy season to maintain a stable, dry environment for your paper collectibles.
Community discussion
Share your experience or ask a question. Comments are reviewed before publication.