
Transforming a stack of ENHYPEN lomocards into a stunning gallery wall is an excellent way to celebrate your favorite eras and showcase your collection. Instead of keeping these beautifully printed cards tucked away in binders or boxes, a curated wall display turns your bedroom or study space into a personalized fan haven. Achieving a professional, clean look requires careful planning, the right materials, and a systematic installation process that protects both your walls and your cherished collectibles.
Whether you are highlighting a single member or displaying a complete set from a specific comeback, a thoughtful layout ensures your collection looks like a cohesive work of art rather than a cluttered afterthought. By focusing on proportional spacing, safe mounting techniques, and environmental protection, you can create a display that is both visually striking and completely reversible.
Planning Your ENHYPEN Lomocard Gallery Wall Layout
Start by measuring your designated wall space. Use a standard measuring tape to find the width and height of the area you want to dedicate to your gallery. Defining a clear boundary—such as a square or rectangular zone on your wall—prevents the display from looking cluttered or getting lost on a large, blank surface. Proportional spacing is key to a balanced look; leaving a consistent gap of 2 to 5 centimeters between each frame or card ensures a clean, intentional aesthetic.
Products mentioned in this guide
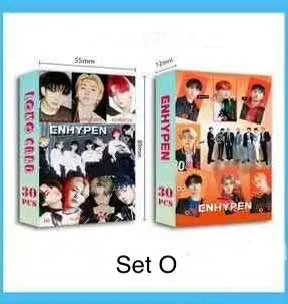

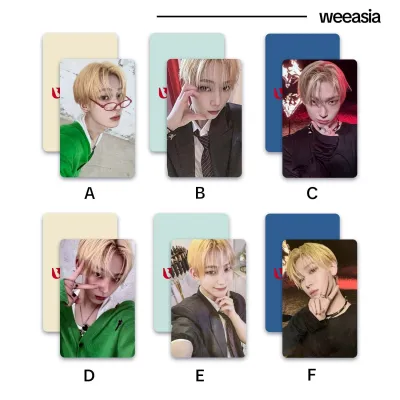

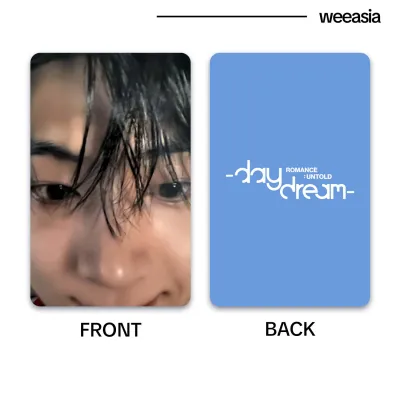
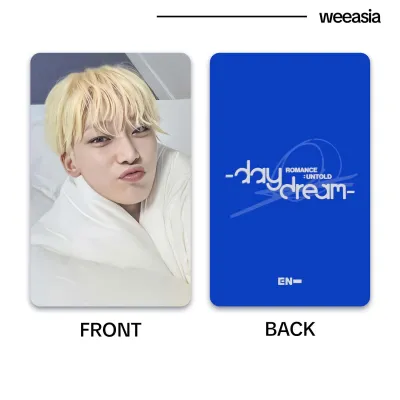
![[55pcs 92PCS 124PCS/box] EN- Lomo Cards / Photo Cards KPOP EN Photocards](https://img.lazcdn.com/g/p/614e6bfccf6a353fb74ae416e536d8b3.jpg_400x400q80.jpg_.webp)
Prices are valid at publication and may change. Please refer to the product page for the latest price.
Next, sort your ENHYPEN lomocards to establish a cohesive visual theme. You can organize them by era, matching the dark, gothic aesthetics of earlier releases with similar moody concepts, or grouping the vibrant, warm tones of more recent comebacks together. Alternatively, group them by color palette, placing monochrome cards in one section and pastel-toned cards in another. If you have a specific bias, you might center your arrangement around a single member, such as Jungwon or Ni-ki, surrounding them with group shots or sub-unit cards to create a clear focal point.
Before mounting anything, test your layout using physical templates. Lay your frames or cards flat on the floor on top of a large sheet of paper, or cut out paper templates matching the size of your frames and tape them to the wall with low-tack painter’s tape. This step allows you to experiment with different styles without making permanent marks. A structured grid layout offers a clean, modern look that works perfectly with uniform frames. A salon layout mixes different frame sizes and orientations for an eclectic, artistic vibe. An organic layout allows for an asymmetrical, flowing design that you can easily expand as your collection grows.
Selecting Frames and Mounting Hardware
Standard lomocards typically measure around 5.4 by 8.6 centimeters, which is slightly different from standard photo sizes. To display them, you can choose small, individual frames designed for mini photos, or place multiple cards inside a larger multi-opening frame. Using custom matting inside a larger frame—such as a standard document or photo frame—creates a generous border around each card, instantly elevating the display and giving it a premium, gallery-like feel.

When choosing frame materials and colors, consider your existing room decor alongside the aesthetic of the cards. Sleek black or dark wood frames complement moody, dramatic concepts, while minimalist white or light oak frames work beautifully with bright, airy room designs. Lightweight acrylic frames are an excellent modern alternative, offering a borderless, floating effect that keeps the focus entirely on the lomocards themselves.
Selecting the right mounting hardware is crucial, especially when dealing with different wall types and environmental factors. In tropical regions, high humidity can weaken standard adhesives over time. For rental properties where drilling is prohibited, look for high-quality, humidity-resistant adhesive strips rated for the weight of your frames. If you are mounting on solid concrete walls—which are common in many local homes—and are allowed to make permanent changes, small concrete hooks or traditional nails with wall anchors provide the most secure, long-term support.
Step-by-Step Installation Process
Begin the installation by marking your wall positions precisely. Grab a spirit level, a metal measuring tape, and a roll of painter’s tape. Referencing your floor layout or paper templates, mark the exact top corners of each frame on the wall with small pieces of painter’s tape. Use the spirit level to ensure every horizontal line is perfectly straight, as even a minor tilt of a few millimeters can disrupt the clean lines of a grid layout.
Once your marks are set, prepare the wall surface. Wipe down the wall with a dry microfiber cloth to remove any dust, oils, or loose paint that could prevent adhesives from bonding properly. If you are using adhesive strips, press them firmly onto the back of the frames according to the manufacturer’s instructions, then press the frames against the wall, holding them in place for at least 30 seconds to activate the bond. For concrete walls, carefully tap your concrete hooks into the marked spots using a small hammer, ensuring they are seated flush against the wall.
Hang your frames starting from the center of your layout and working your way outward. This method helps maintain symmetry and allows you to adjust the spacing of outer frames if needed. Once all frames are hung, step back a few meters to inspect the overall alignment. Use your spirit level one final time on top of each frame, making micro-adjustments by gently nudging the frames or adjusting the tension of the hanging wires until the entire display is perfectly level and visually balanced.
Caring for Your Lomocard Display
Protecting your ENHYPEN lomocards from environmental damage is essential for preserving their color and quality. Avoid placing your gallery wall in areas that receive direct sunlight, as ultraviolet rays will cause the vibrant inks on the cards to fade and yellow over time. Additionally, keep the display away from high-humidity zones, such as walls directly adjacent to bathrooms or areas prone to dampness during the rainy season. Excessive moisture can cause the paper cards to warp, buckle, or develop mold inside the frames.
Maintain your display with regular, gentle cleaning. Dust the tops and faces of the frames weekly using a soft, dry microfiber cloth or a static duster to prevent buildup. Periodically check the stability of your mounting hardware; if you notice any frames shifting or adhesive strips peeling due to seasonal humidity changes, reinforce or replace them immediately to prevent accidental drops.
When you want to update your gallery, rotate or add new lomocards carefully to avoid damaging the cards or the wall. Use clean, dry hands or cotton gloves when handling the cards to prevent transferring natural skin oils. If your frames use backing clips, open them gently on a flat, clean surface. If you need to rearrange the layout on the wall, pull adhesive strips downward slowly parallel to the wall as instructed by the manufacturer to prevent peeling off the paint or plaster.
Frequently Asked Questions (FAQ)
Can I use double-sided tape directly on the lomocards?
No, you should never apply double-sided tape or any standard household adhesive directly to your lomocards. These adhesives contain acids and strong chemicals that will stain the paper, leave sticky residue, and tear the backing when you try to remove them, severely depreciating the value of your collectibles. Instead, protect your cards by placing them inside acid-free, archival-grade plastic sleeves before mounting. You can also use acid-free photo corners to secure the cards to a mat board, or use magnetic acrylic frames that hold the cards securely in place using gentle magnetic pressure without any adhesive contact.
How do I arrange an odd number of lomocards?
Arranging an odd number of cards is easy if you use a central anchor piece to ground your design. Place your favorite card, a larger group photo, or a framed ENHYPEN logo directly in the center of your layout, and arrange the remaining cards symmetrically around it. Another effective strategy is to create an asymmetrical, organic layout where you balance the visual weight rather than the exact number of items. For example, you can balance three small frames on one side with one larger framed card or a small decorative element, like a light stick shelf or a mini poster, on the other side to keep the overall composition visually pleasing.

Community discussion
Share your experience or ask a question. Comments are reviewed before publication.