
Transforming a cherished photocard collection into an aesthetic gallery wall requires balancing visual design with long-term preservation. By selecting the right layout, protective framing materials, and secure mounting hardware, you can turn small-scale collectibles into a high-impact interior focal point. The key is to plan the arrangement systematically on the floor before making any permanent marks on your wall.
Planning Your Photocard Gallery Wall Layout
Before hanging any frames, you must accurately assess the physical limitations of your wall space. Use a steel measuring tape to determine the height and width of the designated area. Mark the boundaries of your display zone using light pencil marks or low-tack painter’s tape to visualize how the collection interacts with surrounding furniture, door frames, or light switches.
The small dimensions of standard photocards—typically around 5.5 by 8.5 centimeters—require deliberate layout choices to prevent the display from looking cluttered or lost on a large wall. Three primary layout patterns work exceptionally well for these compact items:
Products mentioned in this guide
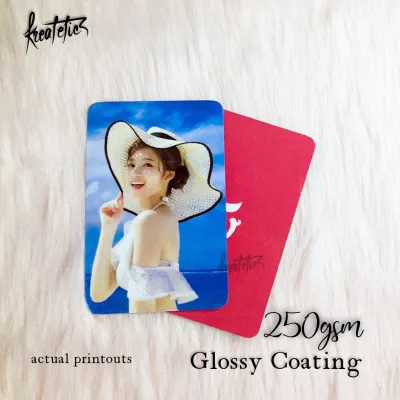
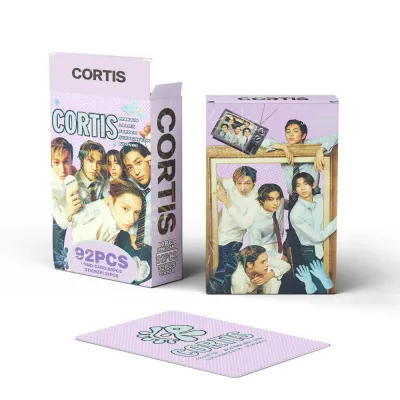



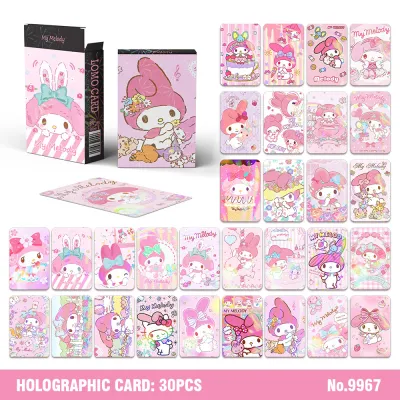
Prices are valid at publication and may change. Please refer to the product page for the latest price.
- Grid Layout: Best suited for highly uniform frames of the same size, color, and depth. This pattern creates a clean, modern, and symmetrical appearance. It is ideal for showcasing complete album sets or chronological eras of a specific artist.
- Salon or Eclectic Layout: Perfect for collectors who want to mix different frame sizes, styles, or shapes. This approach allows you to integrate other memorabilia like concert tickets, mini posters, and slogan banners. It relies on a central focal piece with other frames radiating outward in an organized, organic fashion.
- Linear Layout: Excellent for arranging frames along a narrow floating shelf, picture ledge, or a hanging rail system. This method offers the highest flexibility, as you can easily swap, overlap, or rearrange frames without drilling new holes into the wall.
Once you select a layout, translate your plan into physical templates. Trace each of your frames onto sheets of kraft paper, newspaper, or wrapping paper, and cut them out to their exact dimensions. Label each paper template with the name or description of the specific frame it represents.
Arrange these paper templates on the floor in front of your target wall. This floor mockup allows you to experiment with spacing, balance, and color distribution without damaging your paint. Move the templates around until you achieve a balanced composition, then use painter’s tape to transfer the paper templates directly onto the wall in their exact positions.
Selecting Frames and Protective Materials
Because photocards are small, placing them directly into large, standard frames can make them look swallowed by the empty space. To solve this, use mat boards, also known as passe-partouts. A mat board is a cardboard border that sits inside the frame, creating a visual border that draws the eye directly to the photocard while preventing the card from touching the glass.

Select frame materials and colors that harmonize with both your photocard aesthetics and the room’s overall interior design:
- Minimalist Metal Frames: Thin aluminum frames in black, silver, or gold offer a sleek, modern look that matches contemporary or industrial interiors.
- Warm Wood Frames: Natural wood tones add warmth and texture, making them suitable for Scandinavian, rustic, or cozy bedroom setups.
- Colorful Acrylic Frames: Translucent or pastel acrylic frames provide a playful, youthful energy that complements vibrant pop-culture concepts.
Photocards are highly susceptible to environmental damage, particularly fading caused by ultraviolet (UV) light. Standard window glass does not filter out harmful UV rays, which can degrade the ink on your cards over time. Choose frames equipped with UV-protective glass or museum-grade acrylic glazing that filters out at least 99% of UV rays, especially if your gallery wall is located in a room with abundant natural light.
To secure the photocards safely inside the frames without lowering their collector value, always use acid-free backing boards. Acidic materials can yellow and degrade paper over time. Avoid using standard tapes, glues, or double-sided adhesives directly on the photocard. Instead, place the card inside an archival-grade, acid-free plastic sleeve, and mount the sleeve to the backing board using acid-free photo corners or specialized mounting tape applied only to the sleeve.
Step-by-Step Installation Guide
Mounting your gallery wall securely requires patience, precision, and the correct tools. Following a structured installation process ensures that your frames remain level, safe, and beautifully aligned. Before beginning, always check your wall material—such as drywall, plaster, or solid concrete—to ensure you use compatible hardware and tools.
Marking and Positioning
Keep the paper templates taped to the wall from your planning phase. The center of your overall gallery wall arrangement should ideally hang at eye level, which is standardly positioned between 57 and 60 inches (145 to 152 centimeters) from the floor. Adjust this height slightly if you are positioning the gallery wall directly above a bed, desk, or console table to maintain a balanced visual gap of 6 to 8 inches above the furniture.
Use a pencil to mark the exact spot where the mounting hardware must be installed on each paper template. To find this spot, measure the distance from the top of the actual frame to its hanging bracket, wire, or hook on the back. Transfer this exact measurement down from the top edge of the corresponding paper template on the wall, marking it clearly with an “X”.
Choosing the Right Wall Hardware
Selecting the appropriate mounting hardware depends heavily on your wall type and the weight of your frames:
- Adhesive Strips and Putty: For lightweight plastic, acrylic, or thin wood frames, heavy-duty double-sided adhesive strips offer a renter-friendly, drill-free solution. Always clean the wall surface with rubbing alcohol first, check the weight limits on the packaging, and ensure the adhesive is rated for your room's humidity levels.
- Traditional Picture Hooks and Nails: Best for drywall or plaster walls when hanging medium-weight frames. These create minimal wall damage and can easily support several kilograms.
- Masonry Anchors and Screws: In many homes, especially in tropical regions like the Philippines, walls are constructed from solid concrete or hollow blocks covered in plaster. For these walls, you must use a masonry drill bit to create a pilot hole, insert a plastic wall plug (commonly referred to locally as a "tox"), and drive a screw into the plug to support heavier frames safely.
If you encounter unexpected resistance, crumbly plaster, or if the total weight of a large framed collage exceeds the rated capacity of your hardware, stop immediately and consult a professional installer to avoid wall damage or falling frames.
Hanging and Leveling
Once your hardware points are marked, drive your nails, screws, or adhesive hooks directly through the marked “X” on the paper templates. After the hardware is securely anchored into the wall, gently tear away the paper templates from behind the hooks.
Hang each frame onto its designated hook. Place a physical spirit level or open a reliable smartphone level app on top of the frame to check its alignment. Adjust the frame slowly until the bubble is centered perfectly between the two indicator lines.
To prevent frames from shifting, tilting, or vibrating out of alignment over time, apply a small pea-sized dot of removable mounting putty or a small piece of double-sided foam tape to the bottom corners on the back of each frame. Press the bottom of the frame gently against the wall to lock its position.
Styling and Lighting Your Photocard Display
To prevent your photocard gallery wall from looking like a rigid grid of commercial products, introduce diverse visual textures. Break up the monotony of frames by incorporating complementary decor elements. Small floating shelves can hold light items like lightsticks, signed albums, or small decorative figurines. You can also weave thin copper-wire fairy lights around the frames, pin up aesthetic concert ticket stubs, or hang small potted trailing plants like pothos to introduce natural greenery.
Maintaining consistent spacing between your elements is crucial for a cohesive look. A standard gap of 2 to 3 inches (5 to 7.5 centimeters) between frames balances density and breathing room. Keeping this spacing uniform across the entire layout prevents the collection from looking disconnected or overly cramped.
Proper lighting elevates your gallery wall from a simple display to a professional-looking exhibition. Consider installing dedicated picture lights directly above your key frames, or utilize adjustable directional track lighting mounted on the ceiling to cast focused beams on the display. If you install hardwired wall sconces or track lights, always isolate the power at the main circuit breaker before installation, verify that the fixture voltage matches your home’s electrical system (typically 220V in the Philippines), check the wattage limits and base interface compatibility, and hire a licensed electrician to handle the fixed wiring safely.
Avoid placing your photocard gallery wall in areas that receive direct, unfiltered sunlight. Prolonged exposure to intense sunlight and heat can cause the protective plastic sleeves to warp, degrade the adhesive backing, and cause irreversible UV fading to the printed ink on your photocards. Position your display on a wall adjacent to windows rather than directly opposite them, or use sheer curtains to diffuse incoming daylight.
Maintaining and Updating Your Gallery Wall
Keeping your gallery wall pristine requires regular, gentle maintenance. Dust the frames weekly using a clean, dry microfiber cloth or a static duster. Avoid spraying liquid glass cleaners or harsh chemical solvents directly onto the frames, as the moisture can seep behind the glass and damage the paper mat boards or the photocards themselves. Instead, spray a small amount of specialized acrylic or glass cleaner onto a microfiber cloth first, then gently wipe the outer glazing.
Periodically inspect the physical stability of your mounting hardware. This check is especially critical in highly humid tropical environments, where moisture in the air can gradually degrade the adhesive bond of mounting strips or cause plaster walls to soften slightly. Gently press on each frame to verify that the adhesive remains firmly bonded and that wall anchors have not loosened.
As your collection grows, you may want to update the displayed photocards without dismantling your entire layout. To make swapping easy, consider using front-opening magnetic frames, acrylic floating frames with magnetic corners, or mini wooden clipboards. These options allow you to change the displayed cards in seconds, keeping your gallery wall fresh and dynamic as you collect new eras and releases.
Frequently Asked Questions (FAQ)
What is the ideal spacing between frames in a gallery wall?
The standard spacing for a balanced, cohesive gallery wall is 2 to 3 inches (5 to 7.5 centimeters) between each frame. Keeping this gap consistent across the entire arrangement ensures that the display reads as a single, unified art piece rather than a scattered collection of individual items. If your frames are exceptionally small, you can reduce the spacing to 1.5 inches (3.8 centimeters) to maintain visual density.
How can I display photocards without using traditional frames?
If you prefer a more minimalist or budget-friendly display, you can hang a metal wire grid panel on your wall and secure your sleeved photocards using small wooden clothespins or decorative metal binder clips. Alternatively, you can string warm LED fairy lights horizontally across your wall and clip the cards directly to the wire. Keep in mind that these open display methods offer no protection against dust, humidity, or UV light, so only use them for duplicates or lower-value cards, and keep them out of direct sunlight.
Community discussion
Share your experience or ask a question. Comments are reviewed before publication.