
Preparing your home for the festive season can feel overwhelming and expensive, especially when commercial store-bought ornaments strain your budget or clutter your storage spaces. Fortunately, you can easily transform everyday household items like cardboard tubes, plastic bottles, and old bedsheets into charmingly spooky DIY Halloween decorations with minimal crafting skills and zero specialized tools. By upcycling materials you already have in your recycling bin or linen closet, you can create budget-friendly, festive accents that are perfectly suited for humid tropical climates and safe for the whole family to assemble.
What household items can you repurpose for DIY Halloween decorations?
You can repurpose a wide variety of common household recyclables and textiles, such as empty toilet paper rolls, cardboard cereal boxes, plastic bottles, glass jars, and worn-out bedsheets, to create festive Halloween decorations. These everyday items serve as excellent, lightweight bases for beginner-friendly crafts without requiring expensive trips to specialty stores.
To start, categorize your gathered materials. Paper and cardboard items like toilet paper rolls, egg cartons, and empty cereal boxes are highly versatile and easy to cut. Plastics and glass, such as clear plastic bottles and clean jars, are excellent for light-transmitting projects. Textiles, including old white bedsheets, scrap fabric, or clean gauze, provide excellent draping qualities for creating classic ghostly figures.
Products mentioned in this guide
34 Lazada user ratings
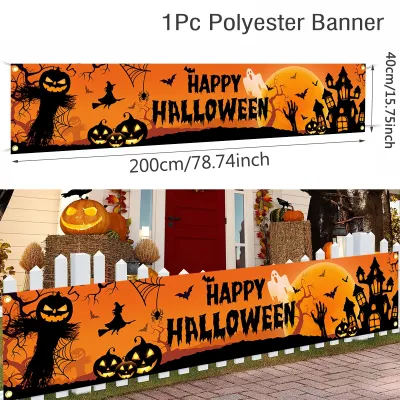
Background for fun party, outdoor Halloween decorations, pumpkin and bat printed, suitable for scary theme, Halloween scary party banner,
Halloween-themed design, easy to install for outdoor use,
Nice and reusable! Thank u🙏
Easy to hang outside,
23 Lazada user ratings
getting ready for halloween party for kids. sana maging maganda ang datingan nia. thank you seller at kay kuya driver
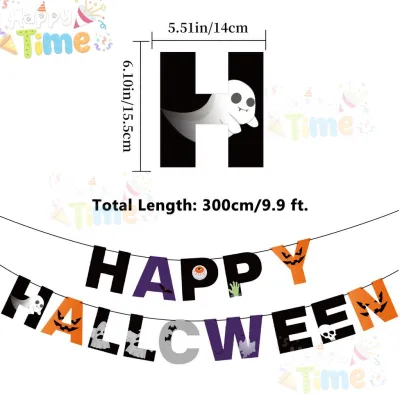
Ideal for TikTok and Instagram, Spiral hanging flags included, Perfect for haunted houses, Spooky and festive design,
Lightweight and durable, Perfect for haunted houses, Great for photo backdrops, Easy to install and hang,
Order received on time. Shipped immediately and packed carefully. Exactly as advertised.
81 Lazada user ratings
Quality: Wet good. Very soft and bendable Design: Beautiful design., Very stylish., Price: competitive price Affordable price., I can’t wait…Read full reviewShow less
Quality: Wet good. Very soft and bendable Design: Beautiful design., Very stylish., Price: competitive price Affordable price., I can’t wait to get more.. this is the highest size.
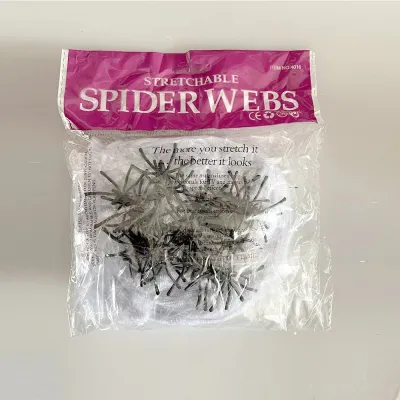
This and I'll put or wrap web around the clothes as halloween costume. Ingat lang sa paghawak kase nalalagas balahibo
Malaki pala yung spider webb. Okay ang quality at magandang pang decor. Sulit naman sya may spider pa na kasama.
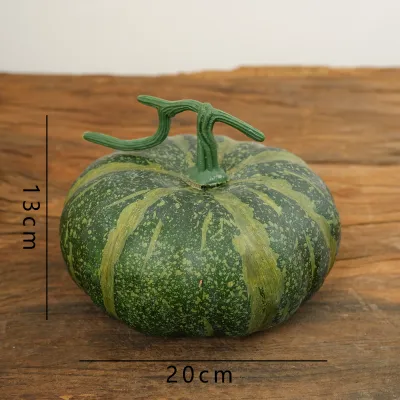
Sturdy plastic material, Spooky and realistic design,
29 Lazada user ratings
Design:Great for indoor and outdoor use, Excellent.
Perfect for Halloween parties,
Easy to hang and decorate,
Adds festive atmosphere,

295 Lazada user ratings
Beautiful flickering candle lights, High-quality LED lights, Great addition to any wedding decor, Realistic flameless candles, Creates a rom…Read full reviewShow less
Beautiful flickering candle lights, High-quality LED lights, Great addition to any wedding decor, Realistic flameless candles, Creates a romantic ambiance, Long-lasting battery life,
Long-lasting battery life, Creates a romantic ambiance, High-quality LED lights, Variety of sizes for different settings, Beautiful flickeri…Read full reviewShow less
Long-lasting battery life, Creates a romantic ambiance, High-quality LED lights, Variety of sizes for different settings, Beautiful flickering candle lights,
Safe alternative to traditional candles. Beautiful flickering candle lights. We use them on our altar. Thank you seller and delivery rider.
Variety of sizes for different settings. Realistic flameless candles. Thank you seller and delivery rider....
Beautiful flickering candle lights, Realistic flameless candles, Great addition to any wedding decor,
Prices are valid at publication and may change. Please refer to the product page for the latest price.
Gathering a few basic tools already present in most homes will make the assembly process smooth. You will generally only need household scissors, non-toxic craft glue, permanent markers, crayons, and leftover water-based paint. If you need to purchase basic crafting supplies, simple items like paper tape or safety scissors can be easily found on any major online marketplace or local stationery shop for just a few pesos (often under ₱50).
Before starting, check your gathered items for cleanliness, dryness, and structural integrity. Wash plastic bottles and glass jars with warm, soapy water to remove food residue, which is crucial in warm, humid climates to prevent mold and avoid attracting pests. Inspect cardboard boxes to ensure they are dry and sturdy; if a piece of cardboard has been exposed to moisture and is soft or warped, discard it. Finally, organize a safe, flat crafting workspace, covering your table with old newspapers or a plastic sheet to catch glue drips.
How do you make simple paper and cardboard Halloween crafts?
You can make simple paper and cardboard Halloween crafts by cutting, folding, and painting everyday items like toilet paper rolls and cereal boxes into classic spooky shapes like bats, hanging ghosts, and miniature tombstones. These lightweight projects require only basic cutting skills and can be easily mounted on walls or windows using damage-free adhesives.

One of the easiest beginner projects is the classic toilet paper roll bat. To make one, fold the top two opposite edges of an empty toilet paper roll inward to create two pointed ear shapes. Next, paint the entire roll black using leftover water-based paint or a black permanent marker, and let it dry completely. While the body is drying, cut out a pair of simple bat wings from a piece of scrap cardboard, such as an old cereal box, and paint them black. Once dry, attach the wings to the back of the roll using non-toxic school glue, and draw a spooky face on the front using a white crayon or silver marker.
When working with cardboard, score fold lines lightly with a blunt butter knife along a ruler to ensure clean, precise folds without tearing. For a realistic weathered look on cardboard tombstones, apply a base coat of gray paint, then lightly sponge on a highly diluted wash of black paint mixed with water. Once dry, use a dark marker to write classic humorous epitaphs or draw faux cracks on the surface.
Display your lightweight paper and cardboard items using damage-free painter’s tape, light adhesive putty, or double-sided removable tape on walls, glass windows, or wooden shelves. Avoid using heavy-duty packing tape on painted walls, as this can peel off the paint when removed. Because paper is highly sensitive to moisture, display these crafts strictly indoors and keep them away from open windows where sudden tropical rain showers or high humidity could cause them to warp.
How can you transform plastic bottles and jars into spooky lighting?
You can transform plastic bottles and glass jars into spooky lanterns by cleaning the containers, decorating their outer surfaces with ghostly faces or tissue paper, and illuminating them from within. To ensure absolute safety, always use battery-operated LED string lights or flameless tea lights instead of open-flame candles inside these DIY containers. This approach allows you to create beautiful, glowing holiday accents that are completely safe to leave unattended on tables or shelves.
To create a simple plastic bottle ghost light, start with a clean, translucent plastic jug or water bottle and peel off its label. Rub a small amount of cooking oil or warm soapy water over any sticky residue to clean it. Use a black permanent marker to draw a classic screaming ghost face on the front. Next, an adult should carefully cut a small opening in the back or bottom of the bottle using sharp scissors. Insert a small strand of battery-operated LED fairy lights or a flameless LED tea light through the opening to make the bottle glow.
You can also alter the surface of glass jars to create different lighting effects. For a mummy lantern, wrap white gauze or medical tape tightly around a clean glass jar, securing the ends with clear tape. Leave a small gap in the wrapping to glue on googly eyes or draw eyes on the glass. For a colorful frosted lantern, brush a thin layer of non-toxic school glue mixed with water onto the outside of the jar, press orange or green tissue paper onto the wet glue, and let it dry to create a stained-glass effect.
When choosing and installing your light sources, strict adherence to electrical and fire safety is essential. Never place real wax candles or open flames inside plastic, paper, or fabric containers, as these materials are highly flammable. Always verify that your battery-operated LED lights are in good working condition, checking the battery compartment for any signs of white powdery corrosion or rust. If you plan to place your glowing lanterns on an outdoor porch, ensure they are kept in a dry, covered area protected from dampness.
How do you create fabric and textile-based Halloween accents?
You can create classic fabric-based Halloween accents, such as draped ghosts and mummy-wrapped vases, by wrapping or draping old white bedsheets, t-shirts, or scrap fabrics over household objects. These projects require absolutely no sewing skills and rely on simple tying, folding, and securing techniques that anyone can master in minutes. Upcycling old textiles is a wonderful way to give worn-out household linens a second life before finally discarding them.
To make a classic draped tabletop ghost, you will first need a small, lightweight object to serve as the head support, such as a clean tennis ball or an empty plastic bottle. Cut a square piece of an old white bedsheet or a worn-out white t-shirt. Place the fabric square evenly over the head support, then secure it just below the “head” by wrapping a rubber band or a piece of twine around the neck area to define the shape. Use a black fabric marker or small pieces of black felt glued onto the fabric to create simple eyes and a mouth.
Another excellent textile project is a mummy-wrapped vase or container. Tear an old white sheet or t-shirt into long, thin strips about two inches wide; tearing the fabric rather than cutting it gives the edges a realistically frayed, ancient look. Wrap these fabric strips tightly around an empty glass jar or plastic bottle, overlapping the layers slightly, and secure the ends with double-sided tape or a small safety pin. You can lightly dust the fabric with a tiny bit of cocoa powder to give the wrapping an aged, dusty appearance.
When draping and securing larger fabric decorations, always ensure they are anchored safely. If you plan to hang a fabric ghost from a doorway, use lightweight twine tied securely around the neck area and attach it to a sturdy, damage-free adhesive hook. Never hang fabric decorations from active light fixtures, ceiling fans, or electrical cords. At the end of the holiday season, wash the reusable fabric pieces on a gentle cycle, dry them completely to prevent mildew in humid storage spaces, and fold them neatly for future use.
What safety precautions should you follow when making and displaying DIY decor?
When making and displaying DIY decorations, you must prioritize tool safety, fire prevention, and secure mounting to protect your home and family. While crafting with household items is a low-risk activity, taking a few basic precautions ensures that your festive preparations remain safe and enjoyable. By establishing clear safety boundaries, you can prevent accidents and enjoy your handmade decorations with peace of mind.
First, always practice proper tool safety and maintain active supervision when crafting with children. Sharp tools like utility knives, heavy-duty scissors, and hot glue guns should only be handled by adults. If you are using a hot glue gun, always place it on a heat-resistant silicone pad when not in use, and keep it away from the edges of your workspace. Ensure your crafting area is well-lit and free of clutter.
Second, strictly observe fire and electrical safety guidelines when illuminating your decorations. Because DIY crafts made of paper, cardboard, and fabric are highly flammable, they must never be placed near open flames, stoves, or high-wattage light bulbs. When using battery-operated LED lights, inspect the wiring carefully to ensure there are no frayed sections. Always turn off all battery-operated decorations before going to bed or leaving the house to conserve battery life.
Third, use appropriate hanging and mounting methods to secure your decorations safely. Only hang lightweight items from walls and ceilings, and always use damage-free adhesive hooks rated for the specific weight of your decoration. Avoid hanging any items from unstable fixtures, damp surfaces, or active ceiling fans. If a decoration is intended for outdoor display, ensure it is securely anchored so that sudden wind gusts do not blow it away.
Finally, know when to stop and discard materials that pose a health or safety risk. Before you begin crafting, inspect all old containers and textiles thoroughly; if any item shows signs of mold or mildew, discard it immediately. If a glass jar chips or cracks during the crafting process, do not attempt to use or repair it. Safely dispose of any damaged glass immediately to prevent cuts, and replace it with a safe plastic alternative.
Community discussion
Share your experience or ask a question. Comments are reviewed before publication.