
Customizing a neon fire light lamp is an excellent way to introduce a warm, dynamic glow into your condominium without the safety hazards of an actual open flame. In modern condo units, where space is often at a premium and interior design rules are strictly enforced, a personalized LED neon sign offers a striking focal point that elevates the overall ambiance. By designing your own flame silhouette, selecting the right materials, and planning a safe installation, you can create a bespoke lighting piece that perfectly fits your living room, bedroom, or study.
To achieve a professional result, the customization process requires careful planning across several stages. You must balance your artistic vision with the practical realities of electrical safety, weight limits, and mounting restrictions. Whether you are renting a cozy studio or personalizing an owned unit, understanding how to safely assemble and mount your custom light ensures a stunning visual effect that complies with residential building standards.
Define Your Design and Space Requirements
Before purchasing any materials, you need to establish a clear design concept and assess the physical space where the lamp will hang. A fire light lamp typically features organic, flowing curves that mimic flickering flames, which can range from a minimalist single-line outline to a complex, multi-layered fire graphic. Begin by sketching your flame design on paper or using digital design software to determine the overall scale. It is helpful to print or draw a full-scale paper template of your design and tape it to the intended wall or shelf area to visualize how the final piece will interact with your existing furniture and decor.
Products mentioned in this guide
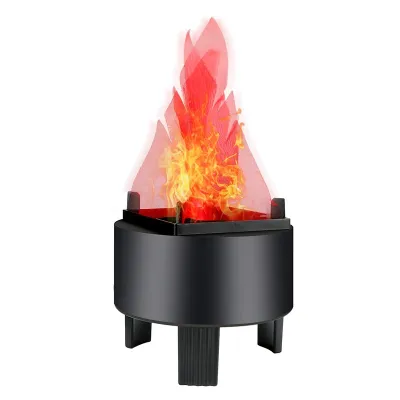
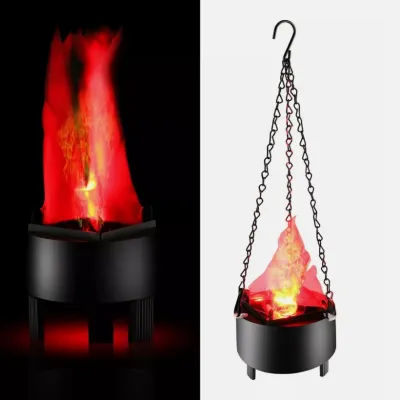
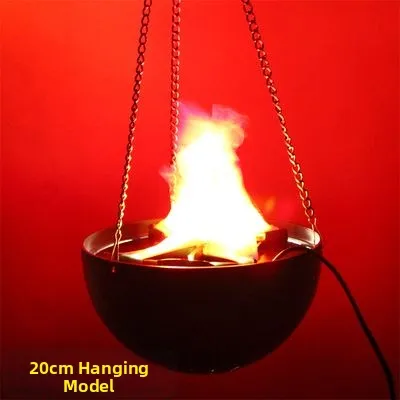
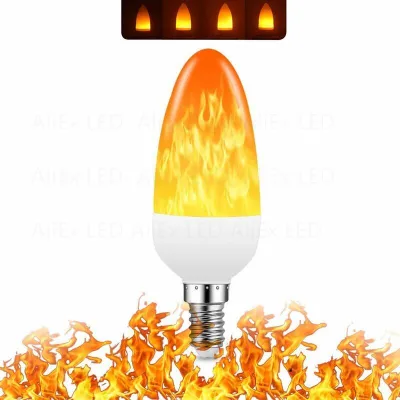
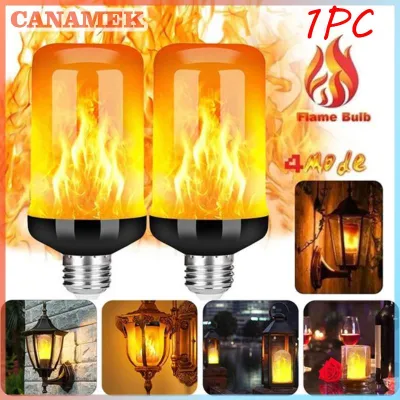
Prices are valid at publication and may change. Please refer to the product page for the latest price.
Measuring the available wall space is a critical step that prevents you from building a lamp that overwhelms your room or looks awkwardly small. Use a standard measuring tape to record the height, width, and depth of the installation zone, keeping in mind that you need a small buffer zone around the edges for wiring and ventilation. Additionally, evaluate the viewing angles from key vantage points in your condo, such as your main sofa, dining table, or entryway. A well-placed neon lamp should be clearly visible without causing uncomfortable glare or direct eye strain when you are seated.
Living in a condominium also means adhering to specific community guidelines and property management rules. Before starting your project, review your condo’s tenant handbook or consult the building administration regarding wall decorations, drilling restrictions, and weight limits. Many rental units strictly prohibit drilling into concrete walls or making permanent structural modifications, which will directly influence your choice of backing materials and mounting hardware. Knowing these constraints beforehand allows you to design a lightweight, non-destructive piece that keeps your security deposit secure while still delivering a high-impact aesthetic.
Select LED Neon Flex and Backing Materials
The core of your custom fire light lamp is the LED neon flex, a flexible silicone or PVC sleeve housing closely spaced light-emitting diodes. When choosing your neon flex, color selection plays a major role in establishing the room’s mood. Static warm amber, deep orange, and classic red tubes offer a traditional, cozy fireplace feel that remains constant. Alternatively, dynamic RGB (Red, Green, Blue) or addressable digital neon flex allows you to program shifting color patterns, simulating the natural movement of rising heat and flickering embers. Consider how these color temperatures interact with your condo’s existing color palette and ambient lighting.

Material flexibility is another essential factor to verify before finalizing your purchase. Every LED neon flex product has a specified minimum bending radius, which dictates how sharply the tube can be curved without damaging the internal circuitry or cracking the outer protective sleeve. For intricate flame designs with sharp peaks and tight valleys, you will need a highly flexible, thin-profile neon flex (such as 6mm or 8mm width) that can handle tight turns. Attempting to bend a thick, rigid tube beyond its rated limit can sever the internal copper connections, leading to dead sections in your finished lamp.
The backing board provides the structural foundation for your shaped neon tubes, keeping the flame silhouette rigid and secure. Acrylic sheets are the industry standard due to their high clarity, lightweight nature, and ease of cutting, but polycarbonate is also a durable, impact-resistant alternative. When selecting your backing material, verify the thickness—typically 3mm to 5mm is ideal for residential wall-mounted signs—and review the manufacturer’s specifications to confirm the materials are rated for safe indoor use. Ensure the backing board can handle the heat dissipation of the LEDs, even though high-quality LED neon flex generates very little heat compared to traditional glass neon.
Plan the Electrical and Mounting Setup
A successful custom lighting project relies on a safe, reliable electrical configuration that integrates seamlessly with your condo’s power supply. Most LED neon flex strips operate on low-voltage direct current, typically 12V or 24V DC, which requires a compatible power adapter to step down the voltage from your standard household wall outlets. In the Philippines, the standard residential utility voltage is 220V AC at 60Hz. You must verify that your power adapter is rated for this input voltage and that its output wattage exceeds the total wattage consumption of your neon flex by at least twenty percent to prevent overloading and premature failure.
Mounting your finished fire light lamp requires a strategy tailored to your condo’s wall type and your ownership status. For renters who must avoid drilling, heavy-duty, damage-free adhesive strips or mounting tapes are the preferred solution, provided the total weight of the acrylic backing and neon flex does not exceed the adhesive’s rated capacity. If you own your condo and are mounting a larger, heavier lamp, using proper wall anchors and screws designed for drywall or concrete is highly recommended. Always weigh your completed assembly on a scale before selecting your mounting hardware to ensure a secure, permanent hold.
Cable routing is the final element of your planning phase, as exposed, dangling wires can quickly ruin the clean, modern aesthetic of your condo. Plan a clear path for the power cable to run from the bottom of the lamp to the nearest electrical outlet. You can use paintable cable raceways or adhesive wire clips to secure the cord flat against the wall, hiding it from view and preventing it from becoming a tripping hazard. If possible, position the lamp near existing furniture, such as a console table or bookshelf, which can naturally conceal the power adapter and excess wiring.
Step-by-Step Assembly and Wiring Process
Once you have gathered your materials and finalized your design, you can begin the physical assembly of your custom fire light lamp. Start by laying your printed flame template flat on a clean, scratch-free work surface, and place your clear acrylic backing board directly on top of it. Using a non-permanent marker, trace the outline of the flame onto the protective film of the acrylic board to serve as your precise placement guide. This ensures that when you begin bending and securing the neon flex, you maintain the exact proportions of your original design.
Next, prepare the LED neon flex by measuring the lengths needed for each section of the flame. It is absolutely critical to locate and cut only along the designated cut lines marked on the side or bottom of the neon flex sleeve, which are typically spaced at regular intervals. Cutting outside these specified marks will sever the internal copper bus bars, rendering that entire segment unusable. Use a sharp pair of shears or a utility knife to make clean, perpendicular cuts, ensuring there are no frayed edges or exposed wires that could cause a short circuit.
To secure the shaped neon flex to your backing board, you can use specialized clear mounting clips, pre-drilled channels, or high-strength cyanoacrylate adhesive designed for plastics. Apply the adhesive sparingly along the bottom of the neon flex, pressing it firmly onto the marked lines of the acrylic board section by section. Allow the adhesive to cure fully according to the manufacturer’s instructions. Once the tubes are secured, solder or use solderless clip connectors to link the positive and negative terminals of each flame segment to your main power cable, taking care to insulate all exposed joints with heat-shrink tubing or electrical tape.
Before mounting the completed lamp to your wall, conduct a preliminary illumination test in a safe, dry workspace. Plug the power adapter into a standard outlet and switch on the lamp to verify that all segments light up uniformly and that there are no flickering sections or dark spots. This test allows you to identify and fix any loose connections or wiring errors while the lamp is still flat on your workbench, saving you the frustration of troubleshooting a fully mounted wall fixture.
Final Installation and Condo Safety Checks
With the assembly successfully tested, you are ready to mount your custom fire light lamp on your condo wall. Carefully position the lamp according to your pre-measured layout, using a bubble level to ensure it hangs perfectly straight. If you are using adhesive strips, clean the wall surface with isopropyl alcohol first to ensure maximum adhesion, and press the lamp firmly against the wall for the duration recommended by the adhesive manufacturer. For anchor-based installations, double-check that your wall plugs are fully seated before hanging the acrylic backing.
Once the lamp is securely mounted, plug it in and monitor its performance closely during the first few hours of continuous operation. While LED technology is highly efficient, the power adapter and the neon flex will naturally experience a slight rise in temperature. Touch the backing board and the adapter occasionally to ensure they remain warm to the touch rather than hot; if any component feels excessively hot or emits an unusual odor, unplug the unit immediately. Ensure that the power adapter is placed in a well-ventilated area, free from heavy drapes, cushions, or enclosed cabinets that could trap heat.
Maintaining your custom neon lamp is simple but requires a safe, dry routine to preserve the electronics and the clarity of the backing board. Use a soft, dry microfiber cloth to gently dust the acrylic surface and the silicone tubes; avoid using wet cloths, liquid spray cleaners, or harsh chemical solvents, which can degrade the adhesive or seep into the electrical connections. Establish a habit of inspecting the lamp periodically for any signs of wear, such as lifting adhesive, exposed copper wiring, or unusual flickering. If you observe any of these issues, disconnect the power source immediately and consult a qualified electrician or lighting professional to resolve the problem safely.
Frequently Asked Questions (FAQ)
Can I install a custom neon fire lamp in high-humidity areas like a condo bathroom?
Installing a custom LED neon lamp in high-humidity areas like a bathroom requires extreme caution due to the presence of moisture and steam. Before attempting such an installation, you must check the product’s ingress protection (IP) rating on the manufacturer’s label for both the neon flex and the power supply. Standard indoor LED neon flex is typically rated IP20, which offers no protection against water and is unsafe for damp environments. If the specifications do not explicitly state an IP65 or higher rating—indicating resistance to moisture and water splashes—you should avoid installing the lamp in a bathroom to prevent electrical shorts and corrosion.
What should I do if the LED neon flex flickers or dims after assembly?
If your custom fire light lamp begins to flicker or dim after assembly, the issue is usually related to the power supply or a loose connection. First, verify that your power adapter’s output capacity matches or exceeds the total wattage requirements of your assembled neon flex. An underpowered adapter will struggle to deliver consistent current, causing the lights to dim or flicker. Next, inspect all your connection points, solder joints, and connectors for any loose contacts or physical damage. If the connections are secure and the power supply is adequate, consult the manufacturer’s troubleshooting guide or use a multimeter to check for voltage drops along the circuit before attempting any further physical repairs.
Community discussion
Share your experience or ask a question. Comments are reviewed before publication.