
Transforming a personal collection of BINI photo cards into a curated gallery wall is an excellent way to celebrate your favorite music while elevating your room’s decor. Because these collectible cards are compact and delicate, displaying them requires a thoughtful approach that balances visual design with physical preservation. By planning a structured layout, selecting the right framing materials, and using secure mounting techniques, you can create a stunning visual feature that keeps your prized collectibles safe from damage.
Planning the Layout and Space for Your Photo Card Wall
Start by assessing the wall space in your room to find a natural focal point. This is typically the wall area directly above a study desk, a bed, or a low shelving unit where your eyes naturally land when entering the room. Measuring the available area is a critical first step; use a standard tape measure to record the width and height of the designated zone. This prevents you from purchasing frames that are either too large for the wall or too small to make a meaningful visual impact.
The total number of photo cards in your collection will largely dictate your layout style. For a complete set of eight cards, or a structured collection of multiples, a uniform grid is highly effective. This layout relies on symmetrical rows and columns, creating a clean, modern, and organized aesthetic. If you have an evolving collection or want to mix your photo cards with other memorabilia like concert tickets, cup sleeves, or mini art prints, an eclectic salon layout offers more flexibility. This style allows you to arrange frames of different sizes in an organic, asymmetrical cluster. Alternatively, a linear shelf layout utilizes slim picture ledges, allowing you to lean and overlap framed cards. This is an ideal choice if you enjoy frequently swapping or rearranging your display without drilling new holes in the wall.
Products mentioned in this guide
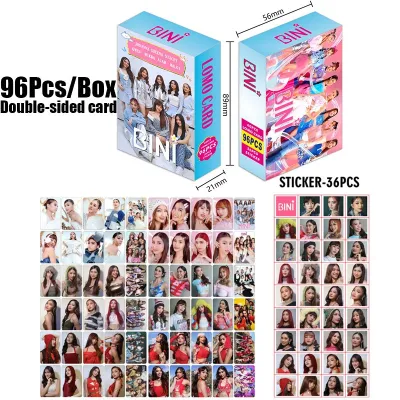
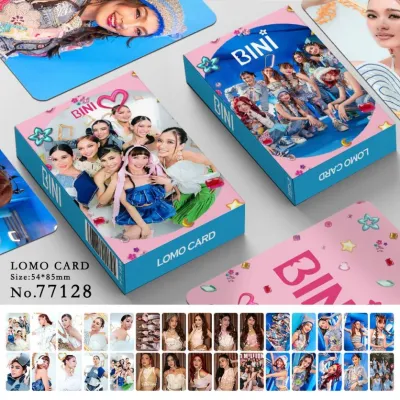
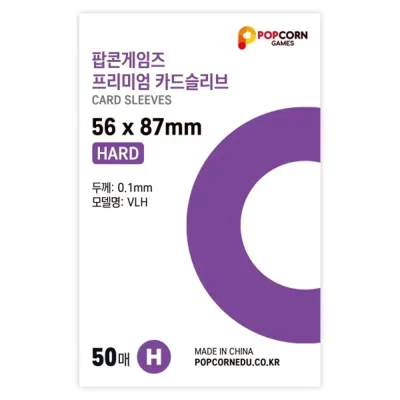
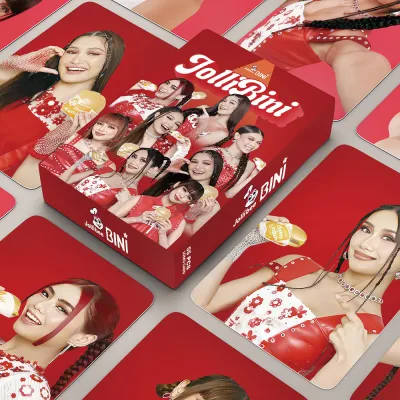
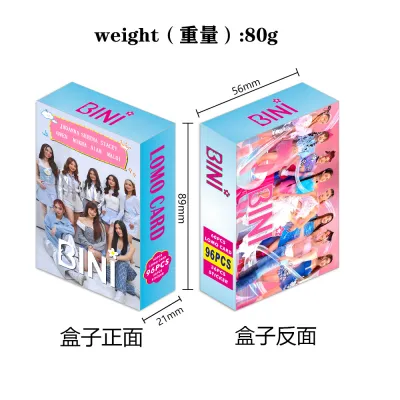

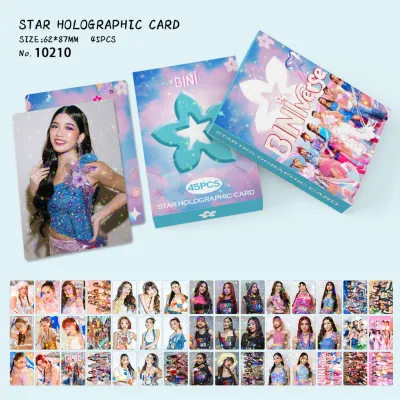
Prices are valid at publication and may change. Please refer to the product page for the latest price.
Before making any permanent marks or driving nails into your wall, create paper templates of your frames. Trace the outline of each frame onto plain paper, cut them out, and label them. Use painter’s tape to stick these paper templates to the wall. This low-risk visualization method allows you to experiment with different spacing arrangements, test the height of the display, and ensure the entire composition feels balanced from various viewing angles in the room.
Choosing Frames and Mounting Supplies for Photo Cards
Standard BINI photo cards typically measure approximately 54mm by 86mm, which is much smaller than standard retail picture frames. To bridge this gap and keep the cards centered, look for frames that feature custom mat boards or multi-aperture inserts designed specifically for trading cards. Alternatively, you can mount the card onto a larger piece of acid-free cardstock inside a standard 3R or 4R frame. It is vital to use protective card sleeves—specifically those labeled as acid-free and PVC-free—before placing the cards inside any frame. This prevents the printed ink from sticking to the glass or acrylic over time.

When selecting frame materials and colors, consider both your room’s existing decor and the visual themes of the photo cards. BINI’s concepts often feature vibrant, retro, or soft pastel aesthetics. Sleek white or light oak wooden frames work beautifully to highlight bright, pastel-toned cards, creating a fresh and airy feel. For a more dramatic or modern look, thin black metal or minimalist acrylic floating frames can make the colorful cards pop against a neutral wall.
Mounting hardware must be chosen based on your wall type and living situation. In many homes, walls are constructed from painted concrete, plaster, or drywall. If you are renting or want to avoid wall damage, high-quality adhesive strips are a popular choice. However, they require smooth, non-porous surfaces to adhere correctly. For textured walls or heavier wooden frames, small brass picture hooks or concrete nails provide a more reliable, mechanical hold. Always check the weight capacity of your chosen mounting hardware against the weight of your fully assembled frames to ensure a secure installation.
Step-by-Step Guide to Arranging and Hanging the Frames
Step 1: Prepare the Photo Cards. Begin by placing each BINI photo card into a high-quality, archival-grade protective sleeve. To prevent the card from sliding around inside a larger frame, cut a piece of acid-free mounting board or heavy cardstock to fit the frame’s dimensions. Use a small piece of double-sided archival tape on the back of the protective sleeve—never directly on the photo card itself—to secure the sleeved card to the center of the backing board.
Step 2: Position the Paper Templates. Take your pre-cut paper templates and arrange them on the wall using painter’s tape. Use a spirit level to ensure that the top edges of your templates are perfectly horizontal. Maintain a consistent gap between each template; a spacing of 5 to 8 centimeters usually provides enough breathing room without making the gallery wall feel disconnected. Measure the gaps at multiple points to verify that the spacing is uniform across the entire layout.
Step 3: Mark the Hanging Points. Once you are completely satisfied with the template layout, identify where the hanging hardware sits on the back of each actual frame. Measure the distance from the top of the frame to the hanging bracket or wire. Transfer this measurement onto your paper templates on the wall, marking the exact spot where the nail, hook, or adhesive strip needs to be placed.
Step 4: Install the Hardware. If you are using mechanical fasteners like picture hooks or concrete nails, you can drive them directly through the marked spots on the paper templates. Once the hardware is secure, gently tear the paper template away from the wall. If you are using adhesive strips, remove the paper template first, clean the target wall area with rubbing alcohol, apply the strip according to the manufacturer’s instructions, and press firmly for the recommended duration to establish a strong bond.
Step 5: Mount and Align the Frames. Hang your framed BINI photo cards onto the installed hardware. Place your spirit level on top of each frame to make final micro-adjustments. Step back several paces to view the entire gallery wall from a distance, ensuring that the alignment is straight and the overall composition feels balanced within the room.
Protecting and Maintaining Your Photo Card Display
The tropical climate of the Philippines presents unique challenges for preserving paper collectibles. High humidity levels can cause paper to warp, while intense heat and sunlight can accelerate the fading of printed inks. To protect your BINI photo cards, avoid hanging your gallery wall on surfaces that receive direct sunlight during the day. Additionally, keep the display away from air conditioning units, humidifiers, or open windows where sudden shifts in temperature and moisture levels can occur.
When cleaning your gallery wall, avoid spraying liquid glass cleaners or water directly onto the frames. Moisture can easily seep through the edges of the frame and damage the enclosed photo cards. Instead, use a dry, clean microfiber cloth to gently wipe away dust from the frames and glass. If a deeper clean is necessary, spray a small amount of mild glass cleaner onto a cloth first, wipe the exterior surfaces, and ensure the frame is completely dry before re-hanging.
Establish a routine check every few months to inspect the stability of your gallery wall. This is especially important if you have used adhesive mounting strips, as high humidity can gradually weaken adhesive bonds over time. Gently press on the corners of each frame to verify that they remain firmly attached to the wall, and inspect the frames for any signs of moisture ingress or shifting.
Frequently Asked Questions (FAQ)
Can I use adhesive strips for heavy frames on textured walls?
Adhesive strips are generally not recommended for heavily textured walls, such as rough plaster, stucco, or textured paint. The uneven surface reduces the contact area between the adhesive and the wall, which significantly increases the risk of the frame falling. For textured surfaces, it is much safer to use mechanical fasteners like small concrete nails or screw-in wall anchors. If you must use adhesives, ensure the wall is thoroughly cleaned, and select specialty adhesive products designed specifically for textured surfaces, always staying well below the manufacturer’s maximum weight limit.
How do I prevent my BINI photo cards from fading over time?
To prevent fading, the most effective step is to eliminate exposure to ultraviolet (UV) light. When purchasing frames, look for options that feature UV-filtering acrylic or glass, which blocks a significant portion of harmful light rays. Additionally, position your gallery wall in a part of the room that relies primarily on indirect ambient light or LED bulbs, which emit virtually no UV radiation compared to fluorescent tubes or direct sunlight. Using archival-grade, UV-resistant protective sleeves inside the frames adds an extra layer of defense for your collection.
Community discussion
Share your experience or ask a question. Comments are reviewed before publication.