
Installing a 20m LED strip light around a condo offers an excellent way to elevate your living space, providing modern ambient lighting that can make compact rooms feel larger and more inviting. However, managing a continuous 20-meter run requires careful planning to avoid common pitfalls like uneven brightness, peeling adhesive, or overloaded circuits. By understanding how to route the strips, manage the power supply, and secure the layout without damaging rental surfaces, you can achieve a professional, seamless lighting installation.
To install a 20m LED strip light successfully, you must map the physical route, select a layout that prevents voltage drop (such as parallel wiring or center-feeding), prepare the surface for high humidity, and secure all electrical connections safely. Taking these steps ensures your lights remain bright, safe, and securely attached for years to come.
Planning Your 20m LED Strip Layout and Power Placement
Condo layouts often feature unique architectural elements like drop ceilings, cove lighting niches, or concrete structural beams. Before purchasing your led lights strip light 20m kit, measure the exact path where the lights will go. A 20m run is a substantial distance, often requiring multiple reels—such as two 10m rolls or four 5m rolls—connected to a central controller rather than one single, ultra-long strip.
Products mentioned in this guide
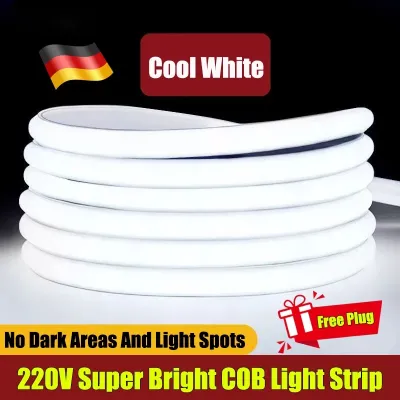
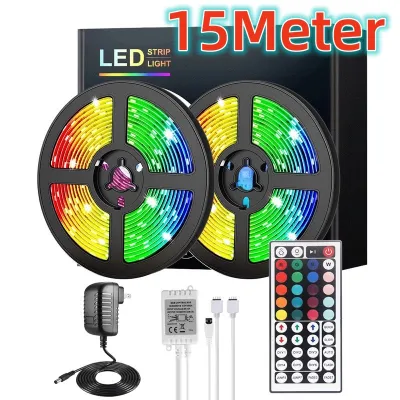
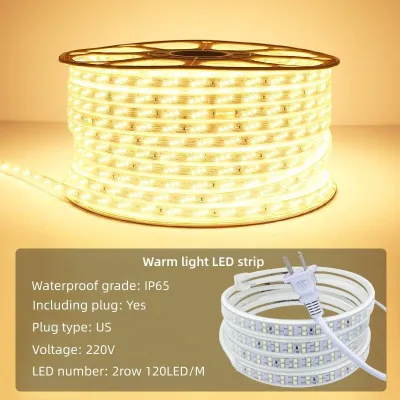

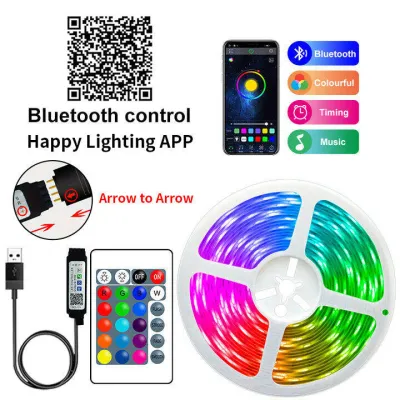
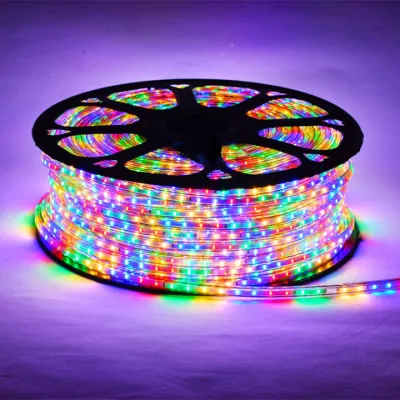
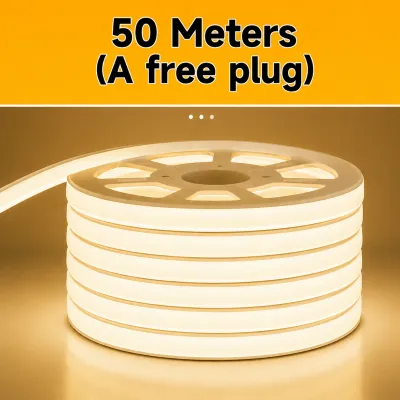
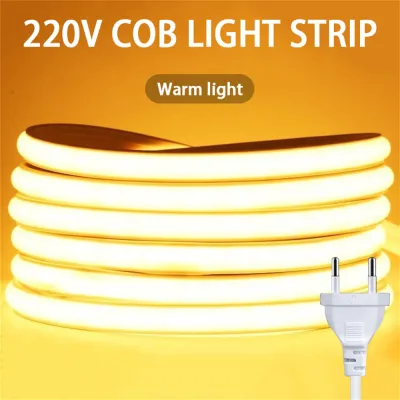
Prices are valid at publication and may change. Please refer to the product page for the latest price.
Identify your power sources early in the planning phase. In many high-rise developments, wall outlets are placed at standard heights near the floor, which means you must plan how to run the power cable up to the ceiling or cove without leaving unsightly wires hanging. Consider placing the power adapter inside an accessible cabinet, behind a TV console, or within a dedicated decorative box to keep the installation clean and out of sight.
Evaluate the mounting surface carefully before buying your materials. Is it painted concrete, drywall, or wood trim? Concrete walls are common in local condo construction and do not accept nails or screws easily. Painted surfaces can peel if low-quality adhesives are subjected to high tropical humidity, making the choice of mounting strategy critical to preventing the strip from falling or stripping the paint when removed.
Consider the control mechanism and its placement. If your kit uses an infrared (IR) remote, the receiver must have a direct line of sight to function. For radiofrequency (RF), Bluetooth, or Wi-Fi smart controllers, ensure the receiver is not fully enclosed in metal or placed behind thick concrete walls that could block the signal.
When selecting your strip, remember that choices like warm white (around 2700K to 3000K) or cool white (around 5000K to 6500K) are matters of personal preference. Warm light often suits cozy bedroom spaces, while cool white can enhance visibility in task-oriented kitchen areas. These aesthetic choices do not change the physical installation steps, but they do define the overall mood of your condo.
Tools and Materials for a Condo-Friendly Installation
Gathering the correct tools and high-quality materials before starting ensures a safe, durable, and long-lasting installation.

- LED Strip Light Kit: Look for a certified led lights strip light 20m package. Ensure it has appropriate electrical safety certifications (such as CE, RoHS, or local safety markings on the power brick). For standard indoor living spaces, an IP20 rating is sufficient, but if you plan to install them near kitchen sinks or bathroom vanities where moisture is present, opt for an IP65 or higher water-resistant rating.
- Power Supply and Amplifiers: A 20-meter run draws significant current. Ensure your power supply's wattage exceeds the total wattage of the strip by at least 20% to prevent overheating. Depending on the kit's configuration, you may also need an LED signal amplifier to boost the control signal and power along the second half of the run.
- Mounting Accessories: Aluminum LED channels with frosted diffusers are highly recommended. They protect the delicate circuit board from dust and moisture, dissipate heat to prolong the lifespan of the LEDs, and diffuse the individual light dots into a smooth, continuous glow. If channels are not an option, source heavy-duty, heat-resistant double-sided mounting tape or damage-free silicone mounting clips.
- Preparation and Cleaning Tools: Isopropyl rubbing alcohol (70% concentration) and a clean microfiber cloth are essential for surface preparation. Avoid household multi-surface cleaners, as they often leave a chemical residue that prevents the adhesive from bonding securely. You will also need a tape measure, sharp utility scissors or shears, and plastic cable ties or adhesive wire organizers for cable management.
Step-by-Step Installation Guide for Long LED Runs
Preparing the Surface and Mounting the Power Supply
Begin by thoroughly cleaning the entire mounting path. Wipe down the surface with a microfiber cloth dampened with rubbing alcohol to remove dust, grease, and moisture. In humid climates, invisible layers of moisture and airborne oils from cooking can severely compromise adhesive performance. Let the surface dry completely for at least 10 to 15 minutes before proceeding.
Position the power supply in a well-ventilated, dry location. Power supplies generate heat during operation, so enclosing them in tight, unventilated spaces can cause premature failure or pose a safety hazard. Secure the power brick using mounting tape or place it on a stable shelf near the outlet.
Route the power cable cleanly from the outlet to the start of the LED strip. Use plastic self-adhesive wire raceways or cable clips along the corners of the walls or behind furniture to conceal the wiring. This keeps the installation neat and prevents accidental tripping or pulling of the cables. Always ensure the mains outlet is switched off before connecting any bare wires or terminal blocks.
Before handling any electrical components, cutting the strip, or making connections, always isolate the power by unplugging the adapter or turning off the circuit breaker. Working on live low-voltage strips is generally low-risk, but keeping the system fully powered down prevents accidental short circuits that can permanently destroy the delicate controller.
Routing the Strip and Handling Corners
When you are ready to mount the strip, peel back only a small section (about 30 to 50 centimeters) of the adhesive backing at a time. This prevents the exposed adhesive from gathering dust or sticking to itself. Press the strip firmly onto the surface or inside the aluminum channel, holding pressure for at least 10 seconds on each section to activate the pressure-sensitive adhesive.
Handling corners requires care to avoid damaging the delicate copper traces inside the strip. Never fold the LED strip at a sharp 90-degree angle, as this can crack the internal circuitry and cause sections of the strip to fail. Instead, use dedicated L-shaped solderless quick-connectors, or create a gentle, rounded loop at the corner if space permits. If using connectors, ensure you match the positive (+) and negative (-) markings on both sides of the joint.
Leave a tiny amount of slack at the corners and ends of the run. This small gap accommodates the natural thermal expansion and contraction of the materials as the LEDs heat up and cool down, preventing the adhesive from pulling away from the wall over time.
Connecting and Powering the 20m Run
For a 20-meter installation, you cannot simply connect all 20 meters in a single continuous series line from a standard 12V power supply without experiencing severe voltage drop. Instead, connect the controller to the primary power source, then split the output.
The most reliable method is to run two separate 10-meter lines in parallel from a central controller, or to feed power to both ends of the 20-meter loop. If your layout is a straight line, you can place the power supply and controller in the exact middle, running 10 meters to the left and 10 meters to the right. Alternatively, if your kit includes an LED amplifier, connect the first 10 meters to the controller, feed the end of that strip into the amplifier input, and connect a secondary power line to the amplifier to drive the remaining 10 meters with full, consistent brightness.
Before plugging the power supply into the wall outlet, double-check every connection. Ensure all pins are aligned correctly (matching the 12V/24V, R, G, and B markings on RGB strips) and that there are no exposed copper wires touching each other, which could cause a short circuit.
Overcoming Common Challenges in Condo LED Installations
Preventing Voltage Drop in 20m Runs
Voltage drop occurs because the electrical resistance of the thin copper traces inside the LED strip increases over long distances. By the time the current reaches the end of a 20-meter run, the voltage has decreased, resulting in noticeably dimmer lights or incorrect color rendering at the far end.
To prevent this issue, choose a 24V LED strip system instead of a 12V system if you are buying a new kit. Higher voltage systems carry current more efficiently over longer distances, reducing the severity of voltage drop. If you are already using a 12V system, you must implement parallel wiring (center-feeding) or use inline amplifiers as detailed in the connection steps. Always consult the manufacturer’s manual to verify the maximum recommended continuous run length for your specific model.
Rent-Friendly and Damage-Free Mounting
Many condo residents rent their units or want to avoid damaging expensive wall finishes. The pre-applied adhesive on most LED strips is designed to be permanent and can easily tear off drywall paper or pull paint off concrete walls when removed.
To protect your walls, avoid sticking the LED strip directly to the paint. Instead, use lightweight plastic or aluminum mounting tracks. These tracks can be secured to the wall using damage-free, removable mounting strips placed at regular intervals. When it is time to move out, you can cleanly pull the adhesive tabs without leaving marks or peeling the paint. Alternatively, you can mount the strips onto the top edge of tall furniture, cabinets, or existing curtain rods where they are completely hidden from view and require no wall adhesive at all.
Final Testing and Maintenance Tips
Once the installation is complete, plug in the power supply and turn on the system. Cycle through all the colors, adjust the brightness levels, and test any smart home integrations or remote control scenes. This step allows you to verify that all segments are working correctly and that the color is uniform across the entire 20-meter length.
Keep the lights on at maximum brightness for about an hour and monitor the components. Check the power adapter, controller, and connection joints to ensure they are warm but not excessively hot to the touch. If any component feels burning hot, disconnect the power immediately and consult a qualified electrician or check the manufacturer’s troubleshooting guide.
To maintain your LED installation, clean the strips or diffusers periodically. Dust buildup can insulate the LEDs, trapping heat and reducing their lifespan, while also dimming the light output. Use a dry, soft microfiber cloth or a feather duster to gently wipe the surface. Never use liquid spray cleaners, glass cleaners, or harsh chemicals directly on the strips, as moisture can penetrate the protective silicone coating and cause electrical failure.
Frequently Asked Questions (FAQ)
Can I cut a 20m LED strip light to fit my condo layout?
Yes, you can cut the strip to your desired length, but you must only cut along the designated cut lines. These lines are clearly marked with copper pads and often feature a small scissor icon. Cutting anywhere else will interrupt the electrical circuit, rendering the rest of that specific segment completely non-functional.
Do I need a special power supply for a 20m LED strip?
Yes, a standard low-wattage adapter included with short 5-meter kits will not safely power a 20-meter run. You must use a power supply rated for the total wattage of your 20m strip (typically calculated by multiplying the wattage per meter by 20), plus a 20% safety margin. Additionally, you may need to use a 24V system or multiple power injection points to ensure stable, safe operation.
Community discussion
Share your experience or ask a question. Comments are reviewed before publication.