
In high-density condominium developments across the Philippines, the balcony serves as a vital bridge to the outdoors. It is a personal sanctuary where you can unwind after a busy day in Metro Manila or Cebu, watching the city lights. However, standard utility lighting often fails to capture the cozy, relaxing atmosphere needed for an evening retreat. Installing a smart outdoor light, such as a Yeelite floodlight (which typically ranges from ₱1,500 to ₱4,000 depending on the specific model and smart features), allows you to customize the brightness, color temperature, and scheduling to match your mood.
Achieving the perfect balcony ambiance requires more than simply mounting a fixture. Because condo balconies are exposed to the elements—including intense tropical heat, high humidity, and driving monsoon rains—safety and positioning are paramount. You must balance structural limitations, property management regulations, and neighbor etiquette while maximizing the aesthetic potential of your smart lighting. This guide outlines how to safely install, secure, and position your Yeelite floodlight to create an inviting outdoor haven.
Pre-Installation Checks and Condo Safety Rules
Before purchasing or mounting any outdoor lighting fixture, your first step is to consult your condominium’s Property Management Office (PMO). Most high-rise developments enforce strict guidelines regarding facade uniformity, structural alterations, and exterior drilling. Some PMOs prohibit any visible changes to the building’s exterior walls, while others permit drilling only within specific dimensional boundaries. Additionally, check if there are community curfews or brightness limits designed to prevent light pollution from disturbing your neighbors.
Products mentioned in this guide
![YEELITE [ BUY 1 TAKE 1 ] 50W-500W High Brightness light IP67 LED Solar Flood Light with Remote Control for Outdoor Lighting POWER LIGHT genuine](https://img.lazcdn.com/g/p/e65cd73831392c6a737b6fc912430554.png_400x400q80.png_.webp)
![YEELITE [ BUY 1 TAKE 1 ] 100W/200W/300W/500W Solar LED Outdoor Flood Light IP67 Waterproof WIth Remote Control 1 Year Warranty](https://img.lazcdn.com/g/p/6398cc34e5b9c445325f5944ecc90171.png_400x400q80.png_.webp)
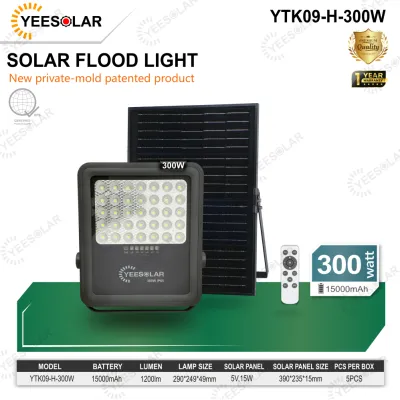
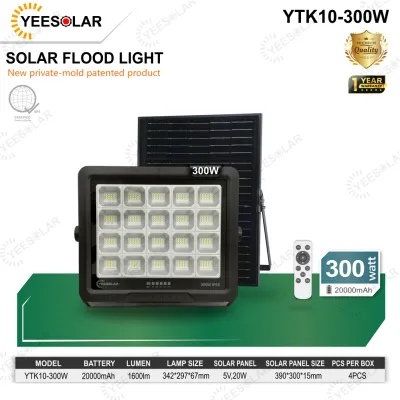
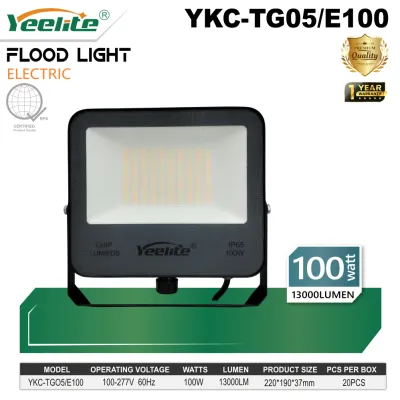
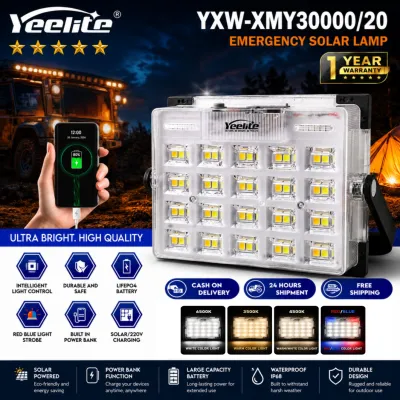
Prices are valid at publication and may change. Please refer to the product page for the latest price.
Next, perform an electrical and environmental verification of your chosen Yeelite floodlight. In the Philippines, the standard residential electrical supply is 220 volts at 60 hertz. Examine the product label on your fixture to verify that its input voltage matches this standard. Furthermore, look closely at the unit’s Ingress Protection (IP) rating. For fully exposed or semi-covered balconies subject to heavy tropical downpours, a minimum rating of IP65 is highly recommended to ensure the housing is dust-tight and protected against water jets.
Preparing the correct tools and materials beforehand prevents unnecessary delays and ensures a secure installation. Gather a power drill, masonry drill bits (as condo walls are typically solid concrete), weatherproof wall anchors, and outdoor-rated silicone sealant. If your installation involves hardwiring, you will also need wire strippers, electrical tape, and IP-rated weatherproof wire connectors or a sealed junction box.
Electrical safety must always be your top priority during any lighting installation. Before touching any wiring or mounting brackets, locate your condo’s main electrical panel and turn off the circuit breaker dedicated to the balcony. Verify that the power is completely disconnected using a reliable voltage tester. If your balcony lacks an existing outdoor junction box or a weatherproof outlet, do not attempt to run new high-voltage lines yourself. Stop immediately and hire a licensed professional electrician to ensure all work complies with the Philippine Electrical Code (PEC).
Step-by-Step Installation Guide for Balcony Fixtures
The method you choose to mount your Yeelite floodlight depends largely on your condo’s structural rules and your ownership status. While unit owners generally have more freedom to perform permanent installations, renters must rely on non-destructive, reversible mounting methods. Both approaches require careful attention to detail to ensure the fixture remains secure during strong winds and typhoons.

Permanent Mounting (Drilling and Hardwiring)
For condo owners with PMO approval to make permanent modifications, drilling directly into the concrete wall provides the most secure foundation. Begin by holding the floodlight’s mounting bracket against the wall at your desired height. Use a pencil to mark the exact locations of the screw holes, ensuring the bracket is perfectly level. Before drilling, use a wall scanner or consult your unit’s structural layout to verify that you will not accidentally drill into embedded electrical conduits or plumbing pipes.
Once the marks are verified, equip your hammer drill with a masonry bit that matches the diameter of your weatherproof wall anchors. Drill to the depth recommended by the anchor manufacturer, then clear any concrete dust from the holes to ensure a tight grip. Insert the expansion anchors into the holes, tapping them flush with the wall surface using a hammer.
With the anchors in place, prepare the electrical connections. Feed the power cable through the rubber gasket of your weatherproof junction box. Connect the live, neutral, and ground wires of the Yeelite floodlight to your home’s electrical wiring using gel-filled wire connectors, which prevent moisture from corroding the copper strands. Once the connections are secure, mount the bracket to the wall using the provided screws. Apply a generous bead of outdoor-rated silicone sealant around the perimeter of the bracket and the cable entry point to prevent tropical rainwater from seeping behind the fixture.
Finally, attach the floodlight housing to the secured mounting bracket. Tighten the side tension bolts or locking mechanisms to hold the light head in place. Do not over-tighten these bolts initially; leave them slightly loose so you can adjust the angle of the light during the nighttime positioning phase.
Renter-Friendly Mounting (Clamps and Stands)
If you are renting your condo or your PMO strictly prohibits drilling into exterior walls, you can still enjoy a smart floodlight setup using temporary mounting solutions. Heavy-duty, outdoor-rated C-clamps or specialized pipe mounts are excellent for securing the fixture directly to the metal balustrades of your balcony railing. To prevent scratching the railing’s powder-coated finish—which can lead to rust in humid climates—insert a thick rubber pad or a piece of heavy-duty tape between the clamp and the metal surface.
Another effective option is utilizing a weighted floor stand or a heavy planter-box bracket. A weighted base, such as a cast-iron patio umbrella stand, provides a stable, low-profile platform for your floodlight. This setup keeps the light source close to the floor, making it highly resistant to strong winds during the monsoon season while allowing you to move the fixture easily if you decide to rearrange your balcony furniture.
Cable management is critical for renter-friendly setups to prevent physical hazards and electrical damage. Route the power cable neatly along the base of the balcony railing or wall, securing it with UV-resistant, outdoor-rated zip ties or heavy-duty adhesive cord clips. Never allow the cable to lie loose across the balcony floor where it can become a tripping hazard or sit in pooling rainwater. Ensure the power cord is plugged into a Ground Fault Circuit Interrupter (GFCI) protected outlet equipped with a weatherproof, in-use cover.
Positioning Techniques to Maximize Ambient Atmosphere
Once your Yeelite floodlight is securely mounted, the next step is positioning the beam to create a warm, inviting atmosphere. The goal of ambient lighting is to avoid harsh, direct glare that mimics commercial security lights. Instead, focus on indirect illumination, soft shadows, and subtle highlights that make the balcony feel like an extension of your indoor living space.
Layering your light sources is key to achieving depth on a small condo balcony. If you have potted tropical plants, such as Areca palms or snake plants, place your floodlight at a low angle pointing upward through the foliage. This uplighting technique projects dramatic, organic shadows onto the concrete walls, adding a sense of height and natural texture to the space. Conversely, if you prefer downlighting, position the fixture high on the wall and tilt it downward toward a seating area, allowing the light to diffuse softly over your balcony table.
Proper angle adjustment is also essential for maintaining good relations with your neighbors. High-rise buildings put balconies in close proximity, meaning an improperly angled light can shine directly into a neighbor’s bedroom or living room. To prevent light pollution and respect privacy, always tilt your Yeelite floodlight downward at an angle of at least 45 degrees, keeping the beam directed inward toward your own balcony floor. Avoid pointing the light outward toward neighboring towers, the street, or up into the night sky.
If your balcony features a textured wall—such as brick, stone tiles, or a vertical green garden—you can utilize a professional design technique known as wall grazing. Place the floodlight very close to the wall (typically within 6 to 12 inches) and direct the beam sharply upward or downward along the surface. This tight angle casts deep shadows in the wall’s recessions, highlighting the physical texture and creating a sophisticated, high-end look.
Finally, take full advantage of the smart features built into your Yeelite floodlight to fine-tune the mood. For evening relaxation, adjust the color temperature to a warm white, ideally between 2200K and 2700K. Warm light mimics the natural glow of a sunset, helping your mind and body wind down. Use the smart app to dim the brightness level to around 20% to 40% for casual lounging, reserving higher brightness settings only for functional tasks like cleaning or reading.
Testing, Adjustments, and Humid-Climate Maintenance
The true test of your balcony lighting setup occurs after the sun goes down. Wait until nightfall, turn off all interior lights that face the balcony, and step outside to evaluate the ambiance. Sit in your usual balcony chairs to check for any direct glare that hits your eyes. If the light feels too intense, adjust the tilt of the fixture downward or rotate the light head slightly toward a wall to increase the amount of indirect, reflected light.
Operating outdoor electronics in the Philippines presents unique environmental challenges due to high humidity, salt air in coastal regions, and heavy dust during the dry season. To maintain the performance and longevity of your Yeelite floodlight, establish a simple routine maintenance schedule. Every few months, wipe the glass lens clean with a soft, damp microfiber cloth to remove accumulated dust, pollen, and water spots that can dim the light output. Avoid using harsh chemical cleaners that could degrade the protective coatings on the lens.
Periodically inspect the physical condition of the fixture and its connections. Check the rubber gaskets, silicone seals, and cable entry points for any signs of cracking, dry rot, or moisture intrusion, which can be accelerated by intense UV exposure from the tropical sun. Ensure that all mounting screws, brackets, and clamps remain tight and have not loosened due to wind vibrations or structural settling.
If your floodlight fails to turn on or begins to flicker, follow a systematic troubleshooting process. Start by checking your home’s main electrical panel to ensure the circuit breaker has not tripped, and verify that the GFCI outlet has not been triggered by moisture. Inspect the power cable for any visible damage, such as weathering or pest damage. Always turn off the power at the main breaker before inspecting any internal wiring, checking connections, or wiping down the fixture near electrical points.
Frequently Asked Questions (FAQ)
Can I use an indoor-rated Yeelite light on a covered balcony?
No, you should never use an indoor-rated lighting fixture on a balcony, even if the area is fully covered by an overhanging roof. Covered balconies in tropical climates are still exposed to high levels of humidity, ambient moisture, temperature fluctuations, and wind-blown rain during heavy storms. Indoor lights lack the specialized rubber gaskets, sealed housings, and corrosion-resistant coatings found on outdoor-rated fixtures. Using an indoor light in these conditions can lead to moisture accumulation inside the housing, causing short circuits, premature electrical failure, and serious safety hazards such as electrical shocks or fires. Always verify the IP rating on the product label to ensure the fixture is certified for outdoor or damp-location use.
How do I prevent my balcony floodlight from bothering my neighbors?
Preventing light trespass is a crucial aspect of condo living etiquette. To keep your Yeelite floodlight from disturbing adjacent units, always angle the fixture downward and inward toward your own balcony floor rather than letting the beam project outward. You can also install physical barriers, such as glare shields or barn doors, to block light from spilling sideways onto neighboring balconies. Additionally, use the smart app to program your light to dim automatically or switch to a very warm color temperature (below 2700K) late at night. Warm, dimmed light is far less visually intrusive than bright, cool white light, allowing you to enjoy your outdoor space without affecting your neighbors’ comfort.

Community discussion
Share your experience or ask a question. Comments are reviewed before publication.