
Installing a bendable led light on curved surfaces in a Philippine condo is an excellent way to elevate your living space. Whether you want to highlight a structural concrete pillar, frame a modern archway, or add soft cove lighting to a bedroom, these flexible fixtures offer incredible versatility. Unlike traditional rigid strips, a bendable led light is engineered to flex laterally or bend along its flat axis, allowing it to navigate irregular architectural features smoothly.
Achieving a flawless, long-lasting installation in a high-humidity tropical climate requires careful planning, the right mounting materials, and proper handling of the delicate internal circuitry. By following a systematic approach, you can create stunning ambient lighting without damaging your condo’s walls or risking your security deposit. This guide walks you through the entire process from preparation to final adjustments.
Preparing Your Condo Space and Gathering Materials
Before purchasing any lighting equipment, you must evaluate the specific curved surface you plan to illuminate. Condo units frequently feature architectural curves such as structural pillars, arched doorways, rounded drywall corners, or dropped-ceiling coves. Use a flexible measuring tape to trace the exact path of the curve to determine the total length of the strip required. It is also wise to check your condo association’s house rules regarding electrical modifications or visible exterior-facing window lighting to ensure your project remains fully compliant.
Products mentioned in this guide
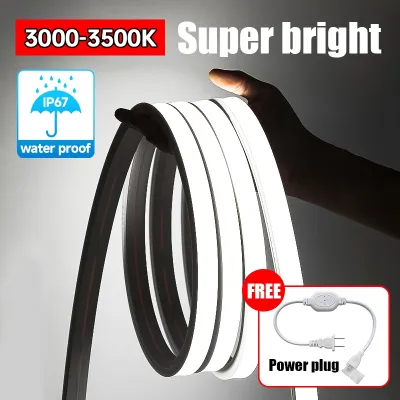
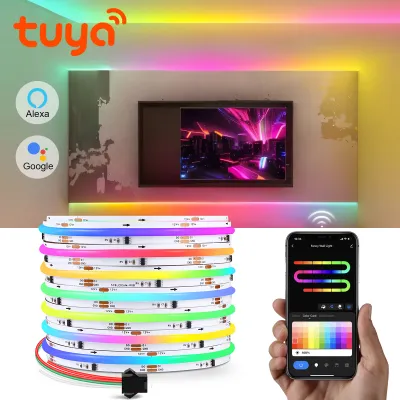
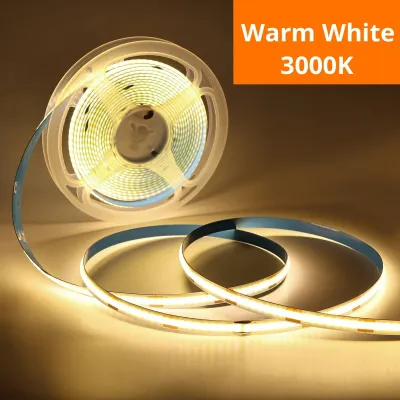
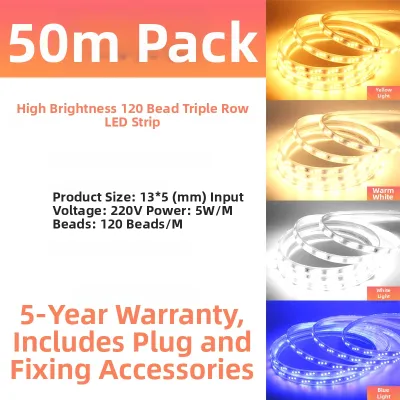
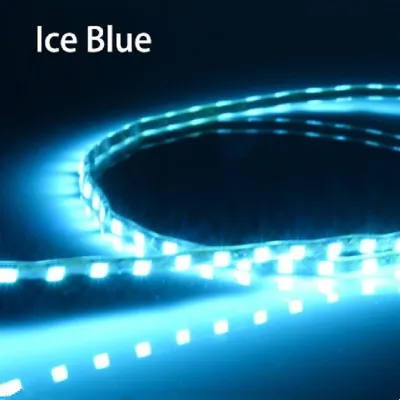
Prices are valid at publication and may change. Please refer to the product page for the latest price.
Gathering the correct tools and components beforehand prevents interruptions during the installation process. You will need a high-quality bendable led light strip, a compatible power adapter, and appropriate mounting accessories. For a rental-friendly setup, acquire premium removable double-sided mounting tape, isopropyl alcohol, and clean microfiber cloths. If your curve has a wide radius or requires a highly polished, professional finish, consider purchasing flexible aluminum channels designed specifically for curved surfaces.
Safety begins with verifying electrical compatibility. In the Philippines, the standard household mains supply operates at 220V AC at 60Hz. Ensure your power adapter is rated for 220V input and converts this safely to the low-voltage DC requirement (typically 12V or 24V) of your chosen LED strip. Always look for recognized safety certifications, such as the Philippine Standard (PS) mark or Import Commodity Clearance (ICC) sticker on the power supply, or equivalent international certifications like UL or CE, to guarantee the component is safe for continuous indoor use.
Choosing the Right Mounting Method for Curved Surfaces
Selecting how to attach your bendable led light depends heavily on the tightness of the curve and your condo’s wall finish. For gentle curves, such as wide coves or large pillars, the factory-applied adhesive backing on the strip is often sufficient, provided the surface is perfectly smooth. However, tight curves with a small radius subject the strip to constant physical tension, which can cause the ends or the middle sections to pull away from the wall over time.

In rental condos where protecting the paint or wallpaper is a priority, standard factory adhesives can be risky because they may either fail prematurely or tear the drywall paper upon removal. A highly effective alternative is using specialized removable double-sided foam tapes. These tapes create a strong, cushioned bond that absorbs the physical stress of the curve while remaining cleanly removable when heated gently. For textured masonry walls or concrete pillars common in local developments, standard tape will struggle to adhere; in these scenarios, reinforcing the installation with mounting clips secured by small, non-damaging adhesive strips is highly recommended.
For a premium, dot-free lighting effect, flexible aluminum channels are the superior choice. These channels bend to match the contour of your wall and house the LED strip inside, covered by a frosted diffuser that blends individual light points into a continuous glow. While channels require more effort to mount—often utilizing small mounting clips—they protect the strip from physical contact and significantly improve heat dissipation, which is crucial in warm, humid tropical environments. If you encounter high-tension areas where the strip refuses to stay flat, applying small drops of neutral-cure silicone adhesive alongside your mounting clips can provide the necessary mechanical support without damaging the strip’s protective coating.
Step-by-Step Installation Guide
Achieving a professional-grade installation requires a methodical, step-by-step workflow. By dividing the project into distinct phases, you can ensure that each component is prepared, tested, and secured correctly before moving on to the next. The process involves four core phases: preparing the wall surface, cutting and shaping the physical strip, mounting the light along the curved path, and safely connecting the electrical components to your power source.
Step 1: Surface Preparation and Measurement
The humid climate in the Philippines can cause airborne dust and oils to settle on your walls, severely compromising adhesive performance. Begin by thoroughly cleaning the entire curved path where the bendable led light will be mounted. Dampen a microfiber cloth with isopropyl alcohol and wipe the surface to dissolve grease, dirt, and paint residues. Avoid using household spray cleaners, as they often leave behind a thin, slick film that prevents adhesives from bonding.
Allow the surface to dry completely for at least ten to fifteen minutes. Once dry, use a pencil or low-tack painter’s tape to lightly mark your layout path along the curve. This visual guide ensures that you apply the strip in a straight, uniform line, preventing an uneven or wavy light distribution that becomes highly visible once the LEDs are turned on.
Step 2: Cutting and Shaping the LED Strip
Before making any cuts, unroll your bendable led light and locate the designated cut marks, which are typically represented by a small scissor icon or vertical copper pads spaced at regular intervals. Never cut the strip anywhere else, as cutting between these marked pads will permanently sever the internal electrical circuit, rendering an entire section of the strip useless.
Next, check the manufacturer’s specified minimum bending radius for your specific strip model. While bendable led lights are designed to flex, forcing them into an excessively tight angle can snap the microscopic copper traces running inside the flexible PCB. Gently pre-shape the strip by hand along your marked curve before peeling off any adhesive backing. This pre-shaping step relieves physical tension, making the actual mounting process much smoother and reducing the risk of the strip springing back out of place.
Step 3: Mounting and Securing on the Curve
When you are ready to mount the strip, do not peel off the entire adhesive backing at once. Doing so increases the risk of the strip sticking to itself, catching dust, or adhering to the wrong part of the wall. Instead, peel back only 10 to 15 centimeters of the backing paper at a time as you work your way along your pencil marks.
As you press the strip onto the curved surface, apply firm, even pressure with your thumb or a soft cloth for at least 30 seconds per section. Pay close attention to high-tension points, such as the apex of an arch or the sharpest point of a bend. Reinforce these critical areas by placing a mounting clip or a small strip of extra-strength removable tape directly over the non-light-emitting parts of the strip to prevent lifting over time.
Step 4: Wiring and Connecting the Power Supply
With the physical strip securely mounted, you can now proceed to the electrical connections. Connect the output end of the LED strip to your controller module, ensuring that the pins are aligned correctly according to the manufacturer’s polarity markings (such as matching the positive arrow on the connector to the positive terminal on the strip). Once the controller is connected, plug it into the low-voltage power adapter.
To keep your condo looking tidy and to prevent tripping hazards, route all power cables neatly along your baseboards or conceal them behind nearby furniture. Use adhesive-backed cable clips to secure any dangling wires. Never leave the power brick hanging freely from the wall outlet, as the constant downward pull can damage both the plug and your condo’s electrical socket.
Testing, Adjusting, and Cable Management
Before finalizing the installation, plug the power adapter into your wall outlet and turn on the lights. Inspect the entire length of the bendable led light for any dark spots, flickering, or loose connections that might indicate a damaged internal trace or a poorly seated connector pin. It is also important to let the lights run for about 15 to 20 minutes; as the strip warms up slightly, check the adhesive backing along the curve to ensure that the heat has not caused the glue to soften and lift away from the wall.
If your condo features polished flooring, glossy countertops, or reflective paint, direct LED light can create harsh, distracting glares. Use your controller or a compatible smart home app to adjust the brightness and color temperature to find a comfortable balance. Warm white tones (around 2700K to 3000K) are generally preferred for cozy bedroom or living room atmospheres, while adjustable RGB colors can be used for dynamic accent lighting. To complete the clean look, encase any exposed power cables in paintable plastic cord covers that match your condo’s wall color, ensuring a seamless, professional finish.
Common Mistakes and Safety Boundaries
One of the most frequent mistakes when working with a bendable led light is over-bending or twisting the strip during installation. Even though these strips are highly flexible, sharp 90-degree folds can easily crack the delicate copper pathways, leading to dead sections or erratic color rendering. Always maintain a gentle, continuous curve rather than a sharp crease.
Another common pitfall is ignoring heat dissipation. LEDs generate heat, and if a high-output strip is installed in a tight, unventilated wooden or drywall cove, the trapped heat can degrade the LEDs and shorten their lifespan. Ensure there is adequate airflow around the strip, or use a flexible aluminum channel to help draw heat away from the light-emitting diodes. Additionally, avoid using industrial-grade permanent adhesives on painted condo walls, as these will inevitably ruin the drywall surface if you ever need to relocate or remove the lights.
Always prioritize electrical safety. If your lighting project involves hardwiring the power supply directly into your condo’s 220V mains wiring, modifying existing light switches, or installing fixtures in damp areas like bathrooms, stop immediately. These tasks carry severe risks of electrical shock or fire hazards if performed incorrectly. Always isolate the power at your main circuit breaker before touching any electrical wiring, and consult a licensed electrician to handle any fixed wiring or structural electrical modifications.
Frequently Asked Questions (FAQ)
Here are answers to some of the most common questions about installing and maintaining bendable LED lights on curved surfaces within a condo environment.
Can I remove the LED strips from condo walls without damaging the paint?
Yes, you can safely remove LED strips from your condo walls without peeling off the paint if you take your time. Use a handheld hairdryer on a low-to-medium heat setting to gently warm the adhesive backing along a small section of the strip. The heat softens the glue, allowing you to peel the strip away slowly and at a shallow angle. To prevent paint damage from the very beginning, always use high-quality, removable double-sided mounting tapes designed specifically for painted walls rather than relying solely on cheap, aggressive factory adhesives.
Do bendable LED strips require an aluminum channel for curved surfaces?
While not strictly mandatory for gentle curves, using a flexible aluminum channel is highly recommended for several reasons. First, the channel acts as an efficient heat sink, drawing warmth away from the LEDs to prolong their operating life, which is especially beneficial in warm tropical climates. Second, the frosted diffuser cover that comes with the channel blends the individual light dots into a smooth, continuous line of light, eliminating harsh reflections. Finally, the channel provides rigid mechanical support, preventing the strip from sagging or lifting off uneven curved surfaces over time.
Community discussion
Share your experience or ask a question. Comments are reviewed before publication.