
Installing COB (Chip on Board) LED strip lights in your condo is an excellent way to elevate your living space with seamless, dot-free ambient lighting. Unlike traditional LED strips that show individual hot spots of light, COB strips feature closely packed diodes covered by a continuous phosphor coating, creating a smooth, unbroken glow. This guide provides a comprehensive, step-by-step process to help you plan, mount, and wire these modern lighting fixtures safely and effectively on your own.
Condo living often comes with unique spatial and structural considerations, such as concrete walls, shared electrical systems, and strict association guidelines regarding permanent modifications. Additionally, the tropical climate of the Philippines introduces high humidity levels that can affect both adhesive performance and electrical components over time. By understanding how to navigate these factors, you can achieve a professional-grade lighting setup that enhances your home’s interior design while ensuring long-term safety and reliability.
Preparing Your Condo and Checking Electrical Safety
Before unboxing your new lighting equipment, you must verify the electrical compatibility of your components to prevent hazards. Standard residential outlets in the Philippines deliver 220V alternating current (AC), whereas most COB LED strips operate on low-voltage direct current (DC), typically 12V or 24V. Connecting a low-voltage strip directly to a high-voltage outlet will instantly destroy the LEDs and pose a severe fire hazard. Always use a compatible LED driver or power adapter that steps down the voltage safely, and verify that the driver’s input rating matches your condo’s electrical supply.
Products mentioned in this guide
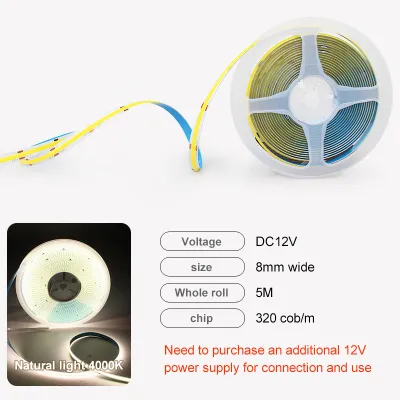
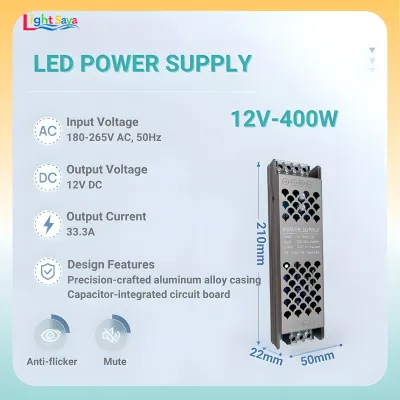
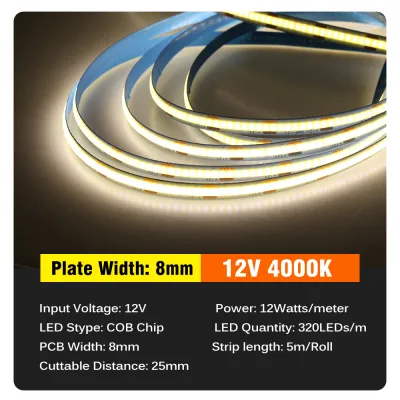
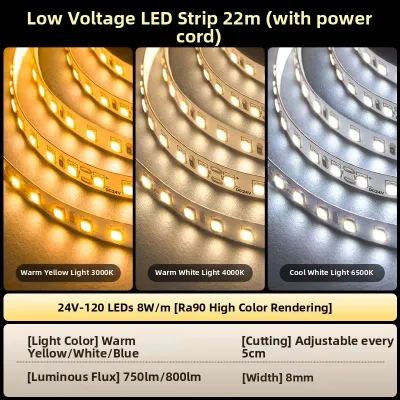
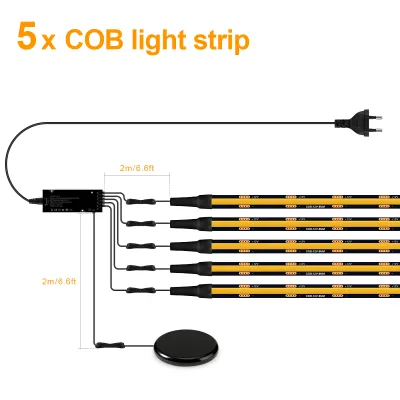
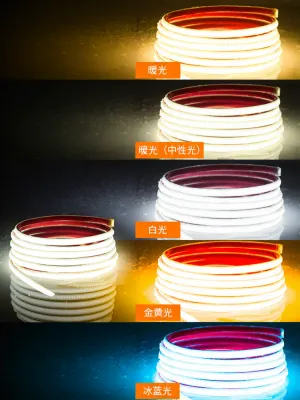
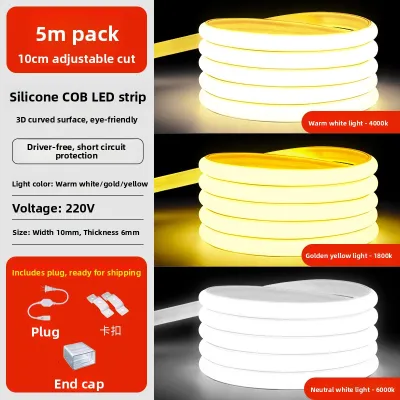
Prices are valid at publication and may change. Please refer to the product page for the latest price.
Moisture resistance is another critical factor to evaluate before installation. If you plan to install COB strips in areas prone to high humidity or occasional splashes, such as kitchen under-cabinets near the sink or bathroom vanities, you must check the Ingress Protection (IP) rating of the strips. Standard IP20-rated strips are suitable for dry areas like bedrooms and living rooms, but damp environments require at least IP65-rated strips, which feature a protective silicone coating to shield the electronics from moisture and steam.
Gathering the correct tools beforehand will streamline the installation process and prevent unnecessary interruptions. You will need a reliable measuring tape to plan your runs, sharp household scissors to cut the strips, and isopropyl alcohol wipes to prepare the mounting surfaces. Additionally, keep plastic mounting clips, solderless COB connectors, and cable management raceways on hand to ensure a clean, secure, and professional finish.
Finally, inspect the physical condition of your target mounting surfaces. Condo walls and ceilings are often finished with paint that can peel under tension, or they may accumulate a thin layer of dust and grease over time. If the paint is already flaking or chalky, the adhesive backing on the LED strips will fail to bond properly, potentially pulling the paint off entirely. Ensure the surface is structurally sound, dry, and free of any loose debris before proceeding.
Step-by-Step Guide to Mounting and Connecting COB Strips
The first step in the physical installation is precise measurement and surface preparation. Use your measuring tape to determine the exact length of the area where the COB strips will be mounted. Once you have the dimensions, clean the mounting surface thoroughly using isopropyl alcohol wipes. This step is crucial in tropical climates, as invisible oils, dust, and humidity can form a barrier that prevents the adhesive from bonding; let the surface dry completely for several minutes.

Next, prepare the COB LED strip by cutting it to the required length. Look closely at the surface of the strip to locate the designated cut lines, which are typically spaced at regular intervals and marked with copper pads or small scissor icons. You must cut strictly along these lines using sharp scissors. Cutting anywhere else will break the electrical circuit of that segment, rendering the entire section of the strip completely non-functional.
If your installation requires navigating sharp corners, wrapping around pillars, or extending the length of the run, you will need to connect multiple segments. Solderless COB connectors are the easiest and safest way to achieve this without specialized tools. Open the plastic clip of the connector, slide the cut end of the strip underneath the metal contact prongs, and ensure that the positive (+) and negative (-) markings on the strip align perfectly with those on the connector. Snap the clip shut firmly to secure the connection.
Once your strip is cut and connected, you can begin the mounting process. Peel away a small portion of the adhesive backing from the start of the strip. Press the adhesive side firmly onto the prepared surface, applying steady pressure with your thumb for a few seconds. Continue peeling and pressing the strip in small increments, taking care not to pull or stretch the strip, as physical tension can damage the internal copper traces and cause premature failure.
For installations on ceilings, vertical drops, or underneath cabinets where gravity and heat work against the adhesive, relying solely on the tape backing is rarely sufficient. Secure the strip at regular intervals using plastic mounting clips or small brackets. This extra support prevents the strip from sagging or peeling away over time, especially during warm, humid seasons when adhesives naturally soften.
Before finalizing the placement of any wires or closing up any decorative covers, connect the strip to the power supply and turn it on. Testing the lights at this stage allows you to verify that all segments illuminate evenly and that your solderless connections are secure. If you notice any unlit sections or flickering, you can easily troubleshoot and adjust the connections while the components are still fully accessible.
Choosing Your Power Setup: Plug-In vs. Hardwired
Deciding how to power your COB LED strips depends largely on your condo’s layout, your electrical experience, and whether you own or rent the unit. A plug-in setup is the most straightforward and reversible option, making it ideal for renters. This method involves connecting the LED strip to a desktop-style power adapter that plugs directly into an existing wall outlet. To keep the installation looking neat and professional, route the power cables along baseboards or inside corners, and conceal them using paintable plastic cable management covers.
For a more integrated and seamless look, a hardwired setup connects the LED driver directly to your condo’s internal electrical wiring, allowing you to control the lights via a standard wall switch. This method eliminates visible cords and frees up wall outlets, but it requires a higher level of technical skill and carries inherent safety risks. Hardwiring must only be attempted if you have a clear understanding of residential electrical systems and local building regulations.
Safety is paramount when dealing with fixed electrical wiring. Before touching any household wires or attempting to connect a hardwired driver, you must locate your condo’s main electrical panel and switch off the circuit breaker dedicated to that area. Verify that the power is completely off using a reliable non-contact voltage tester. If you feel any hesitation, lack the proper testing tools, or if your condo association requires certified work for insurance purposes, stop immediately and hire a licensed electrician to complete the wiring.
Troubleshooting Common Setup and Adhesion Issues
Even with careful planning, you may encounter minor issues during or after the installation of your COB LED strips. If a specific section of the strip fails to light up while the rest illuminates perfectly, the issue is almost always located at the nearest connection point. Inspect the solderless connector to ensure the copper pads on the strip are making direct, firm contact with the metal pins inside the clip. Additionally, double-check that you did not accidentally reverse the polarity when joining the segments.
Adhesive failure is another common challenge, particularly on textured condo walls or in areas with high ambient humidity. If you find the strip peeling away from the surface, avoid trying to re-stick the degraded adhesive tape. Instead, clean the area again and apply a high-quality, double-sided mounting tape designed for construction, or transition to mechanical mounting methods. Installing the strips inside aluminum channels secured with mounting screws provides a permanent solution that completely bypasses adhesive issues.
Flickering, dimming, or uneven brightness across the length of the strip typically points to power supply limitations or compatibility issues. Ensure that your power supply is not overloaded; as a general rule of safety and longevity, the total wattage of your connected LED strips should not exceed 80% of the power supply’s maximum rated output. If you are using a dimming system, verify that both the LED driver and the wall dimmer switch are explicitly rated to work together, as mismatched dimming protocols are a primary cause of rapid flickering.
Maintaining Your COB LED Strips for Long-Term Use
Proper maintenance ensures that your COB LED strips continue to provide bright, even illumination for years to come. Dust and airborne particles can settle on the surface of the strips, which not only dims the light output but also acts as an insulating layer that traps heat. Clean the strips periodically using a dry, soft microfiber cloth or a static duster. Never use wet cloths, water, or abrasive household cleaners, as moisture can penetrate the electrical connections and chemical solvents can degrade the protective phosphor coating.
In addition to cleaning, perform routine visual inspections of your lighting setup. Check the power supply unit to ensure it is free of dust buildup and placed in a well-ventilated area where heat can dissipate naturally. Touch the adapter occasionally to verify it is not running excessively hot. Finally, inspect the physical run of the strips to ensure no sections have started to sag, and verify that all electrical cables remain securely routed and free from pinch points behind furniture or appliances.
Frequently Asked Questions (FAQ)
Can I Mount COB Strips on Textured Condo Ceilings?
Standard adhesive backing is designed for smooth, non-porous surfaces and will not bond securely to textured condo ceilings, such as rough plaster or popcorn finishes. To mount COB strips on these surfaces, you should install them inside lightweight aluminum channels secured with mounting screws or anchors. Alternatively, you can use heavy-duty mechanical mounting clips spaced closely together to hold the strip firmly in place without relying on adhesive.
Do COB LED Strips Need Aluminum Channels for Condo Use?
While COB LED strips can be mounted directly to flat surfaces, using aluminum channels is highly recommended for most condo installations. Aluminum channels act as efficient heat sinks, drawing warmth away from the closely packed diodes to extend their operational lifespan. Furthermore, channels protect the delicate strips from dust, moisture, and physical damage, while the frosted diffusers help blend the light even further for a perfectly seamless, professional appearance.
Community discussion
Share your experience or ask a question. Comments are reviewed before publication.