
Installing Firefly pinlights onto an existing track lighting system is a practical way to achieve highly directional, customizable illumination in residential or commercial spaces. The process requires matching the physical adapter of your pinlight fixture to the specific track profile installed on your ceiling, ensuring complete electrical compatibility, and safely securing the unit into the track channel. By following systematic electrical safety protocols and mechanical alignment steps, you can successfully mount these fixtures to highlight specific areas of your room while maintaining a secure, code-compliant setup.
Pre-Installation Checks and Compatibility Verification
Before handling any electrical components, verifying the physical and electrical compatibility of your equipment is the most critical step to prevent short circuits, equipment damage, or fire hazards. Track lighting systems generally fall into three common track profiles known as H-type, J-type, and L-type systems. You must inspect the contact configuration on the mounting adapter of your Firefly pinlight to ensure it matches the internal track rail configuration. An H-type adapter, for example, features two contact tabs on one side and a single contact tab on the other, designed to slide into a track with matching internal copper busbars. Attempting to force an incompatible adapter into a track can bend the contacts, ruin the fixture, or create an electrical arc.
Next, examine the electrical specifications printed on the product labels of both the track rail and the pinlight housing. In the Philippines, the standard residential voltage is 220V to 240V at 60Hz. Ensure that both the track system and the Firefly pinlights are rated for this voltage range. Additionally, check the maximum wattage capacity of the track rail. While modern LED pinlights consume very little power—often ranging from 3 watts to 12 watts per fixture—older track systems might have maximum load limits that you must not exceed. Sum the wattage of all planned pinlights to confirm the total load remains well below the track’s rated capacity.
Products mentioned in this guide
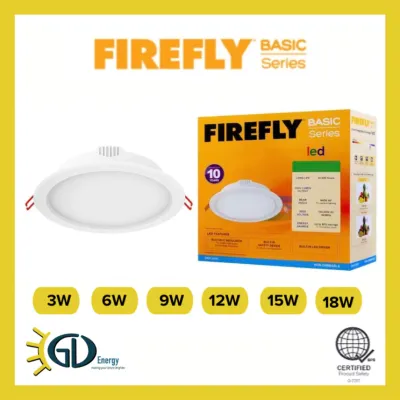
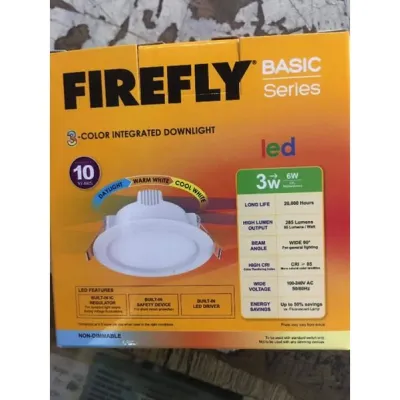
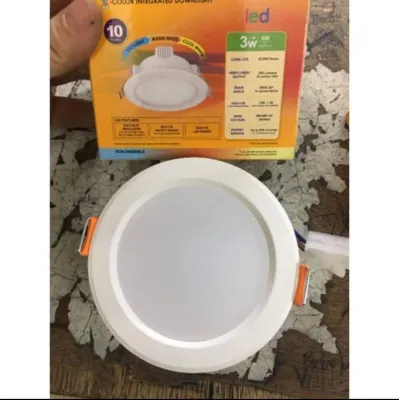
Prices are valid at publication and may change. Please refer to the product page for the latest price.
Electrical safety requires absolute power isolation before you touch any part of the ceiling fixture. Locate your home’s main distribution panel or circuit breaker box and switch off the breaker dedicated to the lighting circuit you will be working on. Do not rely solely on the wall switch, as some older or improperly wired systems in the Philippines may switch the neutral wire instead of the live wire, leaving active voltage at the ceiling. Use a reliable, non-contact voltage tester directly inside the track channel to confirm there is zero electrical current flowing through the copper rails before proceeding.
In tropical environments characterized by high humidity, take an extra moment to inspect the interior of the track rail. Moisture and salty air can cause oxidation or a thin layer of corrosion to form on the copper conductors inside the track. If you observe any greenish or dark discoloration on the metal strips, this must be addressed before mounting the pinlights. Poor contact caused by corrosion can lead to localized heating, flickering lights, or premature driver failure in your LED fixtures.
Tools and Materials Needed for the Setup
Having the correct tools on hand ensures the installation proceeds smoothly and safely without damaging the ceiling or the lighting components. A sturdy, stable step ladder is essential for reaching the ceiling safely. Ensure the ladder is placed on a flat, dry surface, and never stand on the top step. Avoid makeshift platforms like chairs or tables, which pose a significant fall risk during overhead work.

For electrical verification and mechanical adjustments, you will need a non-contact voltage tester, a flathead screwdriver, and a Phillips-head screwdriver. The screwdrivers are necessary for tightening any locking collars, securing track end caps, or adjusting the mounting brackets of the track itself. Wearing insulated gloves rated for electrical work provides an extra layer of personal safety, while safety glasses protect your eyes from falling plaster, dust, or debris when working directly beneath the ceiling track.
Lastly, ensure you have the correct mounting hardware or adapters specified by the manufacturer. If your track system requires specific mechanical adapters to bridge the connection between the track rail and the Firefly pinlight, verify that these parts are present and undamaged. Using unauthorized or modified third-party adapters can compromise the mechanical stability of the fixture, potentially causing it to fall or fail electrically over time.
Step-by-Step Installation Process
Mounting the pinlights onto the track requires a careful combination of physical alignment and mechanical locking. Begin by examining the adapter head of the Firefly pinlight. You will notice metal contact tabs and a plastic alignment key or guide tab on the base of the adapter. The track rail itself features a corresponding groove or polarity line running along one side of the channel. This design ensures that the fixture can only be inserted in the correct orientation, maintaining proper alignment of the live, neutral, and ground connections.
Position your step ladder securely beneath the section of the track where you want to place the first light. Hold the pinlight fixture firmly by its adapter base rather than the delicate lamp head or swivel arm. Align the guide tab on the adapter with the polarity groove inside the track channel. Push the adapter straight up into the track until it sits flush against the track opening. If you encounter significant resistance, do not force the fixture; instead, pull it out, recheck the alignment of the tabs, and ensure no debris is blocking the channel.
Once the adapter is fully inserted, rotate the locking collar or the entire adapter housing 90 degrees. This rotation slides the metal contact tabs of the pinlight into the internal copper rails of the track, establishing both the electrical connection and the mechanical support. Depending on the specific model of your track system, you may hear a distinct click or feel a positive engagement when the adapter locks into place. Some systems utilize a sliding mechanical latch that you must pull down before rotating and release once the rotation is complete.
After locking the adapter, inspect the connection visually and physically. Gently wiggle the fixture to ensure it is seated securely and does not wobble or hang loosely from the track. If the fixture feels loose, check if there is an integrated locking screw or adjustment tab on the adapter. Use your screwdriver to tighten these mechanical fasteners according to the manufacturer’s instructions. A loose fixture not only poses a physical falling hazard but can also cause intermittent electrical contact, leading to flickering or arcing inside the track.
Repeat this process for each subsequent Firefly pinlight you plan to install along the track run. Keep track of the total number of fixtures to ensure you do not exceed the physical weight capacity of the track mounting brackets. If the track begins to sag under the weight of the fixtures, you may need to install additional ceiling support anchors before proceeding.
Positioning, Spacing, and Beam Adjustment
Proper positioning and spacing of your pinlights are essential to achieve the desired lighting effect while maintaining safety and visual comfort. The ideal spacing depends largely on your ceiling height and whether you are using the lights for accent lighting, task lighting, or general ambient wash. For accent lighting—such as highlighting artwork, architectural features, or decorative displays—space the fixtures approximately 2 to 3 feet apart and position the track about 2 to 4 feet away from the wall. This angle helps minimize harsh shadows and prevents the light from washing out the details of the object you want to showcase.
If you are using the pinlights for general ambient illumination or task lighting over a kitchen island or workspace, space the fixtures further apart, typically 3 to 4 feet, to ensure an even distribution of light across the surface. Take advantage of the adjustable swivel heads on your Firefly pinlights to direct the light exactly where it is needed. Carefully tilt and rotate each lamp head to target specific zones, ensuring that the light beams do not cross in a way that creates confusing double shadows or excessive glare in high-traffic areas.
When adjusting the direction of the light beams, pay close attention to safety clearances. Avoid directing high-intensity light beams too close to walls, curtains, wooden structures, or other combustible materials. Even though LED pinlights generate significantly less heat than older halogen bulbs, they still produce localized heat at the heat sink located at the back of the fixture. Maintaining a safe distance of at least 12 inches from any flammable surface prevents heat buildup and reduces the risk of discoloration or heat damage to your walls and ceilings, which is particularly important in warm, tropical climates where ambient temperatures are already high.
Testing and Final Safety Verification
With all the pinlights securely mounted and positioned, you are ready to perform the final safety and operational checks. Before restoring power, double-check that all tools have been removed from the work area and that no loose wires or exposed metal contacts are visible along the track. Once the area is clear, return to your main distribution panel and switch the circuit breaker back to the “on” position.
Turn on the wall switch or compatible dimmer switch to activate the lights. Observe the fixtures closely for several minutes. The pinlights should illuminate instantly and provide a steady, consistent beam of light. Watch for any signs of flickering, blinking, or delayed startup, which can indicate a loose mechanical connection, a mismatched dimmer switch, or voltage fluctuations in the circuit. Listen carefully for any unusual buzzing, humming, or clicking sounds coming from the track or the individual fixture adapters.
After the lights have been operating for about ten to fifteen minutes, safely turn off the switch and use your step ladder to inspect the fixtures. Carefully feel the outer housing of each pinlight and the adapter connection points on the track. While the metal heat sink at the back of the lamp head will feel warm to the touch, the plastic adapter and the track rail itself should remain cool. If you detect excessive heat, a burning smell, visible smoke, or if the circuit breaker trips immediately upon turning on the switch, these are critical stop conditions. Immediately turn off the power at the main breaker and consult a licensed electrical professional to diagnose and resolve the issue before using the system again.
Frequently Asked Questions (FAQ)
Can I mix different brands of pinlights on the same track?
While many track lighting systems and fixtures are designed around standard profiles like H, J, or L types, mixing different brands of pinlights on a single track carries inherent risks. Even if a third-party fixture claims compatibility with your track type, minor variations in manufacturing tolerances, contact spacing, and plastic housing dimensions can prevent a perfect fit. A loose connection can lead to electrical arcing, which damages the track’s copper conductors and poses a fire hazard.
Additionally, different brands may utilize different driver technologies, wattage ratings, or dimming protocols. Mixing fixtures with varying electrical characteristics on the same circuit can cause performance issues, such as uneven brightness, mismatched color temperatures, or severe flickering when dimming. To ensure optimal performance, safety, and system longevity, it is highly recommended to use fixtures from the same manufacturer and product line on a single track run.
Do I need an electrician to install the track system itself?
The need for a professional electrician depends on the scope of your installation project. If you are simply adding, removing, or repositioning Firefly pinlights on an existing, fully functional track system that is already safely wired to your home’s electrical grid, this is a straightforward task that you can safely perform yourself by following proper power isolation protocols. No direct handling of raw wires or structural electrical modifications is required for this step.
However, if you are installing a brand-new track system from scratch, extending an existing track run, mounting a new junction box, or modifying your home’s fixed wiring, you must hire a licensed electrical professional in the Philippines. Working with fixed electrical wiring involves strict compliance with the Philippine Electrical Code to prevent fire hazards and electrical shocks. A professional electrician will ensure that the circuit is properly grounded, the wire gauge is correct for the load, and the installation is structurally secure to handle the weight of the track and fixtures over time.
Community discussion
Share your experience or ask a question. Comments are reviewed before publication.