
Installing LED cove lights is one of the most effective ways to elevate the ambiance of your living space, especially in modern homes and condominiums where indirect lighting adds depth, warmth, and a touch of luxury. This project involves planning your layout, preparing the ceiling cove surface, mounting the LED strips securely, and connecting them to a compatible power supply. By following a systematic approach, you can achieve a seamless, professional-grade glow that highlights your ceiling’s architectural features without visible hotspots or uneven shadows.
In tropical environments, proper installation requires extra attention to detail. High humidity levels can compromise standard adhesive backings, while warm ambient temperatures make heat dissipation critical for the longevity of your light emitting diodes. Taking the time to select the right materials and prepare the installation surface ensures that your ambient lighting remains beautiful, safe, and functional for years to come.
Preparation and Safety Checks Before Installation
Before purchasing any materials or climbing a ladder, you must evaluate your ceiling’s structure and electrical capacity. Inspect the cove itself to determine its depth, width, and weight-bearing capacity. The cove must have enough vertical clearance to conceal the LED strips and their power supplies from direct view while allowing sufficient airflow to prevent heat buildup.
Products mentioned in this guide
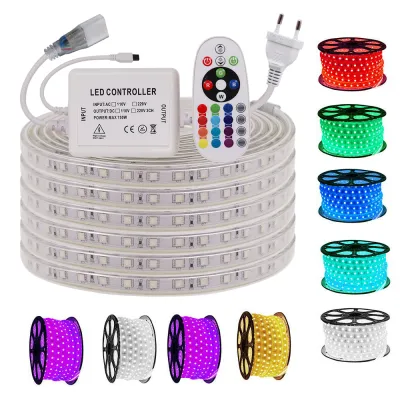

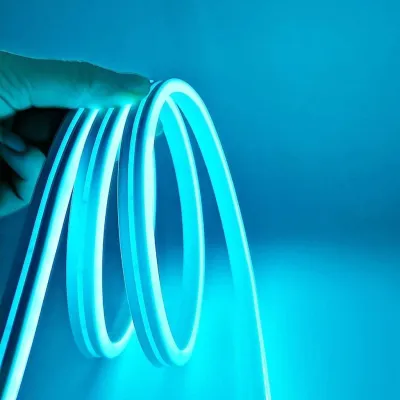
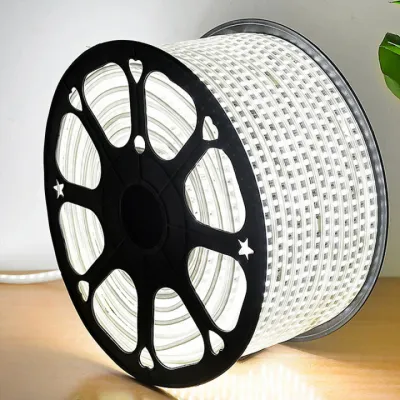
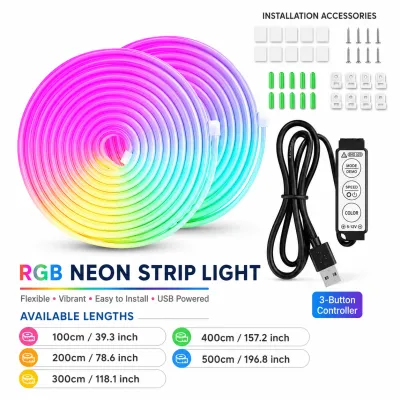
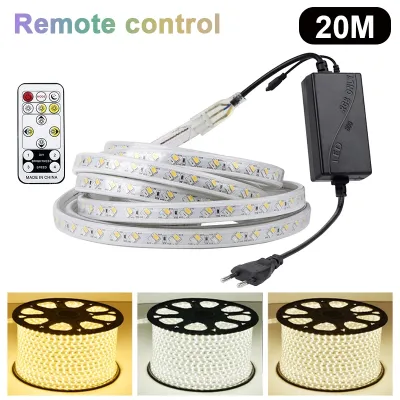
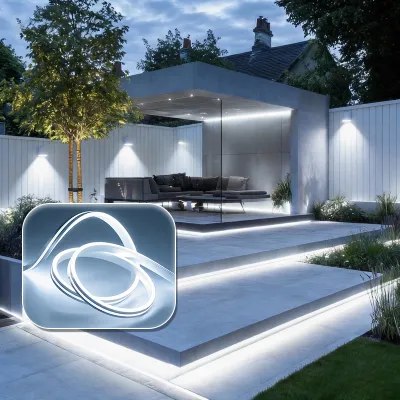
Prices are valid at publication and may change. Please refer to the product page for the latest price.
Next, verify the electrical specifications of your chosen LED strip lights. Most residential LED strips operate on low-voltage Direct Current (DC), typically 12V or 24V, which requires a compatible transformer or LED driver to step down the household Alternating Current (AC) voltage. Check the manufacturer’s label to ensure the power supply’s wattage rating exceeds the total wattage of your LED run by at least 20%. This safety margin prevents the power supply from overloading and overheating during prolonged use.
Safety must be your top priority when working with electrical installations. Always turn off the main power at your home’s circuit breaker before handling any wiring. Use a non-contact voltage tester to confirm that the wires in your work area are completely dead. If your project requires running new fixed wiring behind walls, installing a dedicated wall switch, or connecting directly to a high-voltage junction box, stop and hire a licensed electrician to ensure compliance with local electrical codes.
Tools and Materials Required for the Project
Having the correct tools and materials on hand before you begin will keep your installation moving smoothly and prevent unnecessary trips to the local hardware store. Gather a reliable measuring tape, a spirit level, wire strippers, insulated screwdrivers, a utility knife, and a drill with appropriate bits. A sturdy ladder is also essential for working safely at ceiling height.

For materials, you will need your LED strip lights, a compatible LED driver, mounting channels (preferably aluminum profiles with frosted diffusers), solderless connectors, electrical tape, and mounting clips or screws. If you are installing the lights in a high-humidity area, such as a kitchen or a semi-outdoor balcony cove, ensure both the LED strips and the power supply carry an appropriate ingress protection (IP) rating, such as IP65, to resist moisture.
Material costs can vary depending on the length of your ceiling cove and the quality of the components you select. For a standard room perimeter, a complete setup including mid-range LED strips, an aluminum channel system, and a reliable power supply typically ranges from ₱2,500 to ₱8,000. Always consult the model-specific instructions provided by your manufacturer, as connection methods and cutting increments vary between brands.
Step 1: Measuring and Preparing the Ceiling Cove
Accurate measurements are the foundation of a clean cove lighting setup. Use your measuring tape to determine the exact perimeter of the cove where the lights will be installed. If you plan to run a continuous line of light, measure each straight section individually and note where the corners meet. This total length determines how many meters of LED strip you need to purchase and helps you calculate the required wattage of your power supply.
Once measured, clean the inside of the ceiling cove thoroughly. In tropical climates, dust, cobwebs, and moisture accumulate quickly in recessed ceiling spaces. Wipe down the mounting surface with a dry microfiber cloth or a cloth lightly dampened with rubbing alcohol to remove grease and debris. Let the surface dry completely; any remaining dust or moisture will prevent the adhesive backing of the LED strips or mounting channels from bonding securely.
Plan your layout carefully before mounting anything. Identify where the power supply will be housed; it should be placed in an accessible, well-ventilated area within the cove or an adjacent utility cabinet for easy maintenance. Mark the locations of any corners and locate the manufacturer-approved cutting points on your LED strips. These cutting points are typically marked with copper pads or a tiny scissors icon and occur at regular intervals along the strip.
Step 2: Mounting the LED Strips and Channels
While many LED strips come with self-adhesive backing, mounting them directly to a painted gypsum or concrete cove can lead to peeling over time due to heat and humidity. To prevent this, install slim aluminum mounting channels inside the cove. These channels act as heat sinks, drawing warmth away from the LEDs to extend their lifespan, while their frosted diffusers help blend individual light dots into a smooth, continuous bar of light.
Secure the aluminum channels to the cove floor or back wall using small mounting clips or screws. Ensure the channels are aligned straight and sit deep enough in the cove so they remain hidden from standing eye level. Once the channels are securely in place, peel back a small section of the adhesive backing from the LED strip and press it firmly into the channel, working your way from one end to the other in a smooth, continuous motion.
When navigating corners, do not bend the LED strip at a sharp 90-degree angle, as this can crack the delicate copper circuitry inside. Instead, use flexible corner connectors or short jumper wires designed for your specific strip width and pin configuration. If you must cut the strip to fit a specific length, cut strictly along the designated cutting lines to avoid damaging the adjacent light segments.
Step 3: Wiring and Connecting the Power Supply
With the LED strips mounted, route the connection wires neatly along the cove toward your power supply location. Use small cable clips or zip ties to keep the wires organized and prevent them from sagging into view. Ensure that the wires are not pinched or stretched tightly around sharp corners, which could damage the insulation over time.
Connect the low-voltage wires from the start of your LED strip to the output terminals of your LED driver. Pay close attention to polarity: connect the positive wire (usually red or marked with a plus sign) to the positive (+) terminal, and the negative wire (usually black or marked with a minus sign) to the negative (-) terminal. Secure the connections tightly using screw terminals or wire nuts, and wrap any exposed wire joints with high-quality electrical tape.
If your power supply uses a standard plug, you can plug it directly into a nearby electrical outlet hidden within the cove. However, if your project requires hardwiring the power supply directly into your home’s 220V mains electricity, stop immediately. Working with high-voltage household wiring carries severe risks of electrical shock and fire. This step must be completed by a qualified, licensed electrician who can safely make the connections inside an approved junction box.
Step 4: Testing and Final Adjustments
Once all connections are secure and insulated, it is time to test your work. Restore power at the main circuit breaker and turn on the light switch. Walk around the room and inspect the entire length of the cove. The light should turn on instantly without flickering, buzzing, or dimming toward the far end of the run.
If you notice visible “hotspots”—where individual LED chips reflect brightly against the back wall—adjust the angle or position of the mounting channels. Tilting the channels slightly toward the ceiling or placing them deeper inside the cove can help diffuse the light more evenly. If your channels came with frosted covers, snap them into place now to soften the glow and protect the LED chips from dust accumulation.
Finally, double-check that all components are physically secure. Ensure the power supply is resting flat in a well-ventilated spot and that no loose wires are visible from any angle in the room. Clean up any debris left inside the cove from drilling or cutting, as loose dust can settle on the LEDs and reduce their brightness over time.
Troubleshooting Common LED Cove Light Issues
If a section of your LED strip fails to light up, the most common culprit is a poor connection at a cut point or connector. Turn off the power, gently press the solderless connector to ensure the metal teeth are making solid contact with the copper pads on the strip, and turn the power back on. If an entire segment between two cut lines remains dark, that specific section may have been damaged during installation and will need to be cut out and replaced with a fresh segment using connectors.
Flickering, buzzing, or a noticeable drop in brightness at the end of a long run usually points to power supply issues. A flickering light often indicates that your LED driver is overloaded or incompatible with your dimmer switch. Ensure your driver’s wattage rating is sufficient for the length of the strip and that you are using a dedicated dimmable driver if you have a dimmer switch installed. If the end of your strip is significantly dimmer than the beginning, you are experiencing voltage drop; resolve this by running a separate power feed from the driver to the far end of the strip.
If your LED strips begin to sag or peel away from the ceiling cove, high humidity has likely weakened the adhesive. Avoid using standard household glue to fix this, as it can damage the strip’s protective coating. Instead, clean the area thoroughly and apply a high-bond, heat-resistant double-sided mounting tape, or install physical mounting clips over the strip at regular intervals to hold it securely in place.
Frequently Asked Questions (FAQ)
Can I install LED cove lights on a gypsum or dropped ceiling?
Yes, you can install LED cove lights on gypsum or dropped ceilings, as LED strips and aluminum channels are lightweight and place minimal stress on the structure. However, you must avoid resting heavy components, such as large metal power supplies or transformers, directly on thin gypsum boards. Instead, mount the power supply to the main concrete ceiling slab, structural wall studs, or a reinforced metal framing member behind the gypsum to prevent sagging or structural damage over time.
Do LED cove lights require a smart controller or dimmer?
No, LED cove lights do not require a smart controller or dimmer to function; they can operate perfectly using a standard on/off wall switch connected to a compatible non-dimmable power supply. However, if you want to adjust the brightness or control the lights via a smartphone app or smart home assistant, you must purchase a compatible smart controller or a dimmable LED driver. Always verify that your dimmer switch, driver, and LED strips are designed to work together to avoid flickering and premature component failure.
Community discussion
Share your experience or ask a question. Comments are reviewed before publication.