
Installing a cove light LED ceiling system is an exceptional way to elevate the interior design of your home or condo. By bouncing light off the upper walls and ceiling, cove lighting creates a soft, indirect glow that eliminates harsh shadows and makes your living space feel more expansive. Achieving a professional-grade finish requires careful planning, proper surface preparation, and correct electrical connections. This comprehensive guide walks you through the entire installation process, ensuring a secure, long-lasting, and beautiful setup tailored to your space.
Planning Your Ceiling Cove Lighting Layout
Before purchasing any materials, you must measure the total linear length of your ceiling cove. Use a reliable tape measure to record the length of each wall where the lighting will be installed, then add these measurements together. It is highly recommended to buy slightly more strip length than your calculations dictate to account for minor cutting adjustments or corner turns.
Next, calculate the total wattage of your setup to determine your power requirements. Check the manufacturer’s specification label for the wattage rating per meter of the LED strip you intend to use, then multiply this value by the total linear length of the strip. For example, if your chosen LED strip consumes 12 watts per meter and your total cove length is 10 meters, your total power consumption is 120 watts.
Products mentioned in this guide
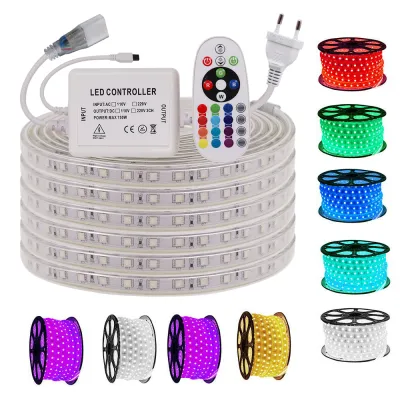

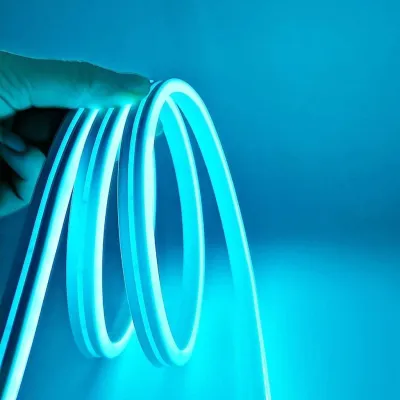
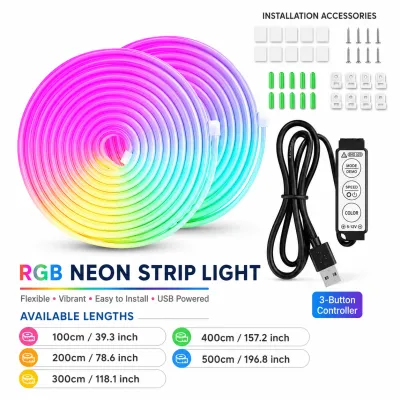
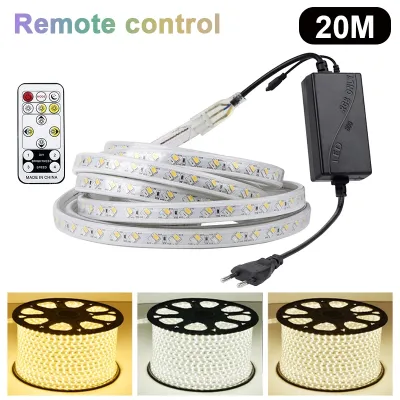
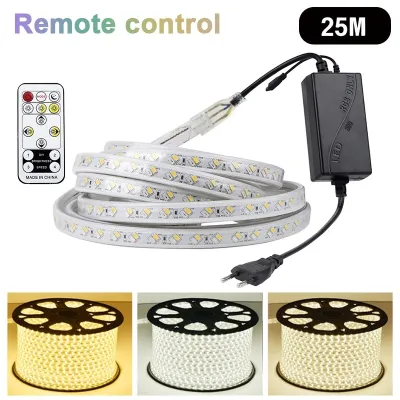
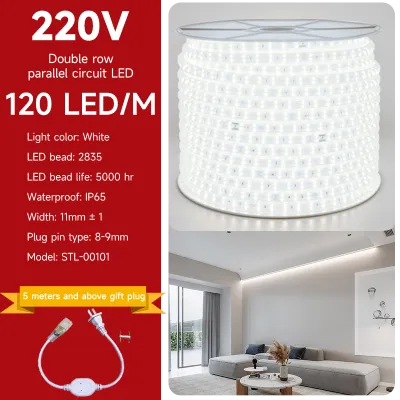
Prices are valid at publication and may change. Please refer to the product page for the latest price.
To prevent overheating and extend the lifespan of your equipment, select a power supply (also known as an LED driver or transformer) rated at least 20% above your calculated wattage requirement. In this example, 120 watts multiplied by 1.20 equals 144 watts, meaning you should select a power supply rated for at least 150 watts. In the warm, tropical climate of the Philippines, where indoor ambient temperatures can remain high, this 20% safety buffer is critical to prevent the driver from overheating and failing prematurely.
Assess the physical structure of your ceiling cove before purchasing materials. Coves are typically constructed from gypsum board (drywall), plywood, or concrete. The depth of the cove and the height of the front lip will determine how effectively the light bounces off the ceiling; a shallow cove or a lip that is too high can block the light or create harsh, visible lines rather than a soft, diffused glow. Ensure there is enough space inside the cove to conceal both the LED strips and their aluminum channels while allowing heat to escape.
In humid environments like the Philippines, ambient moisture can cause standard adhesive backings to fail over time. Standard double-sided tape often degrades within a few months of exposure to high humidity, causing the LED strips to sag or fall out of the cove. To prevent this, plan to use mechanical mounting clips, high-quality double-sided acrylic foam tape, or aluminum channels screwed directly into the cove structure.
Essential Tools and Materials Checklist
Gathering the correct components before you begin is essential for a safe and successful installation.

Core Components:
- LED strip lights (verify voltage compatibility: 12V DC, 24V DC, or 220V AC mains voltage)
- Compatible power supply/transformer
- Aluminum channels with frosted diffusers (highly recommended for cove lighting to distribute heat and prevent visible "hot spots" or individual light dots)
- Solderless connectors or soldering equipment
Installation Tools:
- Wire strippers and electrical tape
- Screwdriver and a drill with appropriate drill bits (masonry bits for concrete, wood bits for plywood)
- Non-contact voltage tester
- Isopropyl alcohol (at least 70% concentration) and a clean microfiber cloth
- Measuring tape and a pencil
- A sturdy, stable ladder
Before starting, verify the voltage compatibility of all product labels. Ensure the output voltage of your power supply matches the input voltage of your LED strips (e.g., a 24V power supply must only be paired with 24V LED strips). Additionally, confirm that the input voltage of your power supply is compatible with local utility standards, which in the Philippines is typically 220V AC at 60Hz. Connecting low-voltage components directly to mains power will destroy the equipment and presents a severe fire hazard.
Step-by-Step Installation Process
The physical installation of your cove light LED ceiling system can be divided into three main phases: preparing the mounting surface, physically securing the channels and strips, and completing the electrical connections. Taking your time with each phase ensures a clean, reliable, and aesthetically pleasing result.
Before peeling any adhesive backing or making permanent cuts to your LED strips, complete a full “dry fit.” Lay out all your components on a clean floor or table, connect the strips to the power supply, and plug them in to verify that all sections light up correctly and display consistent color. This simple step prevents the frustration of troubleshooting a faulty strip or connector after it has been mounted inside a hard-to-reach ceiling cove.
Preparing the Cove Surface
Safety must be your top priority. Before working near any existing ceiling light fixtures or electrical wiring, turn off the power at the main circuit breaker. Use a non-contact voltage tester to verify that no live electrical current is present in the wires you will be working near.
Clean the cove ledge thoroughly. Fine dust, plaster residue, and grease are the primary causes of adhesive failure. In concrete or gypsum board coves, construction dust accumulates easily and will prevent adhesive tape from bonding. Pour isopropyl alcohol onto a clean microfiber cloth and wipe down the entire length of the cove ledge or the surface where the aluminum channels will be mounted, then allow the surface to dry completely.
Inspect the cove for physical obstructions. Remove any protruding drywall screws, plaster bumps, or wood splinters. A smooth, flat surface is necessary to ensure the aluminum channels or adhesive backings lie perfectly flat, which prevents uneven light distribution and localized peeling.
Mounting the Aluminum Channels and LED Strips
Aluminum channels are highly recommended for cove lighting because they act as a heatsink, drawing heat away from the LED chips to extend their operational lifespan. They also hold the diffuser covers that blend individual light dots into a seamless line of light.
Measure and cut the aluminum channels to fit your cove layout. Use a hacksaw or a miter saw with a metal-cutting blade for precise cuts. If your cove has 90-degree corners, you can cut the ends of the channels at 45-degree angles using a miter box to create a clean, professional joint.
Mount the aluminum channels securely inside the cove. For gypsum board or plywood coves, secure the channels using small wood screws or appropriate drywall anchors. For concrete coves, drill pilot holes using a masonry drill bit, insert plastic wall plugs, and then drive the screws to hold the mounting clips or channels firmly in place.
Once the channels are secure, prepare to mount the LED strips. If you need to shorten a strip, only cut along the designated cut lines, which are typically marked with copper pads or a scissor icon. Cutting elsewhere will permanently damage that section of the strip.
Peel the adhesive backing from the LED strip in small increments, roughly 30 to 50 centimeters at a time. Press the strip firmly into the center of the aluminum channel. Use your thumb or a soft cloth to apply consistent, firm pressure along the entire length of the strip to ensure maximum contact with the aluminum surface, which is vital for effective heat dissipation.
When navigating corners, do not bend the LED strip at a sharp 90-degree angle, as this can crack the internal copper traces and cause electrical failure. Instead, use specialized solderless corner connectors, flexible jumper wires, or create a gentle, rounded loop that does not exceed the manufacturer’s specified minimum bend radius.
Wiring and Connecting the Power Supply
Proper wire management keeps your installation safe and visually clean. Route all low-voltage wires discreetly along the back or bottom of the cove. Secure them using adhesive wire clips or small zip ties to prevent them from resting directly on top of the LED chips, which can block light and expose the wires to localized heat.
Connect the LED strip wires to the output side of the power supply. Always match the polarity correctly: positive (+) wires (usually red) must connect to the positive terminal of the driver, and negative (-) wires (usually black) must connect to the negative terminal. While solderless quick-connectors are convenient, soldering the wire connections and protecting them with heat-shrink tubing provides the most durable and corrosion-resistant connection in humid climates.
Connecting the input side of the power supply to your home’s 220V AC mains wiring requires extreme caution. Ensure the main circuit breaker remains off throughout this process. If you are hardwiring the power supply directly to an existing ceiling lighting circuit, use a certified junction box and secure all connections with wire nuts or terminal blocks.
If you do not have professional electrical experience or are unfamiliar with local wiring standards, do not attempt to hardwire the system yourself. Hire a licensed electrician to handle the mains connection to ensure safety, compliance with the Philippine Electrical Code (PEC), and to protect your home’s electrical system from potential hazards.
Testing, Finishing Touches, and Troubleshooting
With all physical and electrical connections secure, turn the power back on at the main circuit breaker. Switch on the LED strips and observe the entire run. Check for uniform brightness, correct color rendering, and ensure there is no flickering or dark spots.
Once you confirm that the lights are functioning perfectly, snap the frosted plastic diffuser covers onto the aluminum channels. The diffusers will soften the light and eliminate any harsh glare or visible “hot spots” on the ceiling. Use a clean cloth to wipe down the surrounding ceiling area and remove any fingerprints or construction dust.
If you encounter issues during testing, use these troubleshooting steps:
Dimming at the Far End (Voltage Drop): If the end of your LED strip is noticeably dimmer or exhibits a color shift, it indicates a voltage drop. This is a common physical phenomenon where electrical resistance reduces voltage over long continuous runs. To resolve this, check the manufacturer’s maximum recommended run length. You can fix the issue by implementing “power injection,” which involves running an additional low-voltage wire from the power supply directly to the far end of the strip, or by upgrading to a 24V system, which is much more efficient over longer distances than a 12V system.
Peeling or Sagging Strips: If the adhesive backing begins to peel, do not rely on the original tape. Secure the loose sections using mechanical mounting clips or apply a high-quality, heat-resistant double-sided acrylic foam tape designed for the specific mounting surface.
Safety Boundaries and When to Call a Professional
While installing LED strip lights is a highly accessible DIY project, certain tasks carry significant safety and structural risks. Modifying structural concrete beams, running new mains electrical wiring through walls, or installing heavy transformers inside suspended ceilings requires professional structural and electrical assessment.
In the Philippines, all permanent electrical installations and hardwiring to the main electrical panel must comply with the Philippine Electrical Code (PEC). Having a licensed electrician perform or inspect your permanent hardwiring ensures that your installation meets local safety standards, preserves your home insurance coverage, and maintains your product warranties.
Always use a non-contact voltage tester to verify that circuits are completely de-energized before touching any exposed wires. If you encounter conflicting instructions between this guide and your specific product’s manual, always prioritize the manufacturer’s instructions or consult a qualified professional.
Frequently Asked Questions (FAQ)
Can I install LED strip lights in a bathroom ceiling cove?
Yes, you can install LED strip lights in a bathroom ceiling cove, but you must select components specifically rated for wet or damp environments. Standard indoor LED strips (typically rated IP20) lack protection against moisture and will fail quickly when exposed to steam. For bathroom coves, choose LED strips with an Ingress Protection (IP) rating of at least IP65 (water-resistant) or IP67 (highly moisture-proof).
Additionally, the power supply (driver) must be located outside the humid bathroom environment—such as in an adjacent hallway, a dry ceiling void, or inside a certified weatherproof, IP-rated electrical enclosure. A licensed electrician should handle the wiring to ensure proper ground fault circuit interrupter (GFCI) protection is in place to prevent electrical shocks.
Why is the end of my LED strip dimmer than the beginning?
This issue is caused by voltage drop, which occurs as electrical current travels through the thin copper traces of the LED strip. As the distance from the power supply increases, the cumulative electrical resistance causes the voltage to drop, resulting in dimmer light or color shifts at the far end of the run. This is especially common in 12V systems when continuous runs exceed 5 meters.
To resolve voltage drop, always check the manufacturer’s specifications for maximum continuous run limits. You can fix the issue by using power injection, which involves running a parallel pair of low-voltage wires from the power supply to feed power directly to both ends or the middle of the strip. Alternatively, choosing a 24V system instead of a 12V system for longer runs will significantly reduce the impact of voltage drop, as higher voltage systems carry current more efficiently over distance.
Community discussion
Share your experience or ask a question. Comments are reviewed before publication.