
Condominium living in the Philippines offers a modern, convenient lifestyle, but personalizing these spaces often comes with strict limitations. Landlords typically prohibit drilling holes into concrete walls, and even minor paint damage can lead to deductions from your security deposit. Fortunately, installing LED strip lights is an exceptionally effective, non-destructive way to elevate your condo’s ambiance, whether you want to add warmth to a compact studio or create a sophisticated cove lighting effect in a high-rise unit.
Achieving a professional-looking installation requires more than simply sticking the lights to the wall. High tropical humidity can cause standard adhesives to fail prematurely, while incorrect electrical planning can lead to unsightly dangling cords or overloaded circuits. By selecting the right rental-friendly mounting materials, preparing your surfaces correctly, and following safe electrical practices, you can transform your condo’s interior with zero permanent modifications.
What You Need Before Starting: Tools and Materials
Before beginning your installation, gather all the necessary tools and materials to ensure a smooth, uninterrupted workflow. Having everything on hand prevents mid-project delays and helps you execute a clean, damage-free setup.
Products mentioned in this guide
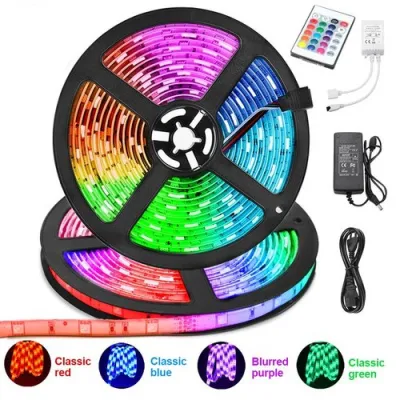
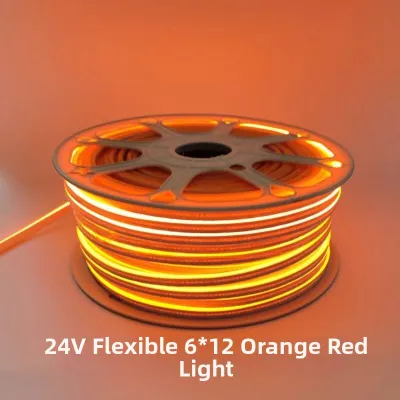
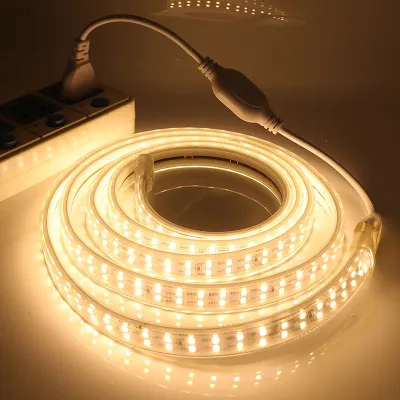
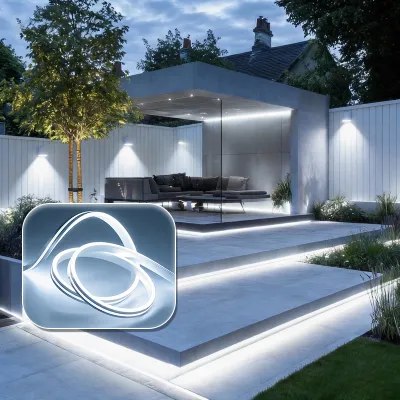
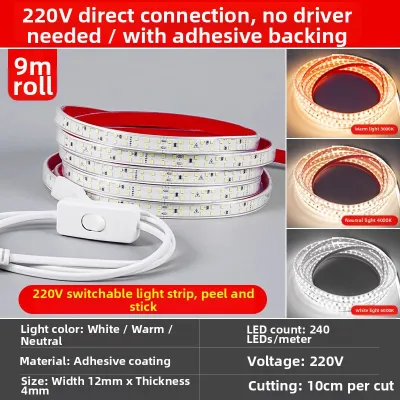
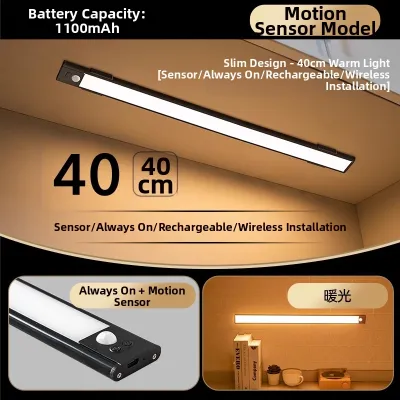

Prices are valid at publication and may change. Please refer to the product page for the latest price.
- LED Strip Light Kit: Choose a high-quality kit that includes the flexible LED strip, a compatible controller (infrared, Bluetooth, or Wi-Fi), and a certified power adapter.
- Power Adapter: Ensure the power supply is rated for your specific strip's voltage (typically 12V or 24V) and features recognized electrical safety certifications.
- Measuring Tape: A standard steel measuring tape is essential for calculating exact lengths and planning your layout.
- Cleaning Supplies: Isopropyl rubbing alcohol (70% concentration) and a lint-free microfiber cloth are required to prep the mounting surfaces.
- Scissors: A sharp pair of household scissors is needed to cut the strips at designated points.
- Rental-Friendly Mounting Tape: High-quality, paint-safe double-sided tape designed for clean removal is your primary defense against wall damage.
- Removable Mounting Putty or Clips: Lightweight plastic mounting clips with non-damaging adhesive backings or reusable mounting putty provide extra support.
- Cable Management Tools: Adhesive cable clips or paint-safe cable raceways (molding) will help you route and conceal the power cords.
Step 1: Plan Your Layout and Measure the Space
A successful installation starts with a clear visual plan. Walk around your condo and identify the specific areas you want to illuminate. Popular applications in modern condo units include cove lighting along dropped ceilings, under-cabinet task lighting in the kitchen, and accent backlighting behind television consoles or bedroom headboards. Each application has unique requirements; for instance, under-cabinet lighting must be bright enough for food preparation, while TV backlighting should be soft and indirect to reduce eye strain.

Once you have selected the locations, use your measuring tape to determine the exact linear length of the areas where the strip lights will be mounted. When measuring, always account for corners and transitions. If you plan to run lights around a 90-degree corner, you will need to factor in a small amount of slack or allow space for solderless corner connectors. Write down these measurements so you can purchase the correct length of LED strips or cut your existing rolls to the perfect size.
Finally, locate the nearest available wall outlets. Your power adapter must be able to reach the outlet safely without stretching or pulling. Avoid planning layouts that require running cables across high-traffic walkways, as this creates a serious tripping hazard and can damage the cords over time. If the outlet is slightly out of reach, plan to use a clean cable routing path along baseboards rather than daisy-chaining multiple extension cords, which can overload your condo’s electrical circuits.
Step 2: Prepare the Surface Without Damaging Condo Walls
One of the most common reasons LED strip lights fall down is poor surface preparation. In the Philippines, tropical humidity and airborne dust can form a microscopic barrier on walls, cabinets, and ceilings, preventing adhesives from bonding securely. To prevent your lights from sagging after a few weeks, you must thoroughly clean the installation surface.
Dampen your microfiber cloth with 70% isopropyl rubbing alcohol and gently wipe down the entire path where the lights will be mounted. Avoid using household glass cleaners or multi-surface sprays, as these often leave behind a thin, waxy residue that actually repels adhesives. Allow the cleaned surface to dry completely, which typically takes five to ten minutes in a well-ventilated room.
While most LED strips come with a factory-applied adhesive backing, relying solely on this adhesive is risky in a rental property. These factory adhesives are often highly unpredictable: they may either degrade quickly under humid conditions, causing the lights to fall, or bond so aggressively to flat latex wall paint that they tear the paint down to the drywall when removed. To protect your condo’s walls, consider these rental-friendly mounting alternatives:
- The Painter's Tape Method: Apply a strip of high-quality blue painter's tape to the wall first, press it down firmly, and then adhere the LED strip directly onto the back of the painter's tape. Painter's tape is engineered to release cleanly from painted surfaces without leaving residue or peeling paint.
- Premium Double-Sided Removable Tape: Apply a specialized paint-safe, double-sided mounting tape to the wall, and then mount the LED strip onto it. These tapes are designed to hold weight securely but stretch and release cleanly when pulled parallel to the wall.
- Adhesive-Backed Plastic Clips: For lightweight strips, you can place small plastic mounting clips along the path at 30-centimeter intervals, using clean-removal adhesive strips to hold the clips in place.
Step 3: Cut, Connect, and Mount the Strip Lights
Once your layout is planned and your surfaces are prepared, you can begin fitting the physical LED strips to your space. If your measured run is shorter than the length of your LED roll, you will need to cut the strip to size. Look closely at the surface of the strip for designated cutting lines, which are typically spaced every few centimeters and marked with copper solder pads or a small scissor icon.
Never cut the strip anywhere other than these designated marks. Cutting through the flexible circuit board elsewhere will permanently sever the electrical pathways, rendering the entire remaining segment of the strip useless. Use sharp scissors to make a clean, straight cut directly down the middle of the copper pads.
If your layout requires navigating sharp corners, such as wrapping around the back of a square TV console or a kitchen cabinet corner, do not bend or fold the LED strip itself. Bending the strip at a sharp 90-degree angle can easily fracture the delicate internal copper traces, causing the lights beyond the bend to flicker or fail completely. Instead, use solderless quick-connectors. These small plastic clips snap onto the cut ends of the strips, joining them together with flexible wires that can easily bend around any corner without putting stress on the circuitry.
To mount the lights, start from the end closest to your power source. Peel back a small portion of the adhesive backing—about 30 to 50 centimeters at a time—to prevent the exposed adhesive from collecting dust. Align the strip carefully with your pre-planned path and press down firmly with your thumb along the entire length of the segment. Apply steady pressure for at least 10 to 15 seconds on each section to activate the pressure-sensitive adhesive. For ceiling installations, under-cabinet setups, or slightly uneven surfaces where gravity works against the adhesive, install plastic mounting clips at the ends and at regular intervals to provide essential structural support.
Step 4: Power Up and Test the Electrical Connections Safely
Before finalizing your installation, you must ensure that your setup is electrically sound and safe for continuous use. Standard consumer LED strip kits are designed as low-voltage, plug-and-play systems. They should always be powered by plugging their dedicated adapter into a standard wall outlet. Never attempt to hardwire these low-voltage strips directly into your condo’s 220V mains electrical panel or ceiling light junction boxes, as this requires advanced electrical knowledge and should only be performed by a licensed professional.
Before plugging the power adapter into your wall outlet, verify that its technical specifications are compatible with local electrical standards and your specific light strip:
- Input Voltage: Ensure the adapter is rated for the Philippine standard of 220V AC at 60Hz. Most modern adapters are universal (100V–240V), but it is vital to double-check.
- Output Voltage: The output voltage of the adapter (usually 12V or 24V DC) must match the exact voltage requirement printed on your LED strip.
- Wattage Capacity: The total wattage of your LED strip run must not exceed the maximum wattage capacity of the power adapter. Running a strip that draws more power than the adapter can safely supply will cause the adapter to overheat, flicker, or fail.
Once you have verified these specifications, connect the strip to the controller, plug the power adapter into the wall, and turn the system on. Cycle through all the available colors, test the dimming functions, and let the lights run for a few minutes. Check the entire length of the strip for any flickering, dim spots, or dead LEDs. If you notice any issues, disconnect the power immediately and check your connections. Additionally, gently touch the power adapter after a few minutes of operation; it should feel warm, but if it feels excessively hot, unplug it immediately and consult the manufacturer or a qualified professional.
Step 5: Final Adjustments and Cable Management
A truly professional installation is defined by how well the wires are hidden. Loose, dangling cords not only ruin the clean aesthetic of your condo but also present a physical hazard, especially in compact living spaces where they can easily be snagged by pets, vacuum cleaners, or passing foot traffic.
Begin by securing the receiver controller and excess power cables. Use adhesive-backed cable clips to mount the controller to the underside of cabinets, behind furniture, or along the back edge of your TV console. If you have a significant amount of slack in your power cord, bundle it neatly using hook-and-loop cable ties rather than plastic zip ties, which can pinch and damage the cable insulation if pulled too tight.
For exposed walls where the power cord must run down to a baseboard outlet, use paint-safe adhesive cable raceways. These plastic channels mount directly to your wall and feature a removable cover, allowing you to tuck the wire inside for a highly polished, built-in appearance. Many of these raceways can be painted to match your condo’s wall color perfectly.
During this final stage, perform a thorough physical inspection of the entire installation. Ensure there are no tight bends or pinched wires where the strip passes through cabinet gaps or behind furniture. Check that the light distribution is completely even and that no hot spots or dark shadows are visible. Finally, inspect the adhesive bond along the entire run; if you notice any lifting or peeling, apply a mounting clip or a small piece of removable mounting tape immediately to secure the section before it sags further.
Advanced Tips for a Professional Condo Lighting Setup
If you want to take your condo lighting design to the next level, a few advanced techniques can help you transition from a basic DIY look to a seamless, high-end architectural installation.
Using Aluminum Channels for Diffusion
One common aesthetic complaint about bare LED strips is the “dot” effect, where individual, bright LED diodes are visible, creating a harsh, dotted pattern on nearby surfaces. To eliminate this and achieve a smooth, continuous neon-like glow, install your strips inside aluminum channels equipped with frosted plastic diffuser covers.
Beyond their aesthetic benefits, aluminum channels serve an important functional purpose: they act as highly effective heat sinks. LEDs generate heat during operation, and in warm tropical climates, this heat can build up and degrade the light-emitting diodes over time. The aluminum housing draws heat away from the strip, significantly prolonging the lifespan of your lights. To keep this setup rental-friendly, you can mount these lightweight aluminum channels to your walls or cabinets using heavy-duty, clean-removal double-sided mounting tape instead of screws.
Handling Corners and Adding Smart Controls
Navigating complex layouts and integrating modern automation can dramatically improve how you interact with your lighting on a daily basis, all without altering your condo’s permanent electrical wiring.
- Dedicated Corner Connectors: Always use dedicated L-shaped, T-shaped, or flexible extension connectors when routing lights around sharp corners. Forcing a strip to bend at a sharp angle puts physical stress on the solder joints and copper traces, which can lead to intermittent connection failures over time.
- Smart Home Integration: Instead of relying on basic infrared remote controls that require a direct line of sight, choose LED kits that feature Wi-Fi or Bluetooth controllers. Alternatively, you can plug a standard LED power adapter into a smart plug. This allows you to integrate your ambient lighting with smart home ecosystems like Google Home or Amazon Alexa, enabling voice control, automated schedules, and remote operation via your smartphone.
Frequently Asked Questions (FAQ)
Can I install LED strip lights on a popcorn or textured ceiling?
Standard pressure-sensitive adhesives require a flat, smooth surface to form a secure bond. On textured or popcorn ceilings, the adhesive only makes contact with the high points of the texture, resulting in a very weak hold that will inevitably fail. To install LED strips on a textured ceiling in a rental condo, do not apply the adhesive directly to the ceiling. Instead, mount lightweight aluminum channels using heavy-duty, removable mounting tape designed specifically for textured surfaces, or secure them using small, easily patchable ceiling anchors. Always check your condo’s tenant guidelines before installing any hardware into the ceiling.
Will removing LED strip lights peel off my condo's wall paint?
If you apply the factory adhesive backing of a cheap LED strip directly to a wall painted with flat, matte, or poorly primed latex paint, there is a high risk of peeling the paint during removal. To prevent this, always use paint-safe, clean-removal double-sided tapes or the painter’s tape method from day one. If you must remove a strip that was adhered directly to the wall, do not rip it off dry. Use a handheld hairdryer on a low-warm setting to gently heat the strip, which softens the adhesive backing. Once warmed, slide a piece of dental floss or a plastic putty knife behind the strip to gently slice through the softened adhesive bond, minimizing the risk of paint damage.
Do I need an electrician to install LED strip lights in my condo?
For standard plug-and-play LED strip light kits that plug directly into an existing wall outlet, you do not need an electrician. These systems operate on low voltage and are completely safe for DIY installation. However, if your lighting plan involves hardwiring the LED driver directly into a ceiling junction box, routing cables behind drywall, installing new in-wall dimmer switches, or making any alterations to your condo’s permanent electrical wiring, you must hire a licensed professional. Any modification to the fixed electrical system must comply with the Philippine Electrical Code and your condo association’s safety guidelines to prevent fire hazards and avoid costly penalties.
Community discussion
Share your experience or ask a question. Comments are reviewed before publication.