
Installing a striplight led in a condo is one of the most effective ways to elevate your living space, add depth, and create a modern, sophisticated ambiance. Whether you want to illuminate a dark kitchen counter, highlight a cove ceiling, or add a soft glow behind your television, these flexible lighting systems offer incredible versatility. However, condo living introduces unique challenges, from strict property management guidelines to high tropical humidity that can compromise adhesive backings.
Achieving a clean, professional look requires more than simply sticking the lights to the wall and plugging them in. You must carefully plan your layout, select compatible components, prepare the mounting surfaces, and execute the installation safely. By following a structured approach, you can enjoy beautiful accent lighting that enhances your home’s aesthetic without risking damage to your walls or violating your building’s rules.
Planning Your Condo LED Strip Light Layout
Before purchasing any materials, you must assess your condo’s layout to determine the best locations for your accent lighting. Popular spots include cove ceilings in the living room, which bounce light off the ceiling to create a spacious feel, and the undersides of kitchen cabinets, which provide essential task lighting. You can also mount strips behind bed headboards, along baseboards in dark hallways, or behind media consoles to reduce eye strain during late-night movie sessions.
Products mentioned in this guide
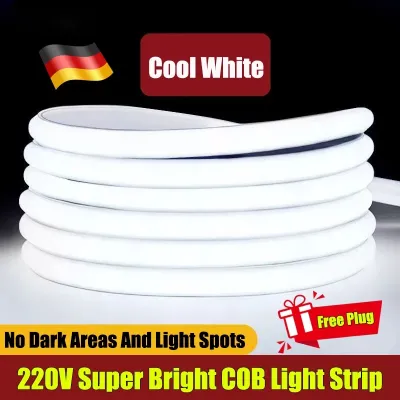

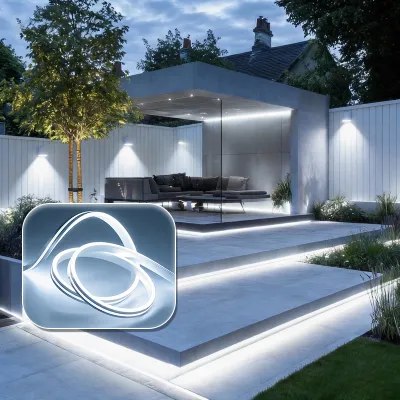
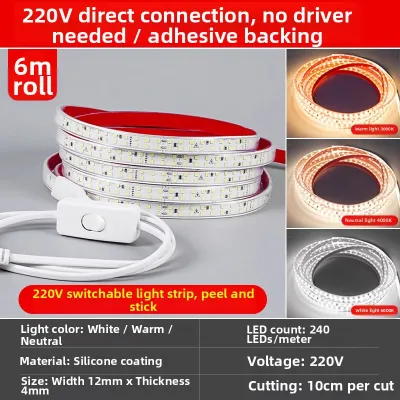
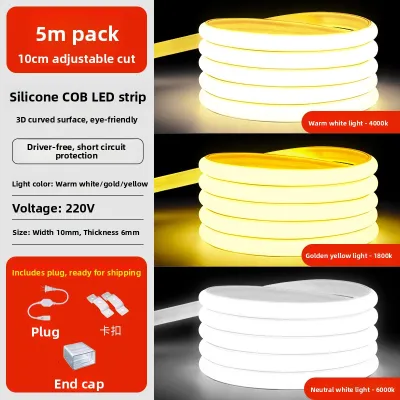
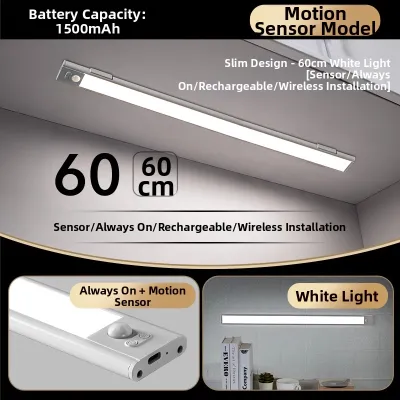
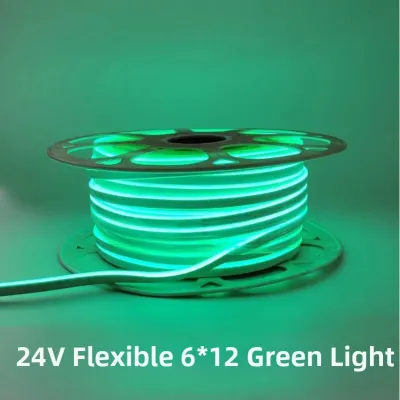
Prices are valid at publication and may change. Please refer to the product page for the latest price.
Once you have identified your target areas, use a measuring tape to determine the exact linear length of the strips required. Always add a small margin of about 5% to 10% to your total measurement to account for corners, vertical drops, or minor routing adjustments. Measuring accurately prevents the frustration of running short mid-installation or buying excess material that must be discarded.
Living in a condominium in the Philippines means operating within the rules of your Property Management Office (PMO). Many buildings have strict regulations regarding structural modifications, drilling into concrete walls, or altering the unit’s fixed electrical wiring. If you are renting, these rules are even more critical to safeguard your security deposit. For these environments, plug-in, adhesive-backed, or surface-mounted aluminum channel systems are the ideal choice because they are completely reversible and do not require permanent alterations to the structure.
Finally, locate your nearest available power outlets and plan how you will route the cables. Running loose wires across high-traffic walkways is a tripping hazard and ruins the clean aesthetic of your installation. Plan to route your power cables discreetly along baseboards, behind furniture, or inside slim, paintable cable raceways to keep them hidden from view.
Tools and Materials You Will Need
Having the right tools and materials on hand before you begin ensures a smooth, uninterrupted installation process. Collect these essential items to complete your project safely and effectively.

First, secure your core lighting components:
- LED Strip Lights: Select a high-quality striplight led that matches your desired brightness and color temperature.
- Compatible Power Adapter: This transformer converts your condo's AC power to the low-voltage DC power required by the strip. Look for power adapters that carry recognized safety certifications, such as the Philippine Standard (PS) mark or Import Commodity Clearance (ICC) sticker, to ensure they have undergone safety testing.
- Controller: Necessary if you are using color-changing (RGB) strips, dimmable lights, or smart-home integrated systems.
Next, gather your preparation and installation tools:
- Measuring Tape: For precise layout planning and cutting.
- Rubbing Alcohol (70% Isopropyl or Ethyl): Essential for cleaning surfaces to ensure proper adhesive bonding.
- Lint-Free Microfiber Cloth: To wipe down surfaces without leaving fibers behind.
- Sharp Scissors: For cutting the LED strip at designated points.
Consider these highly recommended accessories for a professional finish:
- Aluminum Mounting Channels with Frosted Diffusers: These channels protect the LED strip from dust and moisture, dissipate heat to prolong the lifespan of the chips, and diffuse the light to eliminate harsh, visible dots.
- Adhesive Cable Clips: For securing loose power cords neatly.
- Heavy-Duty Double-Sided Acrylic Tape: Provides extra holding power, especially in humid tropical climates where standard factory adhesives might fail over time.
Before starting, verify that all electrical components are fully compatible. Check the voltage rating of both the LED strip and the power adapter (usually 12V or 24V DC) to ensure they match perfectly. Additionally, make sure the connectors match the width and pin configuration of your strip.
Step-by-Step Installation Process
Step 1: Prepare and Clean the Surface
The tropical climate and high humidity levels in the Philippines can severely impact the longevity of adhesive backings. Dust, grease, and moisture form a barrier that prevents the adhesive from bonding securely, causing the strip to sag or peel off within weeks. Therefore, thorough surface preparation is a critical first step.
Dampen your lint-free microfiber cloth with 70% rubbing alcohol and wipe the installation surface thoroughly. Whether you are mounting the lights on painted drywall, wood cabinets, or metal frames, this step removes invisible oils, grease, and construction dust. Avoid using household glass cleaners or multi-purpose sprays, as they often leave behind a thin residue that interferes with the adhesive.
Allow the surface to dry completely, which typically takes about five to ten minutes in a well-ventilated room. Do not attempt to install the strip on a damp surface. If your condo has textured walls, highly porous concrete, or freshly painted surfaces (which must cure for at least two to four weeks), the adhesive will not hold. In these scenarios, you should mount the strip inside an aluminum channel secured with small mounting clips or screws.
Step 2: Test the Lights Before Mounting
One of the most common installation mistakes is mounting the entire LED strip only to discover a defect after the adhesive has been applied. Testing your lights beforehand saves time and prevents potential damage to your walls during a return or replacement process.
Unroll the entire LED strip from its plastic reel. Do not leave the strip coiled on the reel while plugged in for more than a few seconds, as the concentrated heat can damage the delicate LED chips. Connect the strip to your controller and power adapter, then plug the adapter into a wall outlet.
Cycle through all available colors, adjust the dimming levels, and test any dynamic modes using your remote or smart app. Inspect the entire length of the strip to ensure that every single LED chip lights up consistently and matches in color. Once you verify that everything functions perfectly, unplug the system from the wall before proceeding to the physical installation.
Step 3: Cut and Peel the Adhesive Backing
Customizing the length of your LED strip requires precision. LED strips consist of delicate copper circuitry, meaning you cannot cut them at random points. Doing so will permanently sever the electrical path and ruin the remaining section of the strip.
Locate the designated cut lines on your strip. These are clearly marked at regular intervals with copper solder pads, often accompanied by a small scissor icon. Using a pair of sharp household scissors, cut cleanly and directly down the center of these copper pads. This leaves enough copper on both sides of the cut if you need to use solderless connectors later.
When you are ready to mount the strip, do not peel off the entire adhesive backing at once. Doing so makes the flexible strip incredibly difficult to handle, exposing it to dust or causing it to stick to itself. Instead, peel back only about 10 to 15 centimeters of the backing at a time as you work your way along the installation path.
Step 4: Mount the Strip and Secure the Wiring
Carefully align the start of the LED strip with your planned starting point. Press the strip firmly against the cleaned surface, applying steady, even pressure with your thumb or fingers for at least 10 to 15 seconds. This pressure activates the pressure-sensitive adhesive, ensuring a strong, long-lasting bond.
Navigating corners requires gentle handling. Bending an LED strip at a sharp 90-degree angle can crack the internal copper traces and cause the lights beyond the bend to fail. To make a clean turn, check your manufacturer’s instructions to see if gentle loops are permitted. Alternatively, use solderless L-shaped corner connectors, which allow you to join two separate pieces of strip light around a corner safely.
After mounting the strip, address the remaining power cables. Use adhesive-backed cable clips or slim plastic surface-mounted raceways (often called wire ducts or molding in local hardware stores) to guide the power cord neatly down the wall or along the baseboard to the outlet. Ensure that your power adapter and controller are placed in a well-ventilated area. Never allow these components to rest on soft furnishings, mattresses, or behind thick curtains where heat cannot escape, as this poses a serious fire hazard.
Connecting to Power and Setting Up Controls
The final phase of your installation involves connecting your system to the electrical supply and configuring your control preferences. Safety should remain your top priority during this step.
Always verify that your power adapter’s input rating matches the standard electrical supply of your condo. In the Philippines, the standard household voltage is 220V AC at 60Hz. Never attempt to plug a low-voltage DC LED strip directly into a wall outlet without its designated power adapter. Doing so will instantly destroy the strip, ruin your controller, and present an immediate risk of electrical fire or shock.
Connect the output cable of the power adapter to your controller, and then connect the controller to the LED strip. Pay close attention to the alignment pins; most connectors feature a small arrow or a positive (+) sign that must align perfectly with the corresponding mark on the strip. Forcing a connection backward can short-circuit the controller or cause the colors to display incorrectly.
If you are installing a smart LED system, download the manufacturer’s official application on your smartphone. Ensure your mobile device is connected to a compatible Wi-Fi network—most smart home controllers operate exclusively on the 2.4 GHz frequency band rather than the faster 5 GHz band. Follow the step-by-step pairing prompts within the app to connect your lights, set up voice control, or configure automated schedules.
To maintain safety and performance, avoid daisy-chaining multiple high-wattage LED strips together on a single power adapter unless the adapter’s wattage rating explicitly supports the total load. As a general rule, the total wattage of your connected strips should not exceed 80% of your power adapter’s maximum capacity. Running too many strips in a single continuous line causes “voltage drop,” which results in the lights at the far end of the run appearing dimmer or shifting in color. If you need to power a long run, use a split power cable to feed electricity from both ends of the strip, or install separate power adapters for different sections.
Troubleshooting Common Installation Issues
Even with careful planning, you may encounter minor issues after completing your installation. Most of these common problems can be diagnosed and resolved quickly with a few simple checks.
- Adhesive Peeling: If your LED strip begins to sag or peel, high tropical humidity, surface dust, or textured paint is usually the culprit. To fix this, clean the affected area again with rubbing alcohol. Apply a high-quality, double-sided acrylic foam tape to the back of the peeling section, or transition the strip into lightweight aluminum mounting channels secured with mounting clips.
- Flickering or Dimming at the End: This is a classic sign of voltage drop or an underpowered adapter. Verify that your power supply has sufficient wattage to handle the length of the strip. If the capacity is correct but the end of the run is still dim, you may need to inject power at both ends of the strip or split the run into shorter sections powered by separate adapters.
- Section Not Lighting Up: If a specific segment of your strip fails to illuminate, it usually indicates a broken circuit or a loose connection. Check the cut points nearest to the unlit section. If you used solderless connectors, open the clip and ensure the metal pins are making direct, firm contact with the copper pads on the strip.
- Remote or App Not Responding: If your physical remote control fails, replace the battery and ensure the line of sight to the infrared (IR) receiver is completely unobstructed. For smart app issues, verify that your home router is broadcasting a stable 2.4 GHz signal, ensure the controller is within range of your Wi-Fi router, and try restarting the pairing process within the app.
Frequently Asked Questions (FAQ)
Can I install LED strip lights on a rented condo ceiling without damaging the paint?
Yes, you can install LED strips in a rental unit without risking your security deposit, but you should avoid sticking the factory adhesive directly to painted drywall. Strong adhesives can easily tear off flat or poorly primed paint when removed. Instead, mount your LED strips inside lightweight aluminum channels and secure the channels using damage-free, removable adhesive strips designed for hanging pictures. Alternatively, you can use small, easily patchable finishing nails to hold the channels in place. Always test a small, hidden area of your wall or ceiling first to see how the paint reacts to adhesives.
Do LED strip lights consume a lot of electricity?
No, LED strip lights are exceptionally energy-efficient compared to traditional incandescent or halogen lighting. To determine your exact electricity consumption, check the manufacturer’s technical specifications for the wattage per meter (such as 4.8W/m or 9.6W/m). Multiply this value by the total length of the strip you have installed. For example, a standard 5-meter strip rated at 4.8W per meter consumes only 24 watts at maximum brightness, which has a negligible impact on your monthly utility bill even with daily use.
Community discussion
Share your experience or ask a question. Comments are reviewed before publication.