
Transforming a compact condo into a cozy, stylish sanctuary often relies on clever lighting design. If you want to elevate your living space without undergoing major renovations, installing flexible led strip bulbs—frequently searched by DIY enthusiasts as led bulbs strip—is one of the most effective upgrades you can make. These versatile light sources can outline architectural features, provide functional task lighting, and create a relaxing evening ambiance.
However, installing them in a condo requires a careful balance of aesthetic planning, electrical safety, and damage prevention to protect your security deposit. By following a structured, step-by-step approach, you can achieve a professional-looking installation that stands up to tropical humidity and complies with building rules.
Tools and Materials Needed for Condo Installation
Before beginning your project, gather all the necessary components and preparation tools to ensure a smooth, uninterrupted workflow. Having the right materials on hand prevents mid-installation delays and ensures the setup remains secure over time.
Products mentioned in this guide
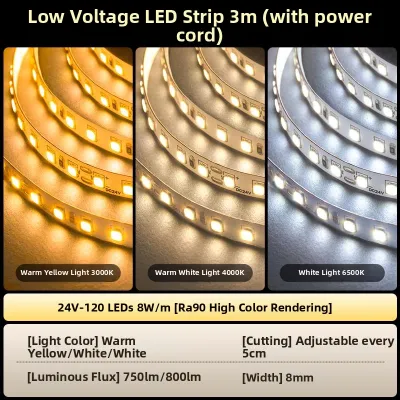
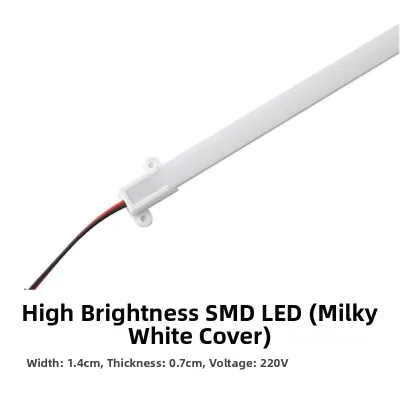
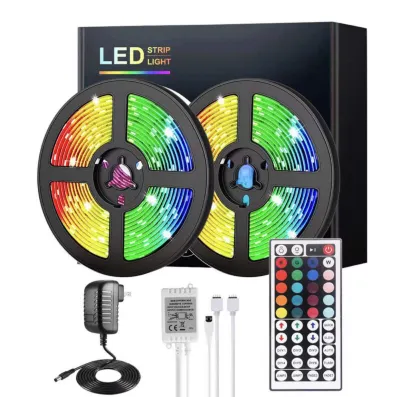
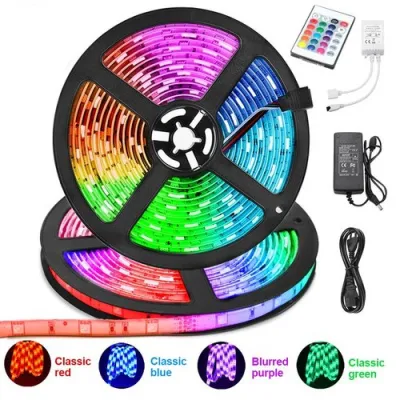
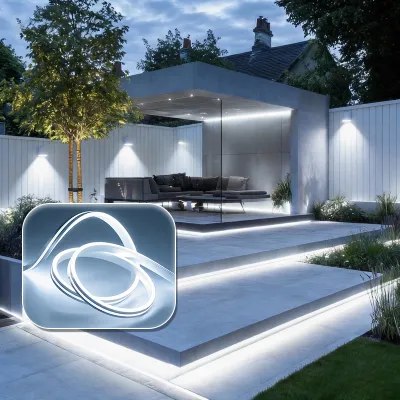

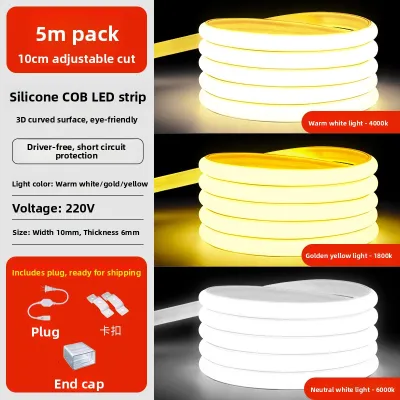
Prices are valid at publication and may change. Please refer to the product page for the latest price.
- LED Strip Lights: Select a high-quality reel of led strip bulbs. For indoor condo spaces, standard flexible strips are ideal, but you must choose between moisture-resistant options (IP65) for kitchens or bathrooms and non-waterproof options (IP20) for dry living areas.
- Power Adapter and Controller: Ensure the power adapter is rated for the Philippine standard of 220V AC at 60Hz. Look for safety certifications such as the Philippine Standard (PS) mark or Import Commodity Clearance (ICC) sticker on the packaging to verify electrical safety and prevent short circuits.
- Cleaning Supplies: Isopropyl rubbing alcohol (70% concentration) and a clean microfiber cloth are essential for removing dust and oils from the mounting surface.
- Measuring and Cutting Tools: A reliable metal measuring tape and a pair of sharp household scissors are required to measure the installation area and cut the strips to size.
- Condo-Specific Mounting Aids: Heavy-duty, double-sided acrylic mounting tape and clear adhesive cable clips will help secure the strip and manage wires without drilling into walls.
- Access Equipment: A sturdy step ladder is necessary if you are installing the lights along high ceiling coves or upper cabinets.
Step 1: Plan the Layout and Measure the Area
Proper planning is the secret to a clean, professional-looking lighting installation. Taking the time to map out your layout prevents material shortages, awkward cuts, and visible wire clutter that can ruin the visual appeal of your condo.

Start by identifying your primary installation zone. Common areas in modern condos include ceiling cove light pockets, behind the television to create bias lighting, under kitchen wall cabinets for task lighting, or along bed headboards for a warm glow. Once you have chosen the zone, use your measuring tape to record the exact linear distance of the run. Add a ten percent margin to your total measurement to account for minor routing adjustments and connector spacing.
Next, plan how you will navigate corners. Bending or folding an LED strip at a sharp 90-degree angle can pinch and permanently damage the delicate copper circuitry inside. To make clean turns around corners, plan to use solderless L-shaped corner connectors. These small plastic clips allow you to join two cut pieces of strip light at a perfect right angle without putting physical stress on the circuit board.
Finally, locate the nearest standard wall outlet to plan your wire routing. The power adapter cable must be long enough to reach the outlet comfortably without being stretched tight. Avoid running power cables across high-traffic floor areas where they present a tripping hazard, and never rely on daisy-chained extension cords, which can overload and pose a fire risk in multi-unit residential buildings.
Step 2: Prepare the Surface for Maximum Adhesion
In the Philippines, tropical humidity and ambient heat present unique challenges for adhesive backings. Standard pressure-sensitive adhesives often degrade quickly in warm, humid environments, causing the strip lights to sag or peel away from the wall within a few weeks.
To prevent this, you must thoroughly clean the target surface. Wipe the entire installation path with a microfiber cloth dampened with 70% isopropyl rubbing alcohol. Avoid using typical household glass cleaners, multi-surface sprays, or soapy water, as these products leave behind a thin chemical residue that prevents the adhesive from bonding properly. Allow the alcohol to air-dry completely, which usually takes only a few minutes in a well-ventilated room.
Assess the condition of the mounting surface before proceeding. Do not install adhesive strips directly onto freshly painted walls; paint requires at least 30 days to fully cure, and applying adhesive too early will cause the paint to peel off when the strip is eventually removed. Similarly, avoid applying strips to flaky paint, damp plaster, or heavily textured concrete surfaces, as the adhesive will fail to establish a continuous bond.
If your condo is heavily air-conditioned, the walls may feel cold and hold microscopic condensation. To combat this, run a hairdryer on a low-heat setting over the installation path for a few seconds just before mounting the lights. Warming the surface slightly helps the pressure-sensitive adhesive flow into the microscopic pores of the wall, creating a significantly stronger initial bond.
Step 3: Mount the LED Strip Lights
With your surface prepared and your layout planned, you are ready to physically mount the led bulbs strip. Working slowly and methodically during this step ensures a straight, secure installation that looks neat even when the lights are turned off.
Begin by peeling back only about 10 to 15 centimeters of the adhesive backing paper at a time. Align the starting end of the strip with your planned path, and press it firmly onto the surface. Use your thumb or a soft cloth to apply steady, even pressure along the top of the strip for at least 15 seconds. This pressure activates the adhesive bond. Gradually work your way down the line, peeling and pressing as you go, rather than removing the entire backing paper at once and risking the strip sticking to itself or gathering dust.
When you reach the end of your run, you will likely need to trim the strip to fit. Locate the designated cut lines on the strip, which are clearly marked with copper pads and a small scissor icon. It is critical that you only cut directly down the center of these copper pads. Cutting anywhere else along the strip will break the electrical circuit, rendering the entire remaining section of that segment useless.
To navigate vertical drops or ceiling installations where gravity works against the adhesive, reinforce the setup. Space clear plastic mounting clips or small pieces of heavy-duty double-sided acrylic tape every 30 to 50 centimeters. These extra supports relieve the tension on the stock adhesive, ensuring the strip remains perfectly in place even during the hot, humid summer months.
Step 4: Connect the Power and Manage Cables
Once the physical mounting is complete, you must safely connect the electrical components and organize the wiring. Proper cable management not only improves the appearance of your condo but also ensures compliance with building safety standards.
Begin by connecting the end of the LED strip to the receiver controller, and then plug the controller into the 220V power adapter. Always plug the power adapter directly into a standard wall outlet or a high-quality surge protector. Under no circumstances should you attempt to hardwire the strip lights directly into your condo’s ceiling junction boxes or existing light switches. Hardwiring without a licensed electrician violates most condominium administration policies, voids product warranties, and poses severe electrical shock and fire hazards.
Next, focus on concealing the wiring and the power brick. You can mount the power brick to the underside of a shelf or behind furniture using removable hook-and-loop hanging strips. To hide the trailing wires, use self-adhesive plastic cable raceways or paintable cable channels. Run these channels along your baseboards, door frames, or cabinet edges to completely encase the wires and create a seamless, integrated look.
Ensure that the power adapter is placed in a well-ventilated area. Power bricks naturally generate heat while converting voltage, so they should never be stuffed inside tight, unventilated cabinets, placed under cushions, or covered by curtains. Allowing free air circulation around the adapter prevents overheating and extends the lifespan of your lighting system.
Step 5: Test the Lights and Troubleshoot
Before you consider the project finished, conduct a thorough operational test. Powering on the system allows you to verify that all connections are secure and that the lighting effect is uniform across the entire installation path.
Turn on the power and use your remote control or smartphone application to cycle through all available colors, color temperatures, and brightness levels. If you are using RGB strips, pay close attention to the primary colors (red, green, and blue) to ensure there are no dead LED chips or color mismatches along the run. For warm white strips, check that the brightness is consistent from the beginning of the strip to the very end.
If you encounter issues during your test, use this quick troubleshooting guide to identify and resolve the problem:
- Dark Sections: If a specific segment of the strip fails to light up, check the nearest solderless connector. Ensure the metal pins inside the connector are perfectly aligned and making direct contact with the copper pads on the strip. If the strip was cut slightly off-center, the connection may fail.
- Flickering or Dimming: If the lights flicker or grow progressively dimmer toward the end of the run, you may be experiencing a voltage drop. This occurs when the total length of the connected strips exceeds the power capacity of the adapter. Verify that your power adapter's wattage output is at least 20% higher than the total wattage requirement of your LED strips.
- Lifting Adhesive: If you notice any portion of the strip beginning to sag or lift immediately after installation, do not wait for it to fall. Reinforce the loose section immediately with a small piece of clear, heavy-duty mounting tape or an adhesive cable clip to prevent the weight of the falling strip from pulling the paint off the wall.
Damage-Free Alternatives for Condo Renters
Living in a rented condo often means operating under strict lease agreements that prohibit permanent modifications. If you want to enjoy ambient lighting without risking your security deposit over peeled paint or wall damage, several temporary installation methods are highly effective.
One of the best alternatives is using lightweight aluminum mounting channels. These slim metal tracks house the LED strips and come with plastic diffusers that soften the light, eliminating the harsh “dotted” look of bare LEDs. Instead of sticking the channels directly to the wall with permanent adhesive, you can mount them using removable, damage-free hanging strips. These strips hold substantial weight and can be pulled off cleanly without leaving residue or tearing the drywall paper.
When it is time to move out of your condo, removing the LED strips safely requires patience. Never rip the strip off the wall in a single, fast motion, as this will almost certainly tear the paint and plaster underneath. Instead, use a hairdryer set to low-to-medium heat to gently warm a 30-centimeter section of the strip for about 15 seconds. The heat softens the adhesive backing, making it pliable.
Slowly peel the strip back at a sharp 45-degree angle, keeping your hand close to the wall as you pull. If any sticky adhesive residue remains on the surface, do not scrub it with harsh abrasive pads. Apply a small amount of eucalyptus oil, baby oil, or a specialized mild adhesive remover to a microfiber cloth, let it sit on the residue for a minute, and then gently wipe it away. Always check your building’s specific tenant guidelines before starting, ensuring your temporary lighting setup remains completely compliant.
Frequently Asked Questions (FAQ)
Can I install LED strips on a textured condo ceiling?
Standard adhesive backings on LED strips will not hold on textured surfaces like popcorn or rough plaster ceilings because the uneven texture limits the contact area. To install them securely, you should mount the strips inside lightweight aluminum mounting channels. These channels can be attached to the ceiling using specialized heavy-duty mounting tape designed for uneven surfaces, or secured with small, low-profile screws that can be easily patched with a dab of joint compound when you move out.
Will LED strips significantly increase my electricity bill?
LED strip lights are highly energy-efficient and will have a negligible impact on your monthly electricity bill. A standard five-meter LED strip typically consumes between 24 and 36 watts of power at full brightness. If you run a 30-watt strip for five hours every evening, it consumes approximately 0.15 kilowatt-hours (kWh) per day. Based on typical Meralco residential electricity rates in the Philippines, this translates to an estimated cost of less than ₱2.00 per day, making it an incredibly cost-effective way to add premium ambient lighting to your home.
How do I safely remove LED strips without peeling the paint?
To remove LED strips without damaging your wall paint, use a hairdryer to apply gentle heat directly to the adhesive backing. Start at one end, warming a small section at a time to soften the glue. Slowly peel the strip away from the wall at a 45-degree angle, pulling parallel to the surface rather than straight outward. If any sticky residue is left behind, clean it gently using a microfiber cloth dampened with a mild adhesive remover or eucalyptus oil, avoiding harsh chemical solvents that could dissolve or discolor the wall paint.
Community discussion
Share your experience or ask a question. Comments are reviewed before publication.