
Installing LED strip lights is one of the most accessible ways to upgrade the ambiance of a condominium unit. Whether you want to highlight a cove ceiling, add under-cabinet lighting in the kitchen, or create a cozy backlight behind your television, these flexible light sources offer a highly customizable solution. However, condo living introduces specific challenges, such as concrete walls that resist nails, high tropical humidity that can weaken standard adhesives, and strict building association rules regarding electrical modifications. By planning your layout, verifying electrical compatibility, and using damage-free mounting techniques, you can achieve a clean, professional-looking installation entirely on your own. This guide walks you through the complete process from preparation to final testing, ensuring a safe and durable setup.
Tools and Compatibility Checks Before You Start
Before unboxing your LED strips, gathering the right tools and verifying technical specifications will prevent installation delays and safety hazards.
For a basic installation, you will need a measuring tape, a clean microfiber cloth, 70% isopropyl alcohol, and sharp household scissors. If you plan to make turns or join multiple strips, keep solderless LED strip connectors on hand. To keep the installation neat, prepare cable management clips or plastic trunking.
Products mentioned in this guide
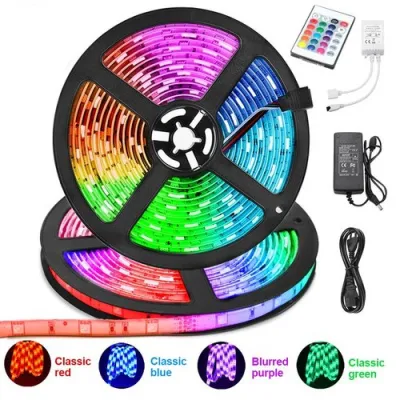
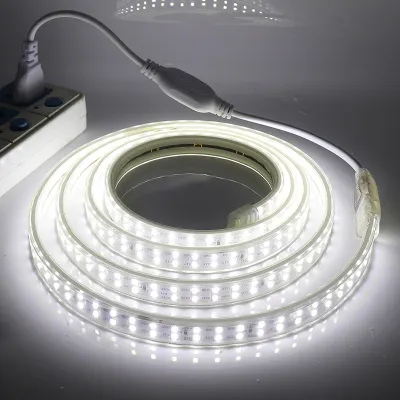
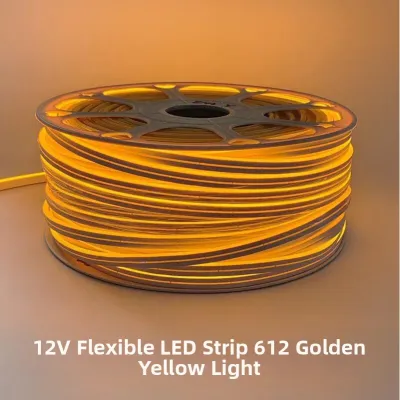
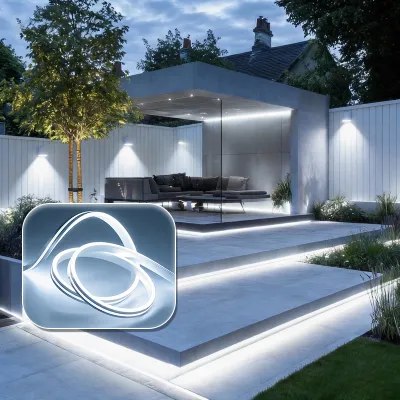
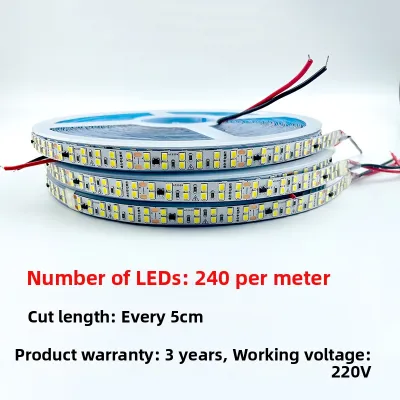
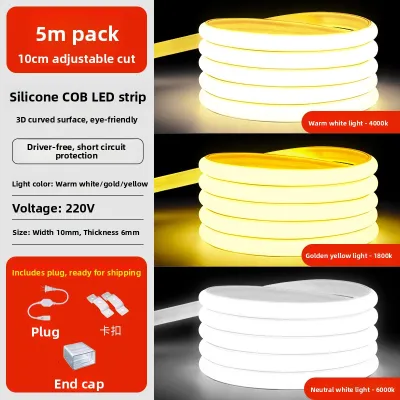

Prices are valid at publication and may change. Please refer to the product page for the latest price.
Electrical compatibility is critical for safety. Check the input voltage rating on the LED power adapter. In the Philippines, standard wall outlets supply 220V AC at 60Hz. Ensure the power adapter is rated for this input, typically labeled as “Input: 100-240V ~ 50/60Hz.” The adapter steps this down to a safe operating voltage for the strip, usually 12V or 24V DC. Never connect a low-voltage LED strip directly to a wall outlet without its designated adapter.
Next, calculate the wattage capacity. Check the wattage rating of both the LED strip (often listed as watts per meter) and the power supply. To prevent overheating, the total wattage of your connected LED strips should not exceed 80% of the power supply’s maximum capacity. For example, if a strip consumes 8 watts per meter and you install a 5-meter run, the total power draw is 40 watts. Your power adapter should be rated for at least 50 watts (40 divided by 0.8) to run safely.
Finally, verify the ingress protection (IP) rating of your strips. For dry indoor areas like bedrooms or living room coves, standard IP20-rated strips are sufficient. For damp environments like kitchen backsplashes or bathrooms where tropical humidity and steam accumulate, select strips rated IP65 or higher, which feature a protective silicone coating. Always look for recognized safety certification marks on the power adapter to ensure the device has undergone standard safety testing.
Step 1: Plan the Layout and Prepare the Surface
A successful installation relies heavily on meticulous planning and surface preparation. Start by measuring the exact dimensions of the installation area, such as the underside of kitchen cabinets or the inner ledge of a cove ceiling. Keep in mind that LED strips have specific cutting intervals, usually every 2.5 to 10 centimeters. Round your measurements down to the nearest cut line rather than stretching or folding the strip to fit.

Next, identify the location of the nearest standard wall outlet. Plan the path from the end of the LED strip to the outlet, ensuring the power adapter cable can reach without being under tension. If the outlet is far, you may need to budget for low-voltage extension cables rather than running high-voltage extension cords across the floor, which creates a tripping hazard.
Once the layout is planned, prepare the mounting surface. In tropical climates, airborne dust, grease, and high humidity form a thin film on walls and cabinets that severely compromises adhesive backing. Wipe the entire mounting path thoroughly with a microfiber cloth dampened with isopropyl alcohol. Avoid using household glass cleaners or multi-surface sprays, as they often leave behind a slick residue that prevents the adhesive from bonding. Allow the surface to dry completely for at least ten minutes before proceeding.
Step 2: Mount and Cut the LED Strip Lights
With the surface clean and dry, you can begin mounting the lights. Peel back a small section of the adhesive backing—about 30 centimeters at a time—to prevent the exposed adhesive from collecting dust or sticking to itself. Align the strip carefully with your planned path and press down firmly with your thumb. Apply consistent pressure for at least 10 to 15 seconds on each section to activate the pressure-sensitive adhesive.
If your planned run is shorter than the full length of the reel, you must cut the strip to size. Locate the designated cut lines, which are clearly marked with copper solder pads and often a small scissor icon. Only cut directly along these lines. Cutting anywhere else will sever the internal circuitry, rendering the entire section between the previous and next cut points completely non-functional. Use sharp scissors to ensure a clean, straight cut that does not bend the copper contacts.
While the pre-applied adhesive backing works well on smooth, non-porous surfaces like laminated cabinets or glass, it often struggles on textured concrete walls or painted drywall, especially when subjected to tropical heat and humidity. For long-term durability, consider installing the strips inside aluminum LED channels. These lightweight tracks screw or clip into place, providing a flat surface for the adhesive, acting as a heat sink to prolong the lifespan of the LEDs, and holding a frosted diffuser lens that softens the light. Alternatively, you can reinforce sagging sections with small, plastic mounting clips designed for LED strips.
Step 3: Connect the Power and Manage Cables
Once the strips are physically mounted, it is time to establish the electrical connections. If you cut the strip and need to connect it to another section or to the controller, slide the cut end into a solderless LED connector. Ensure the positive and negative markings on the strip align correctly with the corresponding markings on the connector and the adjacent strip. Misaligning these polarities will prevent the lights from turning on, though it generally will not damage the low-voltage strip if corrected quickly.
Connect the strip to the controller receiver, and then plug the controller into the power adapter. For safety and compliance with condo rental agreements, always plug the power adapter directly into a standard, unmodified wall outlet.
Always ensure the power adapter is unplugged from the wall while cutting, connecting, or handling the exposed wiring of the LED strips. Do not attempt to splice the power adapter into your condo’s internal wall wiring, modify light switches, or hardwire the system directly into a junction box yourself. If your lighting design requires integration into existing wall switches, hardwiring behind drywall, installation in wet zones (like inside a shower enclosure), or working at heights that require scaffolding, stop and hire a licensed electrician.
To complete this step, manage the visible cables. Use self-adhesive plastic trunking (also known as cable raceways) to conceal the wires running down concrete walls or along baseboards. This not only protects the cables from accidental damage but also maintains a clean, professional aesthetic that blends into your condo’s interior.
Step 4: Test the Lights and Finalize the Setup
With all connections secure, plug the power adapter into the wall outlet and turn on the system. Use the remote control or the designated smart home application to cycle through all available colors, adjust the brightness levels, and test any dynamic transition modes.
During this initial testing phase, perform a physical inspection of the entire run. Look closely for any dark spots, which indicate a damaged LED or a poor connection at a joint. Gently wiggle the connectors to ensure they do not cause the lights to flicker. Additionally, let the lights run at full brightness for about 15 minutes and carefully feel the power adapter and the strip itself. They should feel warm to the touch, but never hot. If any component feels excessively hot, unplug the system immediately and check for short circuits or an overloaded power supply.
Finally, evaluate the visual effect of the lighting. If you installed the strips under cabinets or behind a television and notice harsh, dotted reflections on glossy countertops or polished tile floors, the direct light may be too intense. You can mitigate this glare by adjusting the angle of the strip slightly away from the reflective surface or by installing a frosted diffuser cover over the aluminum channels to scatter the light evenly.
Troubleshooting Common Setup Issues
Even with careful installation, minor issues can arise. Knowing how to diagnose them systematically will save you time and frustration.
If a specific section of your LED strip fails to light up while the rest of the strip functions normally, the issue is almost certainly located at the joint or cut line immediately preceding the dark section. Unplug the power, open the solderless connector, and verify that the metal pins are making direct contact with the copper pads on the strip. Ensure that the strip was cut cleanly and that the positive and negative polarities are not reversed.
If the entire strip begins to sag or peel away from the surface, do not rely on standard household tape to fix it. Clean the area again to ensure no grease remains. You can apply a high-quality, heat-resistant double-sided mounting tape designed for acrylic or polyurethane surfaces to the back of the sagging section. For concrete walls common in high-rise condos, mechanical fasteners like small screw-in mounting clips or lightweight aluminum tracks are a reliable long-term solution.
If your remote control or smart app fails to pair with the controller, first check the line-of-sight requirements. Infrared remotes require a clear path to the receiver sensor, whereas Radio Frequency remotes do not. For smart controllers, ensure your condo’s Wi-Fi router is broadcasting a 2.4GHz signal, as most smart LED controllers do not support 5GHz networks. Verify that your mobile device is connected to the same network during the initial pairing process.
Frequently Asked Questions (FAQ)
Can I install LED strip lights in a rented condo without losing my deposit?
Yes, you can install LED strip lights in a rental unit without risking your security deposit by using damage-free mounting strategies. Avoid sticking the pre-applied adhesive directly onto painted drywall or wallpaper, as removing it later can tear the paint or paper. Instead, apply a layer of low-tack painter’s tape to the wall first, and then stick the LED strip’s adhesive onto the painter’s tape. When it is time to move out, use a hair dryer on a low-heat setting to warm and soften the adhesive before slowly peeling it away. Alternatively, you can mount the strips onto lightweight wooden dowels or tension rods that wedge into place without any adhesive touching the walls.
Do LED strip lights consume a lot of electricity?
LED strip lights are highly energy-efficient compared to traditional incandescent or fluorescent fixtures. To determine the exact energy consumption, locate the wattage specification on your power adapter’s label. For example, if your setup uses a 24-watt power adapter and you run the lights for 5 hours a day, the daily consumption is 120 watt-hours (0.12 kilowatt-hours). Over a 30-day month, this totals 3.6 kilowatt-hours. You can multiply this monthly consumption by your local utility provider’s per-kilowatt-hour rate to estimate the exact impact on your monthly electricity bill, which is typically very minimal.
Community discussion
Share your experience or ask a question. Comments are reviewed before publication.