
Installing a strip light led for ceiling is an effective way to elevate the ambiance of your living room, bedroom, or condo unit. Whether you want to create a cozy warm glow or a vibrant modern look, mounting these flexible lights on your ceiling is a highly manageable DIY project. The key to a successful, long-lasting installation lies in thorough surface preparation, correct electrical planning, and selecting the right mounting method for your specific ceiling type.
By following a structured, step-by-step approach, you can avoid common pitfalls such as peeling adhesive, flickering lights, or overloaded circuits. This guide walks you through the entire process, from initial safety checks and material selection to the physical installation and troubleshooting, ensuring a clean and professional-looking finish.
Preparation and Safety Checks Before You Start
Before purchasing materials or climbing a ladder, you must evaluate your ceiling’s surface material. Many homes and condos in the Philippines feature painted gypsum board, concrete slabs, or acoustic ceiling tiles. Standard adhesive backing bonds exceptionally well to smooth, non-porous painted surfaces, but it will quickly fail on textured plaster, bare concrete, or powdery surfaces. Identifying your ceiling type early allows you to decide whether you can rely on the strip’s adhesive or if you need to install mechanical fasteners or aluminum mounting channels.
Products mentioned in this guide
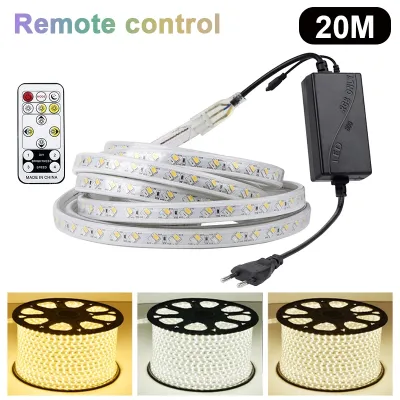
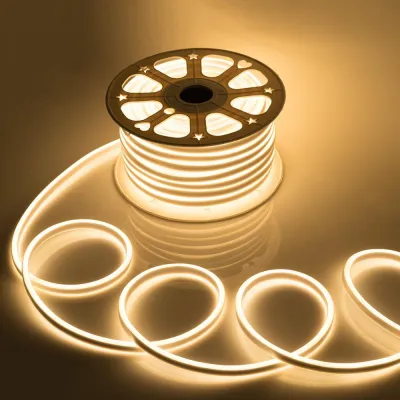
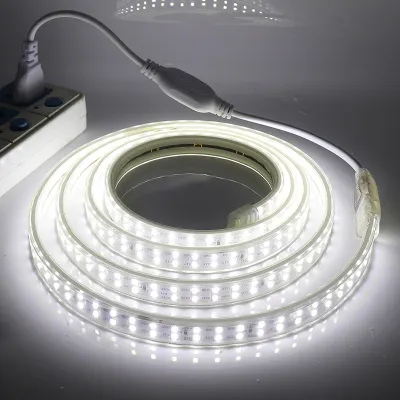
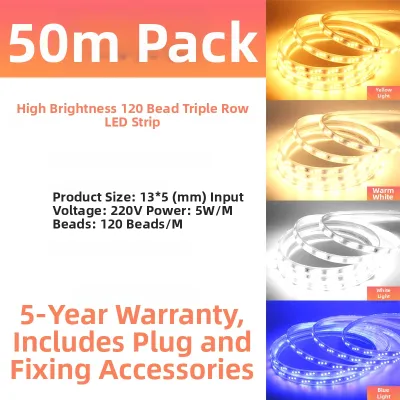
Prices are valid at publication and may change. Please refer to the product page for the latest price.
Electrical safety is the most critical boundary of any lighting project. Low-voltage LED strips—typically operating at 12V or 24V DC—are completely safe to handle during installation. However, they must connect to a power supply that plugs into your home’s 220V AC mains power. If your project involves hardwiring the power supply directly into an existing ceiling junction box, modifying your home’s electrical circuits, or installing new in-wall dimmer switches, you must isolate the power by turning off the main circuit breaker. Any fixed electrical wiring work must be performed by a qualified licensed electrician to ensure compliance with the Philippine Electrical Code (PEC) and to eliminate fire hazards.
Careful layout planning prevents aesthetic and functional issues later. Use a measuring tape to map out the exact path of your LED strips, noting where the run begins and ends. Identify the nearest electrical outlet or junction box, and plan how you will route the cables to keep them hidden from view. If you are installing cove lighting, make sure there is sufficient space within the molding to conceal both the LED controller and the power adapter while still allowing adequate airflow around the components.
Essential Tools and Materials for the Job
Having the correct tools and materials on hand ensures a smooth installation process without unnecessary interruptions. Gather the following core components and tools before you begin:

- LED Strip Lights: Choose a high-quality strip light led for ceiling. Select a color temperature that suits your space, such as a warm 3000K for relaxing bedrooms or a bright 6500K daylight for functional areas. Ensure the product carries local safety certifications or recognized international equivalents.
- Compatible Power Supply (LED Driver): The driver must convert your local 220V AC mains power to the correct DC voltage (either 12V or 24V) required by your LED strip. To prevent overheating and premature failure, calculate the total wattage of your strip run and select a power supply that provides at least 20% more wattage than the strip's maximum draw.
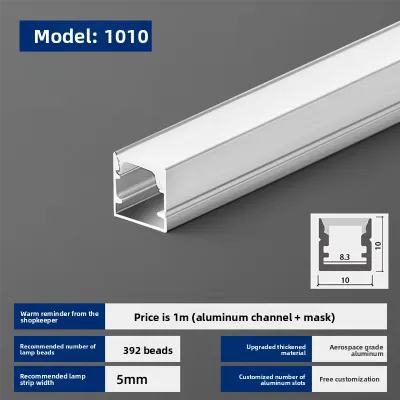
- Aluminum Channels and Diffuser Covers (Optional): These metal tracks act as a heatsink to dissipate heat, extending the lifespan of the LEDs. The frosted plastic diffusers also blend the individual light dots into a smooth, continuous bar of light.
- Cleaning Supplies: Isopropyl alcohol (70% concentration is ideal) and lint-free microfiber cloths are necessary to prep the mounting surface.
- Installation Tools: A sturdy step ladder, a measuring tape, sharp utility scissors, a pencil, and cable management clips or double-sided mounting tape for reinforcing connection points.
Step-by-Step Ceiling Installation Process
Working at height requires patience and a methodical approach. Always place your step ladder on a flat, stable surface, and never overreach while standing on the steps. If you are installing long runs of LED strips along a high ceiling, work with a partner who can support the weight of the strip to prevent it from pulling down and tearing the adhesive before it is properly secured.
Step 1: Measure, Plan, and Prepare the Surface
Begin by measuring the exact perimeter of the ceiling area where the lights will be installed. Use these measurements to determine the total length of the LED strips you need to cut, adding a small five percent margin to accommodate corners and connection cables. Mark the path lightly with a pencil if you are installing the strip on an open ceiling surface without a natural guide like crown molding.
Clean the mounting surface thoroughly to ensure a permanent bond. In tropical climates, airborne dust, cooking grease, and high humidity create a thin, oily film on ceilings. Dampen a lint-free cloth with isopropyl alcohol and wipe down the entire installation path. Allow the surface to dry completely for at least 15 minutes. Skipping this step is the single most common cause of adhesive failure, leading to sagging strips within a few weeks.
Step 2: Cut and Pre-Test the LED Strips
Unroll the LED strip completely from its plastic spool before turning it on. Leaving the strip tightly wound while connected to power causes heat to build up rapidly, which can permanently damage the plastic backing and degrade the light-emitting diodes.
Locate the designated cut lines on the strip, which are clearly marked with copper pads, solder joints, or small scissor icons. Cut only along these specified lines using sharp utility scissors. Cutting the strip anywhere else will sever the internal copper traces, rendering that entire section of the strip permanently non-functional.
Perform a comprehensive pre-installation test. Connect the cut LED strips to the controller and the power supply, then plug the system into an outlet. Cycle through the colors, test the dimming functions, and verify that every single diode lights up correctly. It is much easier to exchange a defective strip or fix a loose connection while the components are still on your work table rather than after they are mounted on the ceiling.
Step 3: Mount the Strips or Aluminum Channels
If you are using the direct adhesion method, peel back about 30 centimeters of the adhesive liner from the start of the LED strip. Align the strip with your pencil line or cove molding, and press it firmly against the ceiling. Apply steady pressure with your fingers along the strip for 10 to 15 seconds to fully activate the pressure-sensitive adhesive. Continue peeling and pressing in small, manageable sections to prevent the strip from twisting or sticking to itself.
If you are using aluminum channels, mount the metal tracks to the ceiling first. Secure them using appropriate drywall anchors and screws for gypsum ceilings, or concrete screws for solid concrete slabs. Once the channels are firmly in place, peel off the adhesive backing from the LED strip, press the strip flat inside the channel, and snap the frosted plastic diffuser cover over the top.
When navigating 90-degree corners, do not force the flexible strip into a sharp bend, as this can crack the delicate internal copper circuitry. Instead, use solderless L-shaped corner connectors to bridge the gap. If the manufacturer’s instructions permit, you can also make a gentle, rounded loop with the strip at the corner, ensuring no electrical components are pinched or stressed.
Step 4: Connect Power and Conceal Wiring
Connect the output wires of your mounted LED strip to the receiver or controller, ensuring that the positive (+) and negative (-) terminals align perfectly. Next, connect the controller to the low-voltage output side of your power adapter. Double-check all physical connections to ensure they are tight and secure.
Conceal the wiring and the power adapter to maintain a clean, professional aesthetic. In drop ceilings or cove installations, place the power brick flat inside the cove, securing any loose wires with adhesive cable clips. If you are mounting the lights on a flat ceiling without molding, use paintable plastic cable raceways along the corners of the walls to hide the power cord running down to your wall outlet.
Ensure the power adapter is positioned in a well-ventilated area. Power supplies generate moderate heat during operation. Never bury the power brick under ceiling insulation, wrap it in plastic, or seal it inside a tight, unventilated ceiling cavity. Restricting airflow can cause the unit to overheat, shortening its operational life and creating a serious fire hazard.
Troubleshooting Common Adhesion and Lighting Issues
Even with careful installation, you may encounter minor issues. Knowing how to diagnose and resolve these problems quickly will keep your ceiling lights looking and performing their best.
- Adhesive Failure: In warm, humid environments, standard adhesive backing can lose its grip over time. If your LED strip begins to sag or peel, do not use standard household tape. Instead, install small plastic mounting clips secured with screws every 50 centimeters, or apply a thin bead of clear, neutral-cure silicone adhesive along the back of the strip. Alternatively, high-strength acrylic double-sided foam tape can provide a permanent bond on painted surfaces.
- Partial Illumination or Flickering: If only a portion of your ceiling strip lights up or if the lights flicker, check the connection points. Solderless clip-on connectors can lose contact if the strip is pulled or if the copper pads are not perfectly aligned. If the brightness fades significantly toward the end of a long run, you are experiencing voltage drop. Ensure you do not exceed the manufacturer's recommended maximum run length (typically 5 meters for 12V strips and 10 meters for 24V strips). For longer installations, you must run a parallel power wire from the driver to the far end of the strip to inject power from both sides.
- Color Inconsistencies: If you select a specific color on your controller but a section of the strip displays a different hue, the RGB or RGBW pins are misaligned. Turn off the power and check the connection joints. Ensure that the small arrows printed on the connectors point toward each other and that the corresponding color channels (R, G, B, and V+) align perfectly across the joint.
Long-Term Maintenance and Safety Inspections
To keep your ceiling lights operating safely and looking bright, perform routine maintenance at least twice a year. Dust accumulation on open LED strips acts as an insulating blanket, trapping heat and reducing the overall brightness of the diodes. Use a dry, clean microfiber cloth or a static duster to gently wipe the strips or the plastic diffuser covers of your aluminum channels. Never use harsh chemical sprays, liquid glass cleaners, or dripping wet cloths, as moisture can penetrate the circuit board and cause short circuits.
Conduct periodic safety inspections of the entire system. Inspect the power adapter for any signs of physical wear, discoloration, or warping caused by heat. Feel the adapter while the lights have been running for an hour; it should be warm to the touch but never hot enough to cause discomfort. If you smell a burning odor, hear a buzzing sound, or notice persistent flickering that troubleshooting cannot resolve, disconnect the power immediately. Replace the failing power supply with a certified unit of identical voltage and equal or higher wattage capacity.
Frequently Asked Questions (FAQ)
Can I install LED strip lights on a textured or popcorn ceiling?
Standard adhesive backing will not stick reliably to textured, porous, or crumbling surfaces like popcorn ceilings or rough plaster. The uneven surface prevents the adhesive from making full contact, leading to immediate peeling. To install a strip light led for ceiling on a textured surface, you must use aluminum channels secured with screws and wall anchors, or use heavy-duty mounting clips designed to hold the strip mechanically. This ensures a straight, secure installation that will not sag.
Do I need a licensed electrician for ceiling LED installations?
If you are using a standard plug-and-play LED kit that plugs directly into an existing wall outlet, you do not need a licensed electrician; these low-voltage systems are safe and simple for DIY installation. However, if your project involves hardwiring the LED driver directly into your home’s 220V AC electrical junction boxes, routing cables behind drywall or through attic spaces, or installing a dedicated in-wall dimmer switch, you must hire a licensed electrician. This ensures the installation complies with national safety codes, avoids electrical fire risks, and preserves your home’s electrical warranty.
Community discussion
Share your experience or ask a question. Comments are reviewed before publication.