
Installing LED strip lights on your ceiling is an excellent way to elevate your home’s ambiance, especially in modern condominium units where space is premium and lighting defines the mood. Achieving a clean, professional-looking installation requires a systematic approach that prioritizes surface preparation, secure mounting, and neat cable management.
By planning your layout around your room’s existing power outlets and selecting the right mounting accessories, you can transform your ceiling into a seamless source of warm, indirect light.
The key to a successful DIY project lies in understanding your ceiling’s material and the electrical requirements of your chosen lighting kit. While standard plug-and-play kits make this project highly accessible, taking the time to measure twice, clean the mounting path thoroughly, and use proper cable-hiding techniques will prevent common pitfalls like sagging strips or exposed, messy wires.
Products mentioned in this guide
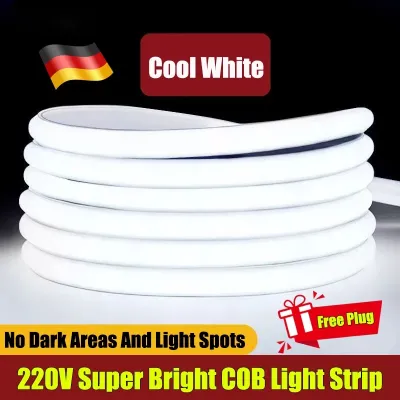
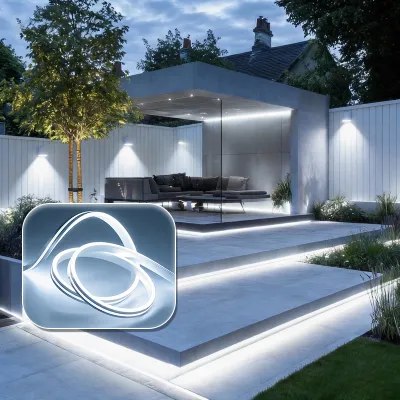
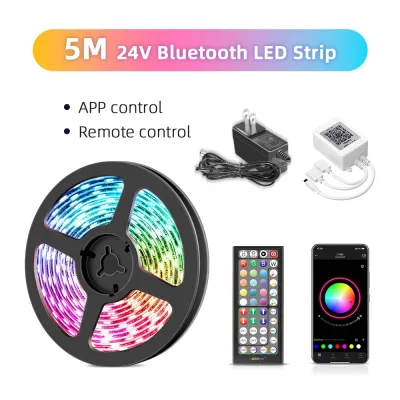
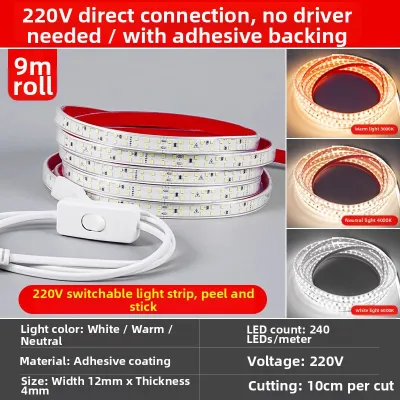
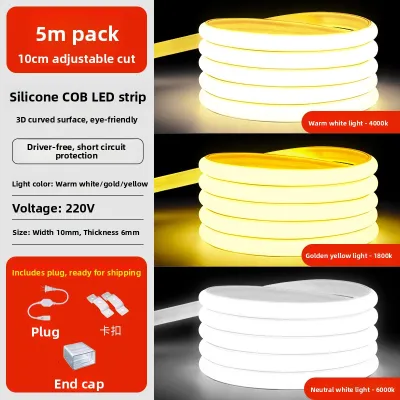

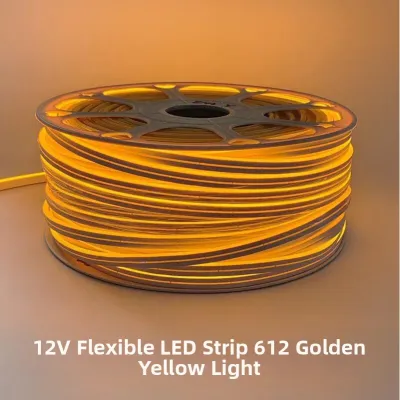
Prices are valid at publication and may change. Please refer to the product page for the latest price.
Pre-Installation Safety and Planning
Before purchasing any materials or climbing a ladder, you must evaluate your ceiling environment and establish clear safety boundaries. Ceiling surfaces in tropical climates like the Philippines are often subjected to high humidity, which can severely compromise standard adhesive backings over time.
Inspect whether your ceiling is smooth concrete, painted drywall, textured plaster, or fitted with wooden crown moldings, as this directly dictates your mounting strategy. Smooth, glossy painted surfaces generally accept adhesive tape well, whereas textured or matte-painted ceilings will require mechanical support or specialized mounting tracks.
Electrical safety must be your absolute priority throughout this installation. If you plan to connect your LED driver to an existing light fixture or hardwire it directly into your home’s electrical system, you must turn off the power at the main circuit breaker first. Use a reliable non-contact voltage tester to verify that the wires are completely dead before touching any electrical connections.
Next, map out your physical layout by identifying the nearest power outlet and planning the path of the strip. Keep in mind that LED drivers and controllers need adequate ventilation to prevent overheating, so they should not be sealed in tight, unventilated ceiling cavities.
If your layout requires routing cables through walls, modifying existing junction boxes, or handling high-load circuits, stop the DIY process immediately. Consult a licensed electrician to ensure compliance with local electrical codes and safety standards.
Essential Tools and Materials Checklist
Having the correct tools on hand before you begin ensures a smooth, uninterrupted installation process. For the core lighting components, you will need a high-quality LED strip light kit, an appropriately rated power supply matching the voltage of your strip (typically 12V or 24V), and a compatible controller or receiver.

To ensure the physical installation remains secure and visually appealing, gather your mounting aids. Aluminum channels with frosted diffuser covers are highly recommended for ceilings, as they protect the strips from dust and humidity while eliminating harsh, visible ‘dots’ of light.
If you are not using channels, ensure you have heavy-duty, heat-resistant double-sided mounting tape or mechanical mounting clips designed for overhead use. These help prevent the strip from peeling due to gravity and ambient heat.
Finally, prepare your installation and wiring tools. You will need high-purity rubbing alcohol and clean microfiber cloths to prep the ceiling surface. Keep a pencil, a spirit level, a measuring tape, adhesive cable clips, wire strippers, and a non-contact voltage tester nearby to handle layout marking and cable management safely.
Step-by-Step Ceiling Installation Process
Installing your ceiling LED strips involves a logical progression from preparing the physical surface to mounting the hardware and completing the electrical connections. Rushing any of these stages can lead to peeling adhesive or uneven lighting, so take your time with each phase.
Always keep the manufacturer’s instruction manual close by to verify specific product tolerances, cutting increments, and wiring configurations unique to your specific model. This ensures you do not exceed the recommended wattage limits or damage the delicate circuitry.
Surface Preparation and Layout Marking
A clean surface is the foundation of a long-lasting installation, especially in humid environments where airborne dust and moisture prevent adhesives from bonding. Dampen a microfiber cloth with rubbing alcohol and thoroughly wipe down the entire path where the LED strips or channels will be mounted.
Allow the surface to dry completely before proceeding. Applying adhesive to a damp or dusty ceiling guarantees that the strip will sag or fall within a few weeks.
Once the ceiling is dry, use a pencil and a spirit level to mark your installation path. Drawing a faint, straight guideline ensures your lights run perfectly parallel to your walls, preventing a crooked light pattern that becomes highly noticeable when illuminated.
If you are installing the lights inside a cove or behind crown molding, measure the distance from the wall consistently to maintain uniform light distribution. This helps create a balanced, professional glow.
Before making any cuts or peeling any tape, unroll the LED strip and inspect its design. Locate the designated cutting points, which are typically marked with copper pads or a scissor icon.
Never cut the strip anywhere else, as doing so will permanently damage the internal circuitry. Additionally, check the manufacturer’s specified minimum bending radius to ensure you do not crack the delicate copper traces when navigating corners or tight angles.
Mounting the LED Strips and Channels
If you are using aluminum channels—which is the best practice for a neat, professional finish—install them first. Secure the channels to the ceiling using the provided mounting screws or heavy-duty mounting tape, ensuring they are aligned perfectly with your pencil guidelines.
When applying the LED strip, peel away the adhesive backing gradually, about 30 centimeters at a time. Press the strip firmly against the ceiling surface or into the bottom of the aluminum channel track.
Hold pressure for at least ten seconds on each section to activate the pressure-sensitive adhesive. Avoid pulling or stretching the strip as you apply it, as this can strain the electrical joints and cause premature failure.
For overhead installations, relying solely on adhesive backing can be risky due to gravity and ambient heat. To prevent future sagging, install supplementary mechanical mounting clips or brackets at regular intervals, especially near the ends of the runs and around corners.
If you are using aluminum channels, gently snap the plastic diffuser covers into place over the track once the strip is securely seated. This completes the physical mounting phase.
Wiring, Cable Management, and Power Connection
A professional installation is defined by how well you hide the wiring. Route all power cables along the natural architectural lines of your ceiling, such as inside crown moldings, behind trim, or along the corners of the walls.
Keeping these cables out of direct sightlines preserves the clean aesthetic of your room. Secure any loose or hanging wires using adhesive cable clips or flexible conduit to prevent sagging over time.
Ensure that the cables are not pinched or tightly bent around sharp corners, which could damage the internal insulation. This step is crucial for long-term electrical safety.
Next, connect the LED strip to the controller and the power supply. Double-check that all polarities (positive to positive, negative to negative) and connectors match the manufacturer’s wiring diagram exactly.
For safety, keep your DIY work limited to plug-in setups that connect directly to standard wall outlets. If your project requires hardwiring the power supply into a ceiling junction box or running high-voltage lines behind drywall, always hire a qualified professional to complete this step safely.
Testing and Final Adjustments
With the physical installation and wiring complete, it is time to restore power and test your new lighting system. Turn the power back on at the outlet or breaker and use your remote control, wall switch, or smart home application to cycle through all color options, dimming levels, and pre-programmed modes.
This step verifies that the controller and receiver are communicating correctly with the strip. Carefully inspect the entire length of the installation for any visual inconsistencies.
Look for dark spots, flickering sections, or areas where the light appears uneven. If you notice any lifting or peeling sections of the strip, turn off the power and press down firmly on those areas to secure the bond while the adhesive is still curing.
If you installed aluminum channels, ensure the diffuser covers are snapped securely into place along their entire run. Adjust the diffusers as needed to eliminate any light leaks at the joints, ensuring a seamless, dot-free glow across your ceiling.
Troubleshooting Common Installation Issues
Even with careful planning, you may encounter minor issues during or shortly after your installation. Adhesion failure is the most common problem, particularly on matte ceiling paints or in rooms with high humidity.
If your strip begins to sag, do not attempt to re-stick the failed adhesive. Instead, use mechanical mounting clips or install aluminum channels as a permanent, gravity-defying solution.
Another frequent issue is voltage drop, which presents as noticeable dimming or color shifting toward the far end of a long LED strip run. This occurs when the electrical current weakens as it travels down the strip.
You can resolve this by verifying that your power supply has sufficient wattage capacity for the total length of the run. Alternatively, you can plan secondary power feeds to inject power at both ends of the strip.
If your controller is unresponsive or your smart LED strip refuses to pair with your home Wi-Fi network, consult the manufacturer’s manual for the specific factory reset procedure. Most smart controllers require a sequence of turning the power on and off several times to enter pairing mode.
Ensure your home router is broadcasting a compatible frequency. Many smart lighting controllers require a standard 2.4 GHz Wi-Fi band rather than a 5 GHz band to establish a stable connection.
Frequently Asked Questions (FAQ)
Can I install LED strip lights directly on a textured or popcorn ceiling?
Standard adhesive backing will not hold reliably on textured, porous, or crumbling surfaces like popcorn ceilings. The uneven texture reduces the contact surface area for the adhesive, causing the strip to peel off quickly under its own weight.
To install LED strips safely on a textured ceiling, you must use aluminum mounting channels or mechanical clips secured with screws directly into the ceiling joists or drywall anchors. This provides a flat, secure surface for the lights.
Do I need to hire an electrician to install ceiling LED strip lights?
If you are using a standard plug-and-play LED kit that plugs directly into an existing, accessible wall outlet, you can safely complete the installation yourself. This is a highly manageable DIY project for most homeowners.
However, if your project involves hardwiring the power supply directly into a ceiling junction box, running electrical wires behind your walls, or installing new wall switches, you must hire a licensed electrician. This ensures your installation complies with local electrical codes and prevents serious fire or shock hazards.
Community discussion
Share your experience or ask a question. Comments are reviewed before publication.