
Installing MJJC LED strip lights in a condo is an excellent way to elevate your living space, creating a modern, warm, and customized ambiance. Whether you want to illuminate the underside of your kitchen cabinets, add a soft glow behind your television, or frame your bedroom ceiling, these versatile light strips offer a sleek solution. Because condo living often comes with strict rules regarding structural modifications and wall damage, a non-destructive, step-by-step approach is essential to protect your security deposit while achieving a professional look. By understanding the specific requirements of your lighting kit and preparing your space properly, you can complete this project in a single afternoon.
Pre-Installation Safety and Condo Rules
Before unpacking your MJJC LED strip lights, review your condominium’s house rules or lease agreement. Many condo corporations in the Philippines enforce strict guidelines regarding modifications to walls, ceilings, and electrical systems. Some properties prohibit drilling into concrete walls or making permanent alterations to the electrical wiring. Additionally, check if there are rules regarding visible exterior lighting, as bright or flashing lights visible through windows or on balconies might violate building aesthetics policies.
Electrical safety is another vital consideration. In the Philippines, the standard household electrical supply is typically 220V at 60Hz. Before plugging in your MJJC LED strip lights, inspect the power adapter label to verify that its input voltage range is compatible with this standard. Using an incompatible adapter can damage the controller, shorten the lifespan of the LEDs, or pose a fire hazard. Always use the original power supply provided in your kit or a certified equivalent recommended by the manufacturer.
Products mentioned in this guide
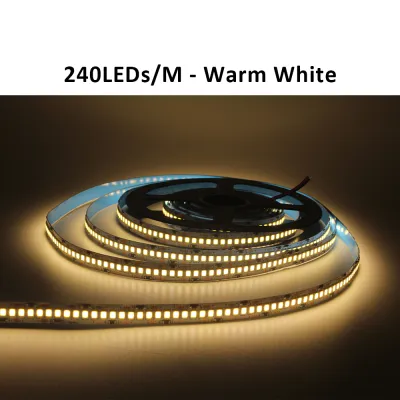
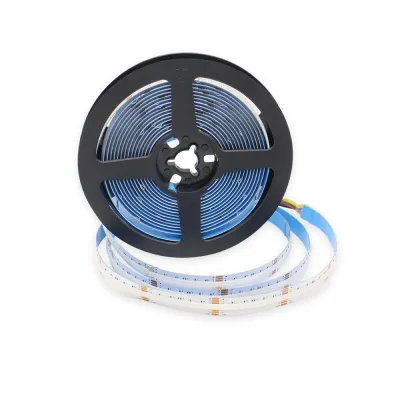
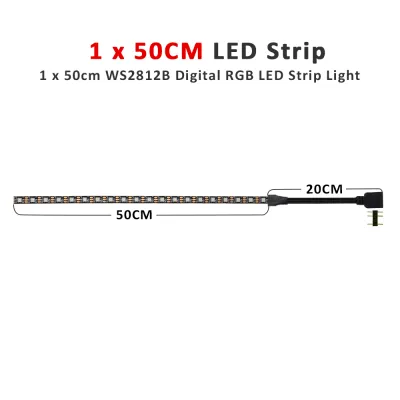
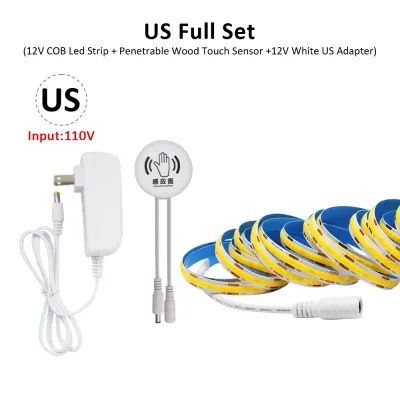
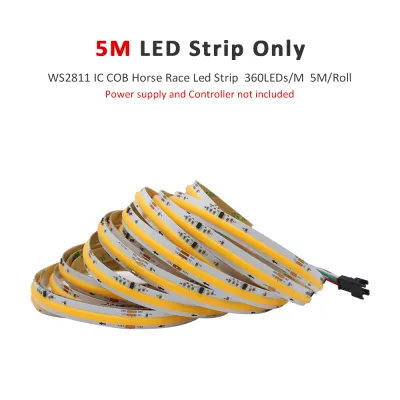
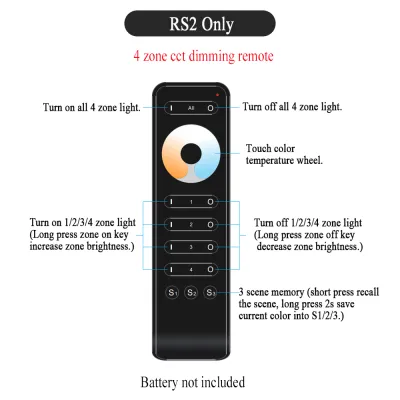
Prices are valid at publication and may change. Please refer to the product page for the latest price.
Finally, establish a clear safety boundary before you begin. If your lighting plan requires hardwiring the system directly into your condo’s ceiling junction boxes or routing cables behind drywall, stop immediately. These tasks require professional expertise to prevent electrical shocks, short circuits, or code violations. If standard plug-in wall adapters cannot reach your desired location, consult a licensed electrician to safely modify your electrical outlets rather than attempting a risky DIY installation.
Tools and Materials Checklist
Gathering all your tools and materials beforehand ensures a smooth installation process without unnecessary interruptions. For a standard installation, you will need a reliable measuring tape to plan your layout and scissors to cut the LED strips to the correct length. A clean microfiber cloth and high-quality rubbing alcohol (preferably 70% isopropyl alcohol) are essential for preparing the mounting surface, ensuring the adhesive bonds securely.

Your primary materials will include the MJJC LED strips, the compatible controller, and the power adapter. Depending on your condo’s wall texture and the local climate, the pre-applied adhesive backing on the strips might need extra support. It is highly recommended to have optional mounting accessories on hand, such as clear silicone mounting clips, small cable ties, or heavy-duty, double-sided mounting tape designed for warm, humid environments. These clips are highly affordable, often costing under ₱150 for a pack of fifty, and can save you from costly wall repairs later.
Keep in mind that specific connector types, wattage requirements, and extension cables depend entirely on the exact MJJC model you purchased. Some models use simple plug-and-play pin connectors, while others might require specialized corner connectors to navigate sharp turns. Check your product packaging or manual to verify if you need to purchase these accessories separately before starting your project.
Step-by-Step Installation Process
Achieving a clean, professional-looking LED installation relies on a systematic approach. The entire process can be broken down into three main phases: layout planning, physical mounting, and electrical connection. Skipping any of these phases or rushing through them can lead to crooked lines, peeling strips, or loose electrical connections that disrupt your ambient lighting.
Planning the Layout and Preparing the Surface
Begin by measuring the exact dimensions of the area where you plan to install the LED strips. Use your measuring tape to map out the path, paying close attention to corners, obstacles, and the distance to the nearest electrical outlet. If the strip is longer than your target area, locate the designated cutting marks on the MJJC LED strip. These are typically marked with a small scissors icon or copper pads; cutting anywhere else will permanently damage the circuit and prevent the remaining sections from lighting up.
Once your layout is planned, focus on preparing the mounting surface. In tropical climates like the Philippines, airborne dust, grease, and high humidity can create a thin barrier on walls and furniture, preventing adhesives from sticking. Pour a small amount of rubbing alcohol onto a microfiber cloth and thoroughly wipe down the entire installation path. Avoid using household surface cleaners, as they often leave behind a slick residue. Allow the surface to dry completely for at least ten minutes before attempting to mount the lights.
Mounting the LED Strips
With a clean, dry surface ready, you can begin mounting the LED strips. Peel back a small section of the adhesive backing—about 10 to 15 centimeters at a time—to prevent the exposed adhesive from collecting dust or sticking to itself. Press the strip firmly against the surface with your thumb, holding it in place for a few seconds to activate the pressure-sensitive adhesive. Work your way slowly along the planned path, keeping the strip straight and taut.
For vertical installations, overhead surfaces, or areas prone to high humidity, the built-in adhesive may eventually sag or peel. To prevent this, install clear plastic mounting clips at regular intervals, especially near the ends of the strip and around corners. These clips provide mechanical support without blocking the light. If you need to navigate a 90-degree corner, do not bend or fold the LED strip tightly, as this can crack the internal copper traces. Instead, use flexible corner connectors or create a gentle, rounded loop that does not stress the material.
Connecting the Power Supply and Controller
Once the physical mounting is complete, it is time to establish the electrical connections. Connect the end of the MJJC LED strip to the receiver controller. Pay close attention to the alignment pins; most connectors have small arrows or positive/negative indicators that must align perfectly. Forcing a connection backward can damage the controller or cause the lights to display incorrect colors.
Next, connect the controller to the power adapter. Plug the power adapter into a standard wall outlet or, preferably, a high-quality surge protector to shield your lighting system from local power fluctuations. Ensure that you do not overload your wall outlet by plugging in too many high-wattage appliances alongside your new lights.
Position the power adapter in a well-ventilated area. LED power supplies can become warm during extended use, and placing them in tight, enclosed spaces behind heavy furniture or under fabrics can lead to overheating. Keeping the adapter exposed to natural airflow helps maintain its efficiency and extends its operational lifespan.
Testing and Final Adjustments
With everything connected, turn on the power supply to test your installation. Inspect the entire length of the strip to ensure all individual LEDs light up consistently. Look closely for any signs of flickering, dead zones, or color mismatches between different sections of the strip. If you notice any issues, turn off the power immediately and double-check that all pin connectors are seated firmly and aligned correctly.
Once you verify that the system is functioning perfectly, use the controller or its companion application to adjust the brightness and color temperature. For a cozy condo living room, a warm white tone at a lower brightness level often works best, while a cooler, brighter setting is ideal for task lighting under kitchen cabinets. Experiment with different settings to see how the light reflects off your walls and furniture.
The final step is cable management. Loose, dangling wires can quickly ruin the aesthetic of an otherwise perfect installation. Use small, adhesive-backed cable clips to secure the power cord and controller against the wall or the underside of your furniture. Routing the cables neatly behind table legs, television stands, or decorative items keeps them completely out of sight, leaving you with a clean, professional, and modern ambient glow.
Condo-Specific Maintenance and Troubleshooting
Maintaining your MJJC LED strip lights ensures they remain bright and functional for years to come. Dust is the primary enemy of exposed LED strips, as a thick layer of dust can insulate the diodes, causing them to run hotter and lose brightness over time. Gently wipe the strips once a month using a dry, clean microfiber cloth. Never use wet cloths, liquid spray cleaners, or harsh chemicals, as moisture can penetrate the protective coating and cause a short circuit.
If your lights begin to malfunction, follow a simple troubleshooting sequence. If the strip refuses to turn on, verify that the wall outlet is active by plugging in another device, and check that the power adapter is securely connected to both the wall and the controller. If the lights flicker or display incorrect colors when touched, the issue is likely a loose pin connection. Power down the system, disconnect the pins, inspect them for dust or bending, and reconnect them firmly.
Eventually, you may need to move out of your condo or change your decor, requiring you to remove the LED strips. To avoid peeling off the wall paint or damaging the drywall—which can lead to costly repair deductions from your security deposit—never pull the strips off dry. Instead, use a handheld hairdryer on a low-heat setting to gently warm the adhesive backing. As the adhesive softens, slowly peel the strip away from the wall at a shallow 45-degree angle. This technique allows the adhesive to release cleanly, leaving your condo walls undamaged.
Frequently Asked Questions (FAQ)
Can I install LED strip lights on textured condo walls?
Standard adhesive backing is designed for smooth, non-porous surfaces and will likely fail on textured, concrete, or plaster walls common in many condos. To install lights on these surfaces, it is best to mount the LED strips inside aluminum LED channels. These lightweight channels can be secured to the wall using small, non-destructive mounting clips or heavy-duty double-sided mounting tape designed specifically for rough surfaces. The aluminum channel also acts as a heat sink, extending the life of your LEDs while providing a clean, diffused light effect.
Will removing the LED strips damage my condo's paint?
Peeling LED strips directly off a painted wall can easily tear the paint and damage the underlying drywall, especially in humid environments where paint bonds can weaken over time. To prevent damage, always apply gentle heat using a hairdryer on a low setting to soften the adhesive before removal. Once the adhesive is warm and pliable, slowly peel the strip back at a 45-degree angle. Any remaining sticky residue can be safely cleaned off using a small amount of adhesive remover or rubbing alcohol on a microfiber cloth.
Community discussion
Share your experience or ask a question. Comments are reviewed before publication.