
Installing a plug-in LED strip light in your condo is one of the most effective ways to elevate your living space without committing to permanent structural changes. Whether you want to add warm ambient lighting behind your television, illuminate dark countertops under kitchen cabinets, or create a modern glow along your bedroom headboard, these flexible fixtures offer an instant upgrade. For condo renters and owners alike, the primary challenge is achieving a professional look while ensuring the installation remains completely reversible and safe for delicate wall finishes.
By choosing a plug-in system rather than a hardwired alternative, you eliminate the need for complex electrical work or drilling into concrete walls. A standard striplight plug connects directly to your existing wall outlets, making the entire setup user-friendly and highly adaptable. To ensure your new lighting system looks seamless and stays securely in place without peeling your paint or damaging your wallpaper, you must follow a methodical approach to preparation, mounting, and cable management.
What You Need for a Damage-Free Installation
Before starting your project, gathering the correct materials is essential for protecting your condo’s walls and ensuring long-term electrical safety. High-quality mounting accessories and surface preparation tools will prevent the LED strips from sagging or falling, which is a common issue in tropical environments.
Products mentioned in this guide
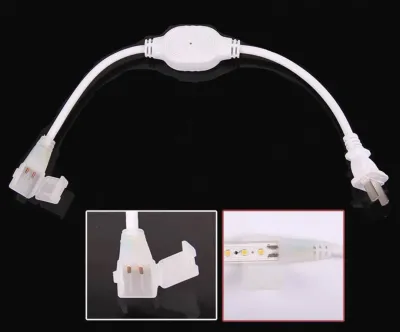
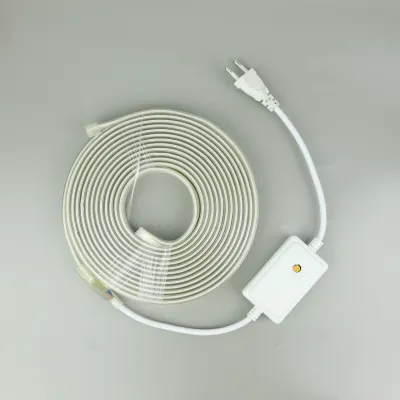
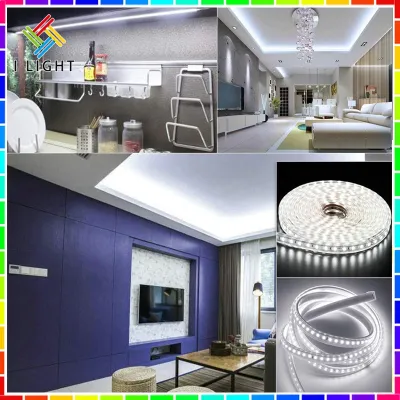
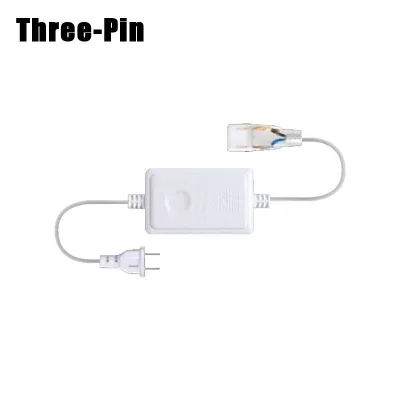
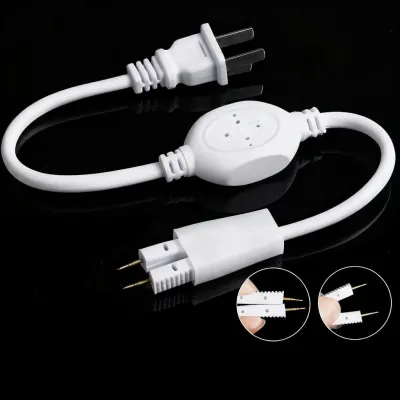
Prices are valid at publication and may change. Please refer to the product page for the latest price.
- Plug-In LED Strip Light Kit: Select a complete kit that includes the LED strip, a compatible controller, and a certified power adapter. Ensure the product label specifies that the kit is rated for indoor use and matches the local voltage of 220V. Look for recognized electrical safety certifications on the power adapter to guarantee it has built-in protection against overcurrent and short circuits.
- Damage-Free Adhesive Cable Clips: These small plastic clips use stretch-release adhesive strips to hold the power cord flat against your walls or baseboards. They allow you to route the wire neatly to the nearest outlet without using nails or screws.
- Paintable Cord Covers (Optional): If you need to run the power cable across a highly visible wall section, a paintable plastic cord cover can hide the wire completely. Choose a version with wall-safe adhesive backing that can be painted to match your wall color.
- 70% Isopropyl Rubbing Alcohol: This is the best agent for cleaning the mounting surface. It removes dust, grease, and finger oils without leaving a residue or stripping away high-quality wall paint.
- Microfiber Cloth: A clean, lint-free cloth is necessary to wipe down the walls and ensure a spotless surface for the adhesive.
- Mild Wall-Safe Adhesive Remover: Keep a gentle adhesive remover on hand to clean up any leftover residue if you need to reposition a clip or remove the strip in the future.
When selecting your LED strip light, pay close attention to the specifications of the power supply. A quality power adapter should match the total wattage of the strip to prevent overheating. Investing in a reliable kit from a reputable specialty lighting store or online marketplace ensures that the components are designed to work together safely, reducing the risk of electrical faults in your unit.
Step-by-Step Guide to Mounting and Connecting Your Striplight
A successful installation relies on careful planning and steady execution. By following these structured steps, you can achieve a neat, flush mount and a secure electrical connection without using specialized tools.

Step 1: Plan the Layout and Check the Power Source
Begin by measuring the exact dimensions of the area where you plan to install the lights. If you are mounting the strip under kitchen cabinets, measure each cabinet segment; if you are placing them behind a TV, measure the perimeter of the screen. Compare these measurements with the length of your LED strip to determine if you will need to cut the strip at the manufacturer-designated cut marks or fold it gently around corners.
Next, locate the nearest wall outlet and verify that it is easily accessible. Ensure this outlet is not already overloaded with high-wattage appliances, such as a refrigerator, microwave, or portable air conditioner. The distance from the start of the LED strip to the outlet must be shorter than the length of the power adapter’s cable. This prevents the wire from being pulled taut, which can strain the connector or pull the striplight plug out of the socket.
Step 2: Prepare the Wall Surface
Adhesive bonds best to clean, dry, and smooth surfaces. Dust, moisture, and airborne cooking grease are the primary reasons why adhesive backings fail, particularly in high-rise units where ventilation can sometimes be limited.
Dampen your microfiber cloth with 70% isopropyl rubbing alcohol and wipe down the entire path where the LED strip and cable clips will be attached. Do not use harsh chemical cleaners, window sprays, or abrasive multi-purpose detergents, as these products often leave behind a thin, slick residue that prevents adhesives from sticking. Allow the cleaned surface to dry completely for at least 10 to 15 minutes before proceeding to the next step.
Step 3: Mount the Strip and Manage the Cables
Gently peel away the protective paper backing from the first 30 to 50 centimeters of the LED strip. Align the strip with your starting point, making sure it is straight and flush against the surface. Press down firmly along the strip with your thumb, applying steady pressure for about 10 seconds on each section to activate the pressure-sensitive adhesive.
Work your way along the planned path, peeling and pressing in small sections. Avoid pulling or stretching the strip as you apply it, as physical tension can damage the delicate internal copper circuitry, leading to premature failure of individual light segments. If you need to navigate a 90-degree corner, do not fold the strip tightly; instead, create a loose, rounded loop or use a solderless corner connector designed for your specific strip width.
Once the strip is mounted, secure the power cable leading to the outlet. Place your damage-free adhesive cable clips every 30 to 40 centimeters along the wall or baseboard. Insert the power wire into the clips, ensuring it hangs naturally without pulling on the end of the LED strip. This step keeps the installation looking professional and prevents anyone from accidentally tripping over a dangling wire.
Step 4: Plug In and Verify the Setup
Connect the end of the LED strip to the controller receiver, ensuring the arrows on the connectors align properly. Next, plug the power adapter into the wall outlet or a high-quality surge protector. Avoid using cheap, unbranded extension cords or multi-plug adapters that lack proper safety ratings.
Turn on the light strip using the provided remote control, inline switch, or paired smartphone application. Walk along the installation path to inspect the lights, checking for uniform brightness and consistent color rendering. Let the lights run continuously for 10 to 15 minutes, then carefully touch the power adapter and the controller. They should feel slightly warm to the touch, which is normal operation, but they must never feel hot, emit a humming sound, or produce a strange odor.
Condo-Specific Safety and Wall Protection Tips
Condo living introduces specific environmental and structural factors that can affect your lighting setup. In the Philippines, the tropical climate and high relative humidity can weaken standard adhesive backings over time. If you notice your LED strip starting to sag or peel away from the wall, do not use permanent glue or nails. Instead, apply a layer of heavy-duty, double-sided mounting tape designed specifically for humid environments, ensuring it is rated for clean removal.
Always review your condominium’s tenant guidelines or lease agreement before installing any semi-permanent fixtures. While plug-in LED strips are generally permitted because they do not require drilling, using the wrong adhesive can still lead to costly paint repairs when you move out. Opting for reputable, brand-name damage-free adhesives is a small investment that can save your security deposit.
Moisture safety is another critical consideration in compact condo layouts. Keep indoor-rated plug-in LED strips away from areas prone to water splashes, such as directly above kitchen sinks, near bathroom showers, or on open-air balconies. If you wish to add accent lighting to these zones, verify that the product label explicitly states a water-resistance rating of IP65 or higher. Additionally, ensure that the power adapter, controller, and striplight plug are kept in a completely dry, covered location.
Finally, manage your electrical load responsibly. Avoid daisy-chaining multiple LED strips together unless the manufacturer’s manual explicitly states it is safe to do so. Connecting too many segments to a single power adapter can overload the transformer, cause a noticeable drop in brightness at the end of the run, or trigger a safety shutdown. If you need to illuminate a large area, use multiple independent power adapters plugged into a high-quality surge protector.
Troubleshooting Common Striplight Plug and Connection Issues
If your LED strip light does not function correctly after installation, you can usually diagnose and resolve the issue with a few simple checks.
- The Strip Fails to Turn On: Start by verifying that the wall outlet is functioning properly. Plug a different device, such as a mobile phone charger or a small desk lamp, into the same outlet to confirm there is active power. Next, ensure that the striplight plug is pushed completely into the outlet and that the connection between the power adapter and the LED controller is tight and secure. If your kit uses a remote control, check that the plastic battery pull-tab has been removed and that the batteries are fresh.
- Flickering or Inconsistent Brightness: Flickering is often caused by a loose connection or an unstable power supply. Check all physical connection points along the cable and ensure the plug is not loose in the wall socket. If the flickering persists, try plugging the adapter into a different circuit in your condo to rule out localized voltage fluctuations.
- Partial Lighting or Dark Sections: If only a portion of your strip lights up, inspect the physical strip for any sharp bends, creases, or visible tears that may have severed the internal copper traces. If you used solderless clip-on connectors to join two segments, open the connector and verify that the metal pins are aligned perfectly with the copper contact pads on the strip.
- Stop Condition: If at any point the power adapter, controller, or the striplight plug emits a burning plastic smell, produces sparks, makes a buzzing noise, or becomes too hot to comfortably hold, unplug it immediately. Discontinue using the product and contact the manufacturer or a qualified electrical professional to inspect the components.
Frequently Asked Questions (FAQ)
Can I connect multiple plug-in LED strips to one outlet?
You can connect multiple plug-in LED strips to a single wall outlet, provided you do not exceed the outlet’s electrical capacity or the manufacturer’s limits. The safest way to do this is by plugging the individual power adapters into a high-quality, surge-protected power strip. Never attempt to physically link or daisy-chain multiple LED strips together onto a single power adapter unless the manufacturer’s instructions explicitly support it, as this can overload the adapter and create a fire hazard.
Will removing the LED strip peel off my condo's paint?
Removing an LED strip will not damage your condo’s paint if you use the correct technique. To remove the strip safely, use a handheld hairdryer on a low-heat setting to gently warm the adhesive backing, which softens the bond. Slowly peel the strip away from the wall at a shallow, 45-degree angle rather than pulling it straight outward. If any sticky residue remains on the wall, apply a small amount of mild, wall-safe adhesive remover to a microfiber cloth and gently wipe the area clean.
Community discussion
Share your experience or ask a question. Comments are reviewed before publication.