
Installing an RGB LED light strip is one of the most effective ways to transform a compact condo into a personalized, atmospheric home. Whether you want to add depth to a tray ceiling, create a cozy backdrop behind your television, or illuminate under-cabinet workspaces, the process is highly accessible. By following a structured approach to surface preparation, precise cutting, secure mounting, and safe electrical connections, you can achieve a seamless, professional-grade lighting setup that respects both your lease agreement and your building’s electrical guidelines.
Preparation: Tools and Condo Electrical Checks
Before unboxing your new lighting kit, gathering the necessary tools and verifying your condo’s physical and electrical parameters will prevent mid-project delays and safety hazards.
For a clean, long-lasting installation, assemble the following basic tools:
Products mentioned in this guide
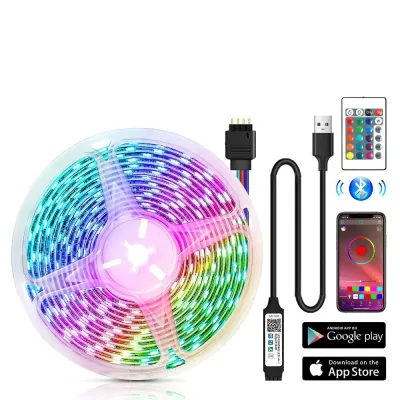
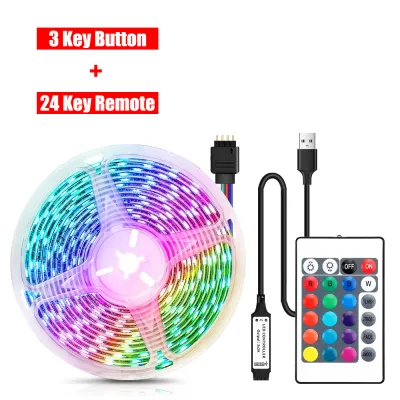
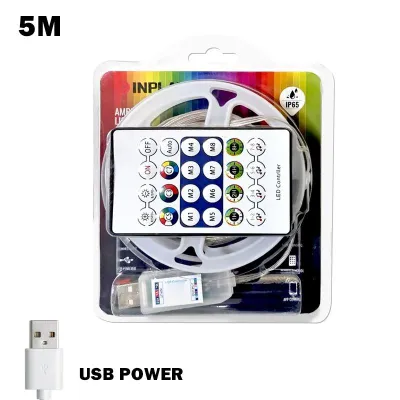
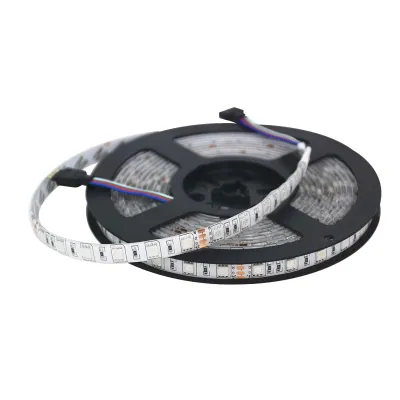
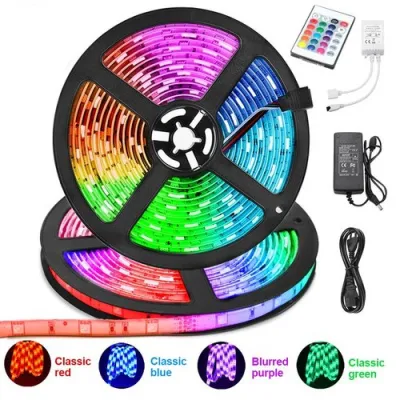
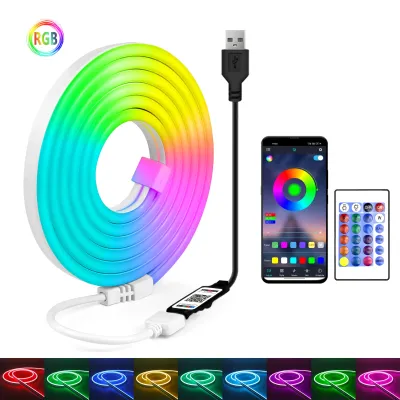
Prices are valid at publication and may change. Please refer to the product page for the latest price.
- Rubbing alcohol (70% isopropyl) and a lint-free microfiber cloth for surface preparation.
- A reliable measuring tape to determine exact run lengths.
- Sharp scissors dedicated to cutting the strip's thin backing material.
- Clear cable management clips or adhesive-backed wire organizers to secure loose cords.
Next, inspect your condo’s electrical environment. In the Philippines, the standard utility power is 220V at 60Hz. Verify that your LED power adapter is explicitly rated for this input voltage to avoid overheating, flickering, or equipment failure. Look for safety certification marks on the adapter’s label, such as the Import Commodity Clearance (ICC) or Philippine Standard (PS) mark, which indicate compliance with local electrical safety regulations.
Finally, review your condominium association’s house rules or your lease agreement. Many properties strictly prohibit permanent modifications, such as drilling into concrete walls or altering built-in cove lighting fixtures. If you are renting, prioritizing non-destructive mounting methods will protect your security deposit and prevent costly repairs when you eventually move out.
Step-by-Step Installation Guide
Installing your RGB LED light strip requires a systematic approach to ensure both aesthetic appeal and long-term durability.

Step 1: Surface Preparation and Cleaning
The primary cause of LED strip failure is adhesive peeling, which almost always stems from poor surface preparation. Dust, cooking grease, and ambient humidity—common in tropical environments like the Philippines—form a microscopic barrier that prevents the self-adhesive backing from bonding securely to the wall or ceiling.
To prepare the installation area, dampen a microfiber cloth with 70% isopropyl rubbing alcohol and thoroughly wipe down the target surface, whether it is a plaster cove ceiling, the plastic back panel of a television, or the wooden underside of kitchen cabinets. Avoid using household glass cleaners or multi-surface sprays, as these often leave behind a thin, waxy residue that degrades adhesive performance.
Allow the cleaned surface to dry completely, which typically takes five to ten minutes depending on your room’s ventilation and humidity levels. Do not attempt to stick the adhesive backing onto freshly painted walls (which should cure for at least 14 to 30 days), damp surfaces, or heavily textured concrete. If your condo walls have a rough finish, standard adhesive backing will not hold, and you will need to utilize supplementary mounting clips or rigid channels.
Step 2: Measuring, Cutting, and Peeling
Accurate measurements prevent unnecessary modifications and ensure a balanced light distribution across your space. Use your measuring tape to map out the exact path of the installation, taking care to note where the strip must turn corners or drop down to reach a power outlet.
Once you have your measurements, roll out the RGB strip and locate the designated cut points. These are clearly marked at regular intervals along the strip, typically indicated by copper solder pads or a small scissor icon.
Warning: You must only cut the strip directly along these marked lines. Cutting anywhere else will sever the internal copper circuitry, permanently disabling the entire segment downstream of the cut.
When you are ready to mount the strip, do not peel off the entire adhesive backing at once. Instead, peel back only three to five inches of the protective paper at the beginning of your run. This allows you to maintain precise control over the alignment and prevents the exposed adhesive from accidentally grabbing onto adjacent surfaces or collecting airborne dust.
Step 3: Adhesive Application and Mounting
With the surface dry and the strip cut to length, begin pressing the LED strip firmly onto the prepared path. Use your thumb or a soft cloth to apply even, moderate pressure along the center of the strip, ensuring there are no air bubbles trapped underneath.
Handling corners requires specialized care. Bending or folding a flexible LED strip at a sharp 90-degree angle can easily crack the delicate internal copper traces, leading to flickering or complete failure of the subsequent sections. To safely navigate corners, use solderless, clip-on corner connectors (such as L-shaped or flexible ribbon connectors) designed specifically for your strip’s width and pin configuration.
In the warm, humid climate of the Philippines, ambient temperatures can soften the pre-applied adhesive over time, especially during overhead installations or long vertical runs where gravity works against the bond. To counteract this, install clear, screw-in mounting clips at 12-inch intervals. Alternatively, mounting the strip inside a dedicated aluminum channel with a frosted diffuser not only acts as a physical support but also dissipates heat, extending the operational lifespan of the LEDs.
Step 4: Connecting the Controller and Power Supply
Once the physical strip is securely mounted, you must establish the electrical connections. For standard four-pin RGB strips, align the connector pins on the strip with the receiving socket on the controller box. Pay close attention to the small directional arrows printed on both connectors; these arrows must point toward each other to ensure correct polarity.
Connect the output of the controller box to the low-voltage power adapter. Before plugging the adapter into the wall, ensure your hands are completely dry and the surrounding area is free of moisture.
Safety Boundary: Never attempt to splice mains wiring, modify the factory-provided power adapter, or hardwire the system directly into your condo’s ceiling junction box yourself. If your design requires a seamless, hardwired integration into your home’s electrical panel or a wall switch, always isolate the power at the circuit breaker and hire a licensed professional electrician to complete the high-voltage connections safely.
Testing and Configuring Your Ambient Setup
With all physical and electrical connections secure, it is time to verify the system’s performance and fine-tune its integration into your living space.
Plug the power adapter into your designated 220V outlet and turn on the main power switch. Use the controller’s remote or the manufacturer’s dedicated smartphone application to run a basic diagnostic test. Cycle through the primary colors—Red, Green, and Blue—individually, followed by a pure white setting. This test allows you to verify that every light-emitting diode is functioning correctly, that the colors are uniform across the entire length, and that there are no loose connection points causing flickering.
If you notice that the far end of a long run appears significantly dimmer or displays a different color than the beginning, you are experiencing a voltage drop. This indicates that the electrical resistance over the distance is too high for the power supply. You can resolve this by feeding power from both ends of the strip or integrating a compatible signal amplifier.
Once functionality is confirmed, pair the system with your smart home setup or mobile app. For the best visual integration in a condo, adjust the brightness levels to complement your existing furniture and natural light. High-intensity, saturated colors work well for accentuating architectural features during evening gatherings, while dimmed, warmer white tones are ideal for relaxing after a long day. Position the strip so that the light source itself remains hidden, allowing only the soft, reflected glow to illuminate your walls or ceilings.
Condo-Specific Tips for Clean and Safe Lighting
Condo living presents unique spatial and structural challenges that require creative solutions to maintain a clean, polished aesthetic.
Exposed wires and bulky power bricks can quickly clutter a small living area. To hide these components, use paintable, adhesive-backed plastic cable management channels to route wires along baseboards or door frames. You can also mount the power brick to the underside of a desk or the back of an entertainment console using heavy-duty hook-and-loop fasteners. If your condo features hollow curtain rods, you can route thin low-voltage wires through them to reach high window valances.
Another common issue in compact spaces is light glare. Highly reflective surfaces—such as polished marble floors, large mirrors, or glossy kitchen backsplashes—can catch the individual, bright points of light from an exposed LED strip, creating an uncomfortable visual distraction. To prevent this, always install your strips inside aluminum channels equipped with frosted or milky diffusers. The diffuser scatters the light, transforming harsh individual dots into a smooth, continuous bar of ambient glow.
If your landlord or condo association strictly prohibits the use of permanent adhesives on painted drywall, avoid using the pre-applied tape directly on the wall. Instead, stick the light strip to a lightweight tension rod placed inside a window frame, or use non-damaging command strips and removable mounting putty designed for temporary installations.
Finally, pay close attention to environmental conditions. If you plan to install accent lighting under a kitchen cabinet near the sink, or along the ceiling of an enclosed indoor balcony prone to condensation, verify that your chosen LED strip has an appropriate Ingress Protection (IP) rating. An IP65-rated strip features a protective silicone coating that resists moisture and splashes, ensuring safe and reliable operation in humid areas.
Frequently Asked Questions (FAQ)
Can I install LED strips on a textured or popcorn ceiling?
Standard adhesive backing is designed for smooth, non-porous surfaces and will fail to form a reliable bond on textured or popcorn ceilings. To install lighting in these areas, you should mount the LED strip inside a lightweight aluminum channel secured with small mechanical mounting clips and screws. Before drilling any holes, consult your condominium’s guidelines regarding ceiling modifications to ensure compliance with structural and noise regulations.
Will removing the LED strips damage my condo walls?
Yes, the strong adhesive backing on many LED strips can easily peel away paint, primer, or drywall paper during removal, especially on walls that were not properly primed. To minimize the risk of damage when moving out of a rental unit, use a handheld hairdryer on a low-heat setting to gently warm and soften the adhesive before slowly peeling the strip back at a sharp angle. For absolute safety in rental properties, consider mounting the strips using temporary, damage-free mounting clips instead of the integrated adhesive tape.
Can I connect multiple RGB strips to one power supply?
You can connect multiple strips, but you must verify that the total wattage of the connected strips does not exceed the maximum wattage rating of your power adapter. Running too many strips off a single power supply can overload the adapter, causing it to overheat, fail, or dim significantly at the far end of the run due to voltage drop. For runs exceeding 16 feet (5 meters), it is generally recommended to use a higher-capacity power supply, run power lines in parallel, or install a signal amplifier to maintain consistent brightness and color accuracy throughout the entire installation.
Community discussion
Share your experience or ask a question. Comments are reviewed before publication.