
Installing vibrant RGB LED strip lights is an excellent way to personalize your condo, create a cozy ambiance, and elevate your interior design. However, for renters and condo owners alike, the fear of peeling paint, tearing drywall, or leaving stubborn adhesive residue on the walls during move-out can be a major deterrent. Fortunately, you do not have to choose between a stylish living space and keeping your security deposit intact. By selecting the right renter-friendly mounting solutions, preparing your wall surfaces correctly, and following a systematic installation process, you can enjoy stunning ambient lighting without causing any permanent damage to your walls.
In typical high-rise developments, walls are often constructed from painted concrete or gypsum board partitions. These surfaces react differently to adhesives, especially when subjected to the high humidity levels common in tropical climates. Standard factory-applied adhesive backings on LED strips are notorious for either failing prematurely under humid conditions or bonding so aggressively that they strip the paint during removal. Achieving a damage-free installation requires bypassing these direct factory adhesives in favor of specialized, removable mounting alternatives that distribute weight evenly and release cleanly when pulled.
Assessing Your Condo Walls and Light Specifications
Before purchasing any materials, take a close look at the specific wall surfaces in your condo. Painted concrete walls are highly durable but often feature subtle textures, microscopic dust, or chalky paint finishes that can compromise adhesive contact. Gypsum board or drywall partitions are far more delicate; their paper facing is easily torn if you use an overly aggressive adhesive. If your condo features wallpapered accent walls or delicate wood paneling, you must exercise extreme caution, as these materials are highly susceptible to surface tearing and should never receive direct adhesive applications. Ceramic tiles, glass, or polished metal surfaces in kitchen backsplashes or bar areas are highly receptive to adhesives but require thorough degreasing beforehand.
Products mentioned in this guide
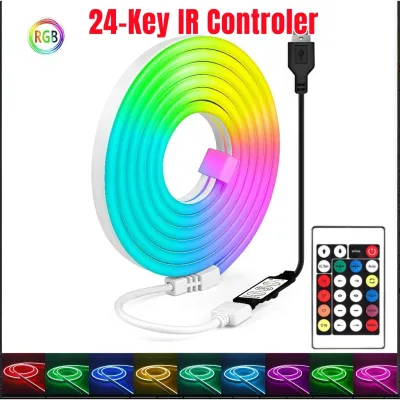
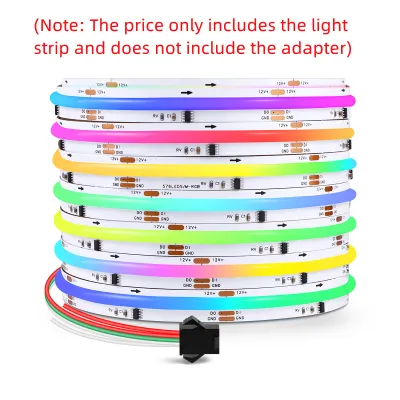
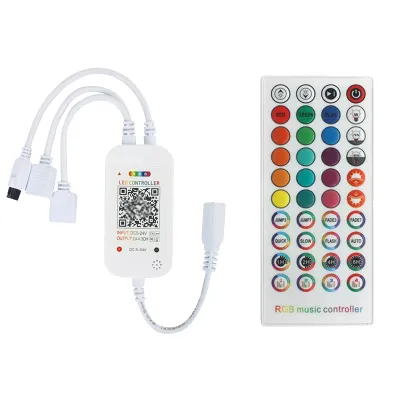
Prices are valid at publication and may change. Please refer to the product page for the latest price.
Next, verify the electrical specifications of your chosen RGB light kit to ensure a safe and compatible setup. Check the manufacturer’s label for the input voltage, which is typically 12V or 24V DC powered by an external step-down power adapter that plugs into a standard 220V AC wall outlet. Ensure the power adapter’s wattage rating comfortably exceeds the total wattage draw of your LED strips to prevent overheating. You must also verify the dimming method—whether it relies on an infrared remote, an inline controller, or a smart home application—and position the receiver where its signal will not be blocked by furniture or walls.
Electrical safety is paramount when working with any lighting fixture. Always establish clear safety boundaries: never attempt to splice low-voltage LED strips directly into your condo’s fixed 220V wiring, light switches, or ceiling junction boxes without consulting a qualified professional. Additionally, ensure that your installation environment is dry. If you plan to install lights near damp areas like kitchen sinks, laundry zones, or bathroom entryways, verify that the LED strips carry an appropriate ingress protection (IP) rating, such as IP65, to resist moisture and condensation. Always isolate the power supply by keeping the adapter unplugged throughout the entire physical installation process.
Choosing Renter-Friendly Mounting Solutions
The key to a successful, damage-free installation lies in selecting the right mounting accessories rather than relying on the default adhesive backing of the LED strip. Removable mounting tapes, specifically those designed with stretch-release technology or silicone-based adhesives, are highly recommended. These specialized tapes are engineered to hold a reliable amount of weight but release cleanly when pulled parallel to the wall surface. In local online marketplaces and hardware stores, high-quality damage-free mounting tapes typically range from ₱150 to ₱500 per roll, making them an affordable investment to protect your condo’s walls.

For a more polished and professional look, consider using lightweight LED aluminum channels. These slim tracks house the LED strips and come with plastic diffusers that soften the light, eliminating the harsh “dotted” look of bare diodes. Aluminum channels also act as heat sinks, drawing warmth away from the LEDs. This thermal management is crucial because excess heat can degrade wall adhesives over time, causing the strips to sag. You can easily mount these lightweight aluminum channels to your walls using paint-safe, removable mounting strips, ensuring a secure hold without drilling a single hole.
Magnetic strip options offer another innovative, damage-free solution. This method involves applying a paint-safe, removable steel tape to the wall, while a flexible magnetic tape is adhered to the back of the LED strip or channel. This allows you to easily snap the lights on and off the wall for cleaning, adjustments, or relocation.
Conversely, there are several common adhesives you must strictly avoid. Heavy-duty polyurethane foam tapes, hot glue guns, and construction-grade liquid adhesives should never be used on painted condo walls. These products create a permanent chemical bond with the paint and plaster, ensuring that any removal attempt will result in deep gouges, torn drywall, and a hefty repair bill from your condo administration. Always check the manufacturer’s label on your mounting accessories to verify their weight limits and surface compatibility before proceeding.
Preparing Your Tools and Materials
A smooth, uninterrupted installation depends on having all your tools and materials organized before you begin. Your primary kit should consist of the RGB LED strip roll, the compatible controller receiver, the power adapter, and your chosen damage-free mounting accessories.
For surface preparation, you will need a bottle of 70% isopropyl alcohol and a clean, lint-free microfiber cloth. Do not use standard household glass cleaners or multi-surface sprays, as these often contain silicone or wax that leaves a slick barrier, preventing your mounting tape from bonding securely to the wall.
You will also need a reliable measuring tape to map out your layout, a pencil to make light, erasable reference marks on the wall, and a pair of sharp household scissors or wire shears.
Before peeling any adhesive backings or making any cuts, it is vital to verify all included parts against the manufacturer’s checklist. Unroll the LED strip completely on a clean floor, connect it to the controller and power adapter, and plug it into an outlet. Test all color modes, brightness levels, and remote functions to ensure there are no defective diodes or wiring issues. It is far easier to exchange a faulty kit before it is mounted to your wall. Once verified, unplug the system to isolate the power before starting the physical installation.
Step-by-Step Damage-Free Installation
Begin by thoroughly cleaning the target wall surface. Pour a small amount of isopropyl alcohol onto your microfiber cloth and wipe down the entire path where the lights will be mounted. This step removes invisible dust, skin oils, and airborne grease that naturally accumulate on condo walls. In humid tropical environments, moisture can easily trap itself on surfaces; therefore, allow the cleaned area to dry completely for at least 15 minutes before applying any adhesive.
Next, use your measuring tape to determine the exact length of the wall or cabinet where the lights will go. Use your pencil to make faint, small guide marks along the path to ensure your installation remains perfectly straight. If your LED strip is longer than the measured space, locate the designated cut points on the strip. These are clearly marked with copper solder pads and a small scissor icon, spaced every few inches. Cut only along these precise lines; cutting elsewhere will sever the internal circuitry, rendering the remaining section of the strip useless.
Now, apply your chosen damage-free mounting tape. If you are using removable mounting strips, apply them evenly along the back of the LED strip or the aluminum channel. Press firmly along the entire length of the tape for at least 30 seconds. This pressure-sensitive adhesive requires physical force to activate its bonding agents.
Carefully peel away the protective backing of the tape and align the strip with your pencil marks on the wall. Press the strip firmly against the wall, working your way from one end to the other. Apply steady pressure with your thumb on each section for 30 seconds to ensure a complete bond.
Once the entire strip is mounted, resist the temptation to turn the lights on immediately. Most damage-free adhesives require a curing period of at least one hour—and sometimes up to 24 hours, depending on the manufacturer’s instructions—to reach their maximum holding strength. Because operating LED strips generates mild heat, turning them on too early can warm the adhesive before it has fully cured, leading to premature peeling and sagging.
Routing Cables and Hiding the Power Adapter
An otherwise perfect lighting installation can look cluttered if wires are left dangling loosely down the wall. To achieve a clean, minimalist aesthetic, use damage-free adhesive cable clips or paint-safe cable sleeves to route the power cord neatly along the edges of your baseboards, door frames, or wall corners. This keeps the wiring taut and virtually invisible.
The power adapter brick is the heaviest component of your setup and requires careful placement. Select a safe, well-ventilated location for the adapter, such as on a nearby shelf, a media console, or mounted to the side of a desk using removable hook-and-loop strips. Never allow the power brick to hang freely from the wall outlet, as the constant downward pull will damage both the plug and your condo’s electrical socket over time.
In tropical climates, ambient indoor temperatures can rise quickly. Ensure the power adapter is not placed in enclosed, unventilated spaces, such as behind tight sofa cushions, under heavy drapes, or inside sealed cabinets, as this can lead to heat buildup and potential electrical hazards.
Additionally, ensure that all cables are routed away from high-traffic walkways to prevent tripping hazards. Avoid running cords under rugs or carpets, where foot traffic can friction-wear the protective insulation and create a fire risk. Always leave a small amount of slack, known as a drip loop, in the cable just before it plugs into the wall outlet to ensure any accidental moisture runs away from the electrical contacts.
Testing the Setup and Adjusting Light Effects
With the installation complete and the adhesive fully cured, you can safely reconnect the power supply. Perform a final visual inspection of all connections, ensuring that the low-voltage pins are correctly aligned and that no wires are pinched or strained.
Plug the power adapter into the wall outlet and turn on the system. Use your remote control or smart home application to cycle through the various color modes, brightness levels, and dynamic patterns. This is the perfect time to adjust the lighting to suit your personal preferences. Keep in mind that decorative lighting effects, perceived color temperatures, and spatial atmospheres are highly subjective; choose settings that complement your condo’s existing decor and your personal comfort.
After the lights have been running continuously for about 30 to 45 minutes, conduct a physical check of the installation. Gently run your hand along the length of the strip to feel for any excessive heat, and inspect the edges for any signs of lifting or peeling. The mild warmth generated by the LEDs can sometimes expose areas where the adhesive did not bond perfectly. If you notice any lifting, gently press the section back down with firm pressure, or add an extra piece of damage-free mounting tape to reinforce the weak spot.
Removing the Lights Safely When Moving Out
When your lease ends or you decide to change your decor, removing the LED strips safely is just as important as the initial installation. Rushing this step is the most common cause of wall damage. To ensure a clean release, use a handheld hair dryer set to a low or medium heat setting to gently warm the adhesive backing. The heat softens the adhesive polymers, making them flexible and significantly reducing their grip on the wall paint.
Once the adhesive is warm, slowly peel the strip or mounting tape away from the wall. Pull the tape at a very shallow angle, ideally parallel to the wall surface, rather than pulling it straight out at a 90-degree angle. This technique allows the stretch-release mechanism of high-quality mounting tapes to function correctly, shearing the bond without pulling the paint or plaster with it.
If any sticky residue remains on the wall, avoid using harsh chemical solvents, abrasive scrubbing pads, or sharp metal scrapers, as these will easily scratch or dull your condo’s wall finish. Instead, apply a small amount of mild soapy water or a specialized, paint-safe adhesive remover to a clean microfiber cloth. Gently rub the residue in a circular motion until it rolls off the wall. Wipe the area clean with a damp cloth and allow it to air dry, leaving your condo walls in pristine, deposit-saving condition.
Frequently Asked Questions (FAQ)
Can I install RGB LED strips on textured or popcorn ceilings?
Textured or popcorn ceilings present a significant challenge for standard adhesives because the uneven surface dramatically reduces the contact area, preventing a secure bond. Standard mounting tapes will likely fail quickly, causing the lights to sag or fall.
To mount RGB LED strips on these challenging surfaces without causing damage, consider using specialized heavy-duty removable utility hooks designed specifically for ceilings, or install a tension-based track system that wedges securely between opposing walls.
Before attempting any ceiling installations, always consult your condo association’s house rules and guidelines. Many properties have strict regulations regarding fire-rated ceiling materials, and avoiding unauthorized modifications will prevent potential fines or safety hazards.
Community discussion
Share your experience or ask a question. Comments are reviewed before publication.